API service
About this task
Procedure
- You can see the available list of API’s instances created and running.
- You can create new API instances.
- You can check the API instances listening port.
- You can start and stop existing ZAO API service instances.
-
You can delete API instance created by clicking on the
 button.
-
You can edit API container port number by clicking on the
 button.
-
You can start the ZAO API service container by clicking on the
 button.
Figure 1. API Instances - Saved List 
The API Service starts and the API Service page highlights and enables the URL at which the ZAO API service is available for connections.Figure 1. Show API Service URL and API service stop button 
- Once running, the included ZAO API Sample demo container can be used to show-case a small sample of the reports available via the ZAO API container. See the APISample/ folder in the ZAO installation directory and the "ZAO API Demo Sample" for source code and documentation details.
-
To stop the API service, Click on the
 button.
-
Click on shown hyperlink to access and use the ZAO API Swagger UI (External Swagger Doc link) for testing
purposes.
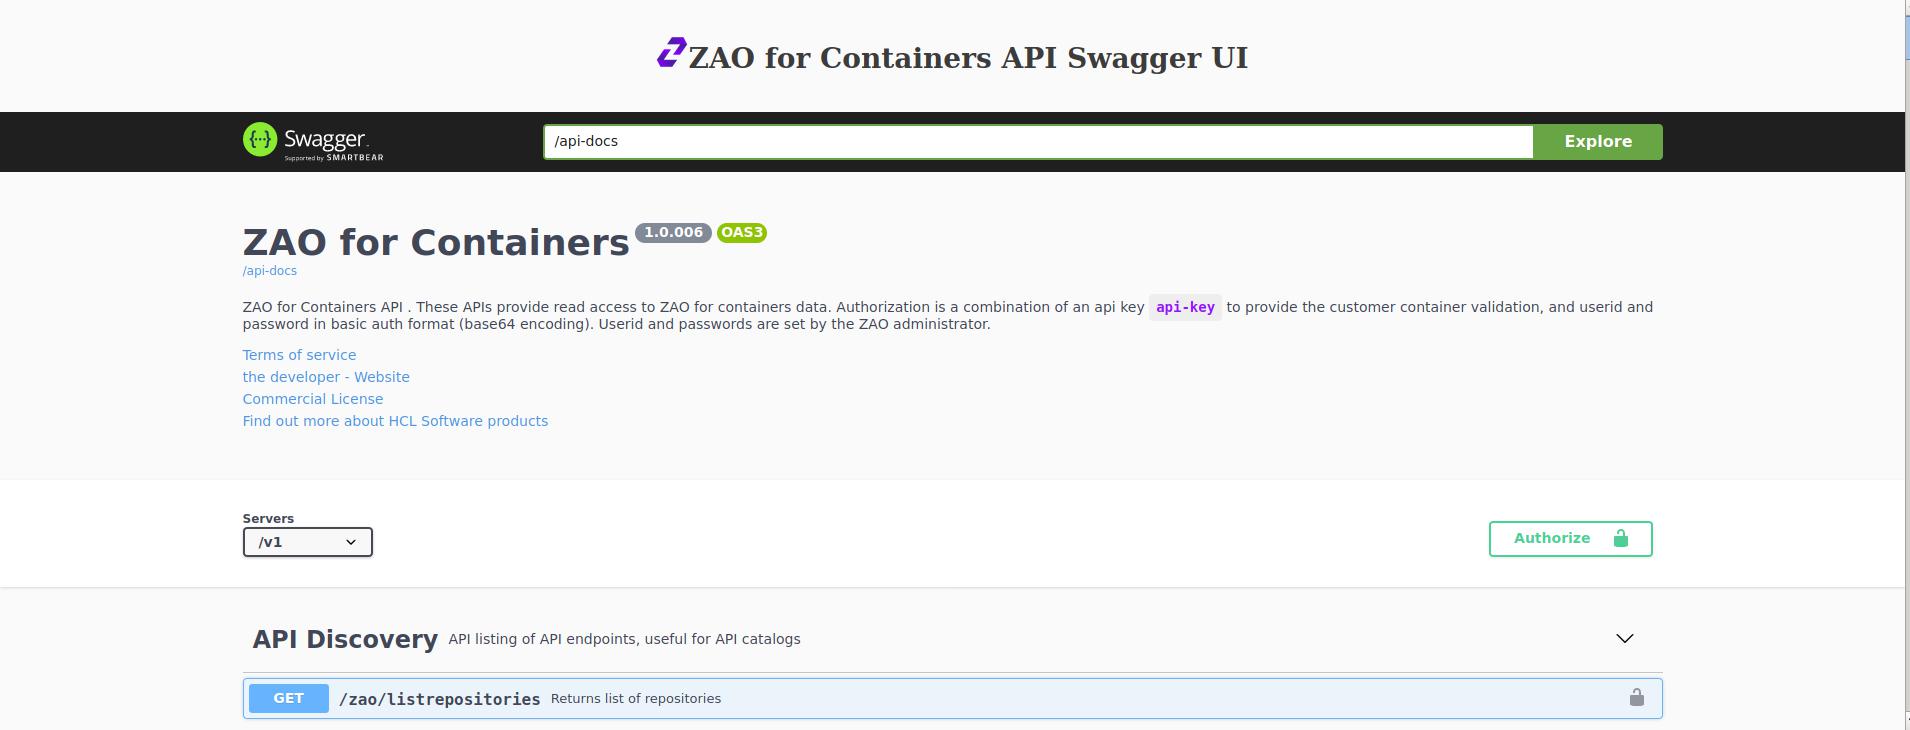
- Once an API instance is activated, the ZAO API service is available with a basic Swagger UI. This allows users to interact with the ZAO V2.1 API’s without needing to have any of the implementation logic in place.
- The Swagger UI as shown following, enables users to test the available
API’s and view previously loaded repository report results data in an
interactive way.

Add New API Instance
Procedure
-
On the API Services page, Click on New API Instance.
The New API Instance-Configuration page is displayed as shown here:
Figure 3. New API Instance 
- You can see the 'Port' text box is pre-filled with the next port number in the sequence from where the last API instance was defined.
-
On clicking the Port field, the
 button is enabled,
which you can then use to increment and decrement the port number by
1.
button is enabled,
which you can then use to increment and decrement the port number by
1.
- Select the Start checkbox if you want the API instance to start immediately.
- Click on Save.
Swagger UI Use - Authorization
About this task
Note: Administrator credentials are not required to interact with the API.
However an administrator will need to provide an API developer with the URL,
port and product license key to complete authentication.
Start one of
the available API instances, then navigate to any of the activate API instances
displayed URL.
Procedure
-
To authenticate, click on Authorize.The Available
authorizations window is displayed:
Figure 5. Swagger API Access Authorization window 
-
Enter your ZAO product license key in the api_key (apiKey)field.
Figure 6. Authorize using your ZAO license key 
- Click on Authorize to verify your license.After successful verification of your license, the Available authorizations window appears with the Logout option.Note: The api_key_parm field is currently not used or supported in the ZAO V2.1.1 release.
-
Under the basicauth, enter a valid username and password (same
as those available for accessing the ZAO V2.1.1 Web UI).
Figure 7. Authorize Using ZAO User Credentials 
- Click on AuthorizeIf the credentials you entered are verified successfully, the following window appears with the Logout option.
Figure 8. ZAO API Credentials Verification 
-
Click on
 or the Close button to close the
Authorization request window.
or the Close button to close the
Authorization request window.
- If the authentication has been completed successfully, all the GET reports shown in the Swagger UI, including the Custom SQL post capability, are now available.
-
To execute a report available under the “Analysis Reports” section,
click on the “GET” button next to your selected report (eg.
/zao/productsummary) to expand the report query section.
Figure 9. Swagger UI Try-it-out 
-
Next click on the “Try It Out” button on the right hand-side.
- In the “repository” section, enter the name of a loaded repository you wish to execute the report against.
- Then click on the “Execute” button to perform the query.
- Under the “Responses” heading will be three sections.
- Curl – this is mainly useful for your API developer(s) as it gives an example of how to remotely execute the report from outside of Swagger.
- Request URL – this is the URL with API end-point and parameters used for the report request.
- Server response – this provides the API servers response to the user. A valid response code is “200” and the details will contain the JSON formatted data results of the report.
Figure 10. Swagger UI API Response 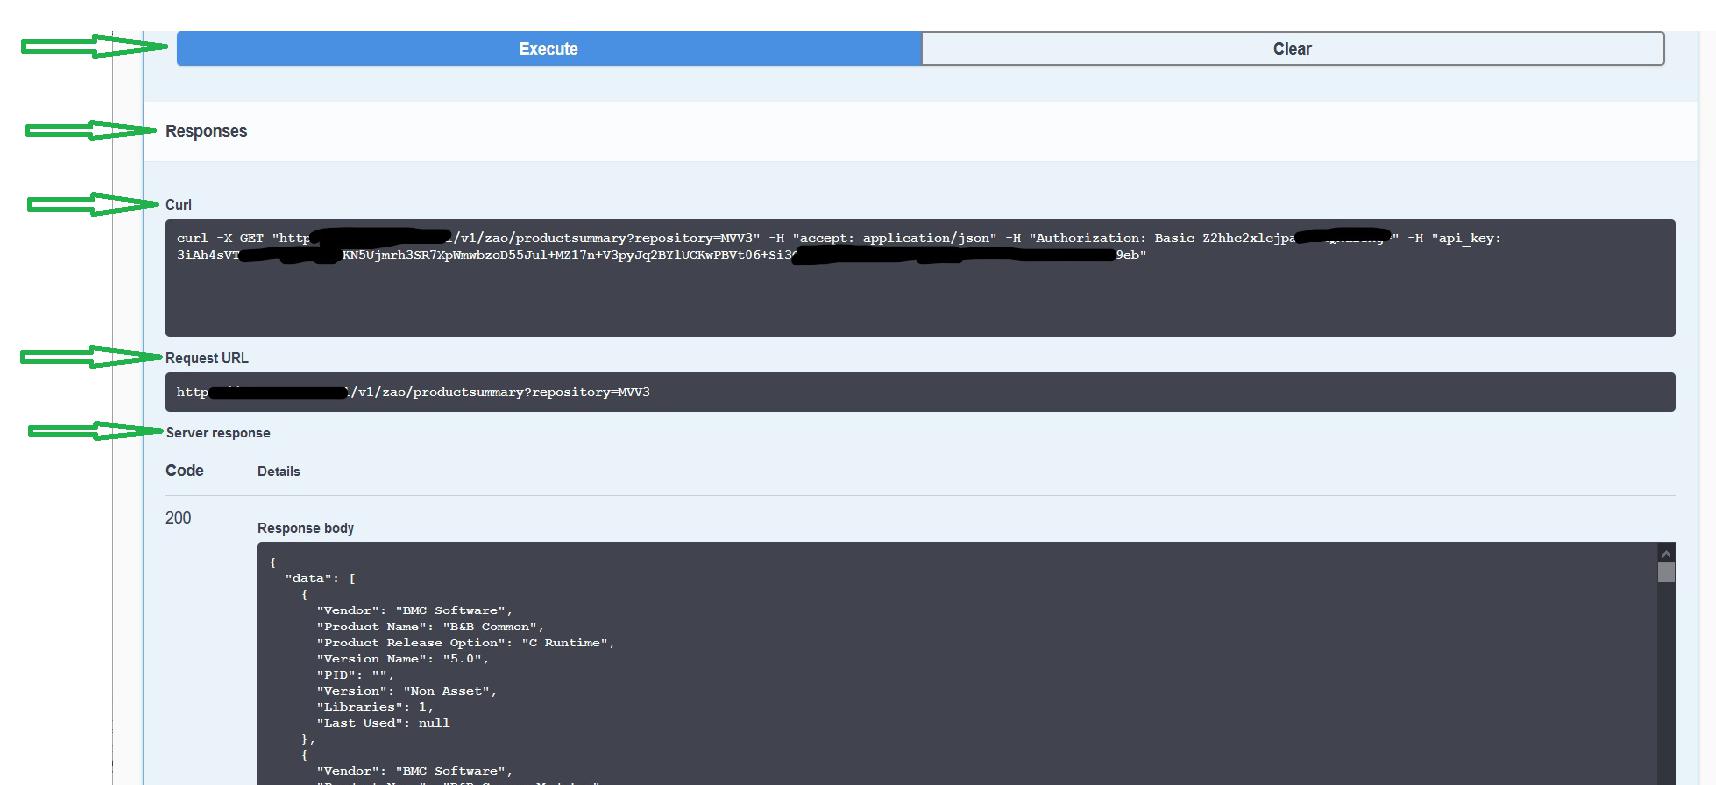 The
same process can be repeated for many of the other Swagger UI
available reports. Some require more parameters for the report
to be executed. These input parameters are shown in the
“Parameters” section. Fields marked as “* required” must be
provided while other parameters can be set or left empty.
The
same process can be repeated for many of the other Swagger UI
available reports. Some require more parameters for the report
to be executed. These input parameters are shown in the
“Parameters” section. Fields marked as “* required” must be
provided while other parameters can be set or left empty.