Lesson 2: Creating a verification point
You can learn about creating a verification point for an action that you recorded on an application under test (AUT). Verification points verify that a certain action has taken place, or they verify the state of a control or an object during the play back of tests.
Before you begin
You must have completed the following tasks:
- Generated a Web UI test. See Lesson 1: Recording actions on an AUT.
- Read and been familiar with verification points. See Working with verification points.
- Ensured that the Test Contents panel of the test editor window is displayed.
About this task
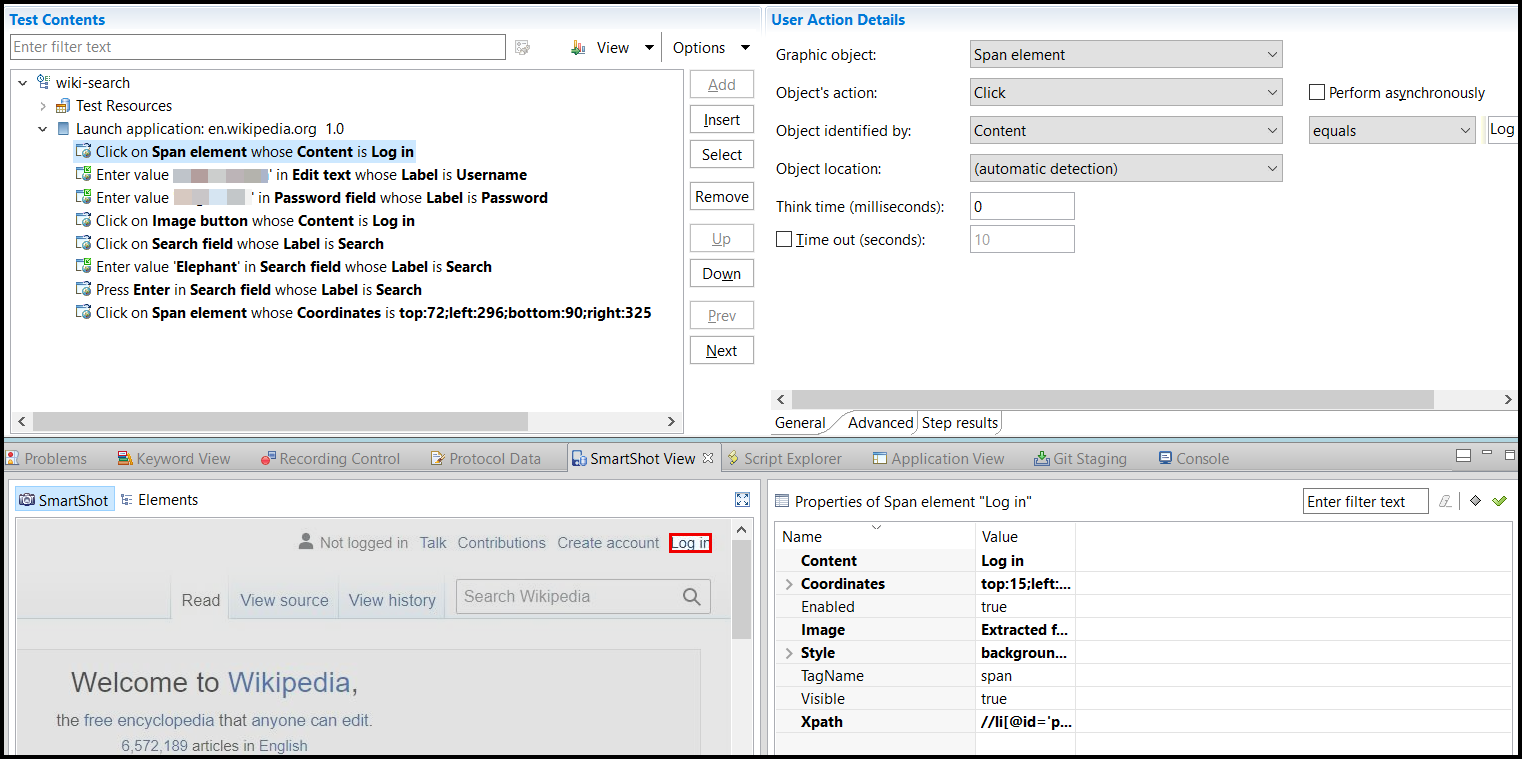
You can create a verification point for a recorded action in the SmartShot View tab of the test editor window and view the verification step in the test.
Procedure
-
Select the test step that corresponds to the first click action that you
performed on the Log in link on the Wikipedia
website.
The screen capture and properties for the click action are displayed in the SmartShot View tab.Note: Verify whether the click action is highlighted in the screen capture that is displayed in the SmartShot subtab.
-
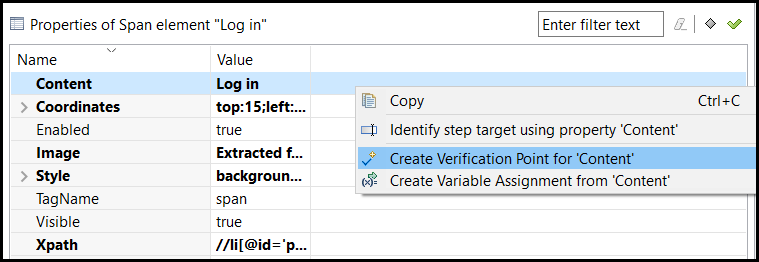
Right-click the row with Log in in the
Properties panel of the SmartShot
View tab.
-
Select Create verification point for ‘Content'.
A verification point is created for the selected click action and the verification step is added in the Test Contents panel with the
 icon.
icon.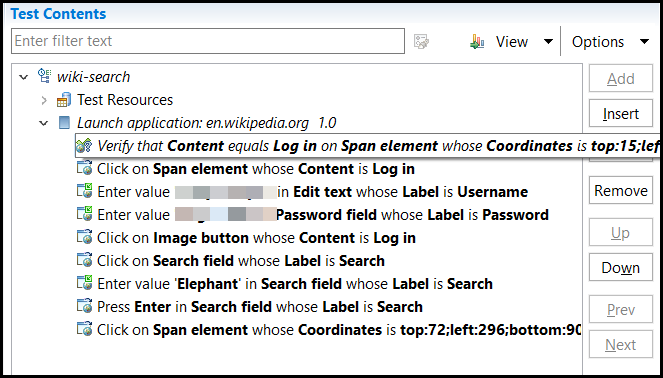
- Click to save the changes.
Results
In this lesson, you have learned to create a verification point for an action that you recorded on an AUT.