Publisher/subscriber views
The structure of a message is defined when you are using the publish/subscribe actions. In each action type, different views of the message can be selected. On selecting a view, information relating to the storage and validation of the message is displayed.
The view is controlled by the view selector panel  .
.
In the example that is shown, the Schema
View  is selected:
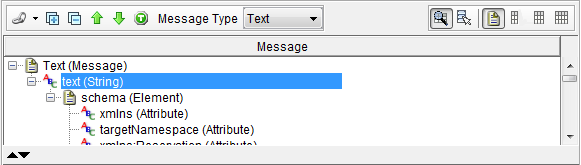
In this view, only the message structure, that is element and field names, is shown under the Message heading.
In the example that is shown, the Simple View  is selected:
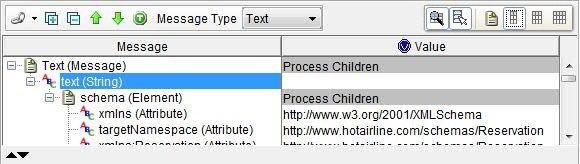
The message structure (element/field names) is shown under the Message heading and the content of each element and field is shown under the Value heading.
In the example that is shown, the Simple Editing
View  is
selected for the same Publisher as the previous example:
is
selected for the same Publisher as the previous example:
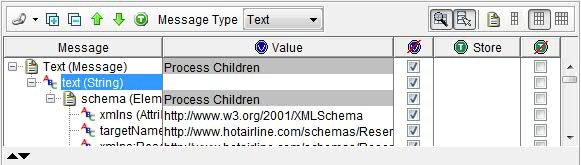
In the Simple Editing view, the tag in which the element/field value is being stored is shown under the Store heading. In the previous example, the Store field is blank as the Value field is not being stored in a tag.
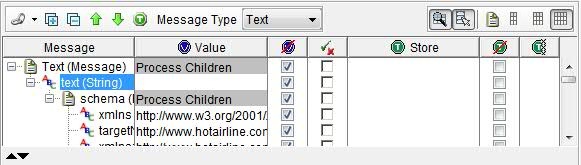
In the example that is shown below, the Advanced
View is
selected for the same Publisher as the previous example:
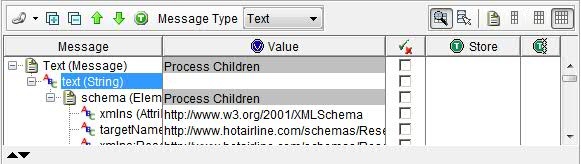
In the Advanced View, the Enable
Validation  and Enable Store Actions
  check
boxes are displayed.
check
boxes are displayed.
The Enable Validation check box toggles between full validation (Equality, Name, and Type) of the selected element/field and no validation at all. The validation can also be set by using the Field Editor (see The Field Editor).
The Enable Store Actions check box toggles between enabling and disabling all the tag storage actions for the corresponding element/field. The tag storage configuration can also be set by using the Field Editor (see The Field Editor).
The Show/Hide Action Pane  and Show/Hide
Enable States
and Show/Hide
Enable States  buttons can be activated separately or at the same time,
and with any of the other message body views. In the example below,
the same Publisher is shown in the Advanced View with the Enable States
being shown:
buttons can be activated separately or at the same time,
and with any of the other message body views. In the example below,
the same Publisher is shown in the Advanced View with the Enable States
being shown:
When Enable States are shown, the Enabled Value  and Enable
Store Action
and Enable
Store Action  check boxes are displayed.
The Enabled Value check box toggles between enabling and disabling the value that is specified for the content of a particular element/field. The value configuration can also be set by using the Field Editor (see The Field Editor).
The Enable Store Action check box is similar to the Enable Store Actions check box, except that this check box takes effect only for a single tag storage action for the corresponding element or field. If there is more than one tag storage action, this check box is disabled.
In the example below, the same Publisher as is shown with the Actions pane shown:
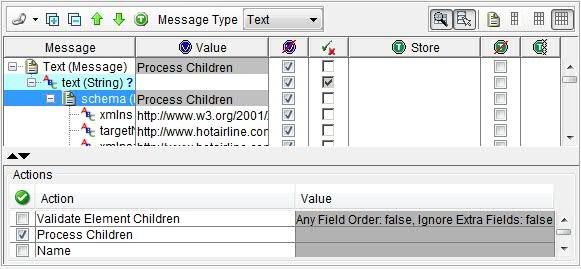
The Actions pane shows the detailed validation and tag storage configuration for the selected element/field. The Actions pane provides another method of altering the configuration, in addition to the check boxes shown and the Field Editor (see The Field Editor).