Creating messages and applying them to tests
You can create a message that contains requirements and drag that message onto an action in a test. After you create a message, you can build it by specifying the transports and formatters.
Creating a message
Procedure
- Create a message in one of the following
ways:
- In the left side of the Test Factory perspective, select the folder,
component, or operation in which you want to create a message. Click
the Create a new Message icon
 at the
top of the tree. This option creates a blank message.
at the
top of the tree. This option creates a blank message. - In the left side of the Test Factory perspective, right click
an operation and click . You can then select
one of the following message types, depending on the type of operation:
- Message
- Creates a blank message.
For Request/Reply type operations, the following options are displayed:
- Request Message
- Creates a message with a linked header to the operation and a body populated from the request schema (if available) in the operation.
- Reply Message
- Creates a message with a linked header to the operation and a body populated from the reply schema (if available) in the operation.
For Publish/Subscribe type operations, the following options are displayed:
- Publish Message
- Creates a message with a linked header to the operation and a body populated from the publish schema (if available) in the operation.
- Subscribe Message
- Creates a message with a linked header to the operation and a body populated from the subscribe schema (if available) in the operation.
- In the left side of the Test Factory perspective, select the folder,
component, or operation in which you want to create a message. Click
the Create a new Message icon
- When prompted, enter a name for the new
message and click OK to proceed.

- The message is created and opened for editing
in the work area to the right of the project tree.
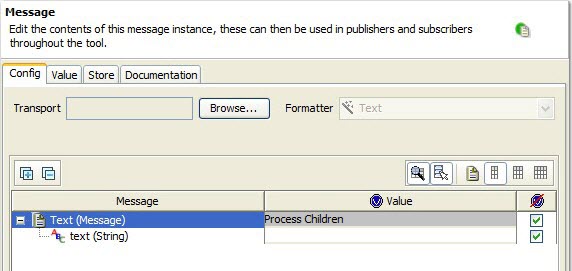
- You can now build or modify the message and use it later as a requirement.
What to do next
Applying a message to a test
About this task
After you create the message, different
options are available when you apply it to a test.
- When you drag the message onto the root of a Message
Switch action, you can replace existing data or add new
message cases. If you choose to add new cases, you have the following
options:
- Copy the message structure only
- Use the message as a filter
- Use the message as an assertion
- Copy the structure and use the message as both a filter and an assertion
- When you drag the message onto the root of any other action, you
have the following options:
- Update this action with a link to the requirement
- Any changes you make to the requirement are reflected in all of the tests where the requirement has been applied.
- Update this action with a copy of the requirement
- Changes to the requirement do not affect the test.
After you add the message to a test action, you have the
ability to change the instance of the message in the test. However,
if you want to save your changes, you must break the link to the requirement.
A window is displayed with the following options:
- Discard any changes and keep the link
- Reset the contents of the message instance to match the requirement message.
- Keep any changes and unlink
- Save your changes. Any subsequent updates to the requirement message will not be reflected in the instance of the message in the test.
At any time when you are editing an action that
contains a link to a requirement message, you can click the link icon  to display the
following options:
to display the
following options:
- Unlink from message
- Any subsequent updates to the requirement message will not be reflected in the instance of the message in the test.
- Change linked message
- The requirements tree is displayed. Select another message to link to the current action.
- Open linked message
- The requirement message that is currently linked to the action is opened for editing. Note that changes you make to this message will be reflected in all actions to which the requirement message is linked.