To upgrade IBM Docs 1.0.7 to
2.0, run the installer.
About this task
Make sure you upgrade databases when upgrading to 2.0 following
instructions in Upgrading the database.
Procedure
- Download the DOCS_INSTALLPKG_FILENAME.zip
file, for example, CNNCTNS_DOCS_2.0.0_WINLNX_ML.zip,
from IBM Passport Advantage. Extract the file to
the directory on the federated node where you have run the installer
to install IBM Docs.
- When IBM Installation Manager is running, click , add the new repository configuration file for IBM Docs, and click OK.
- Click Update and in the Update
Packages window, select the package for IBM Docs and click Next.
- Review and accept the license agreement by clicking I
accept the terms in the license agreements. Click Next.
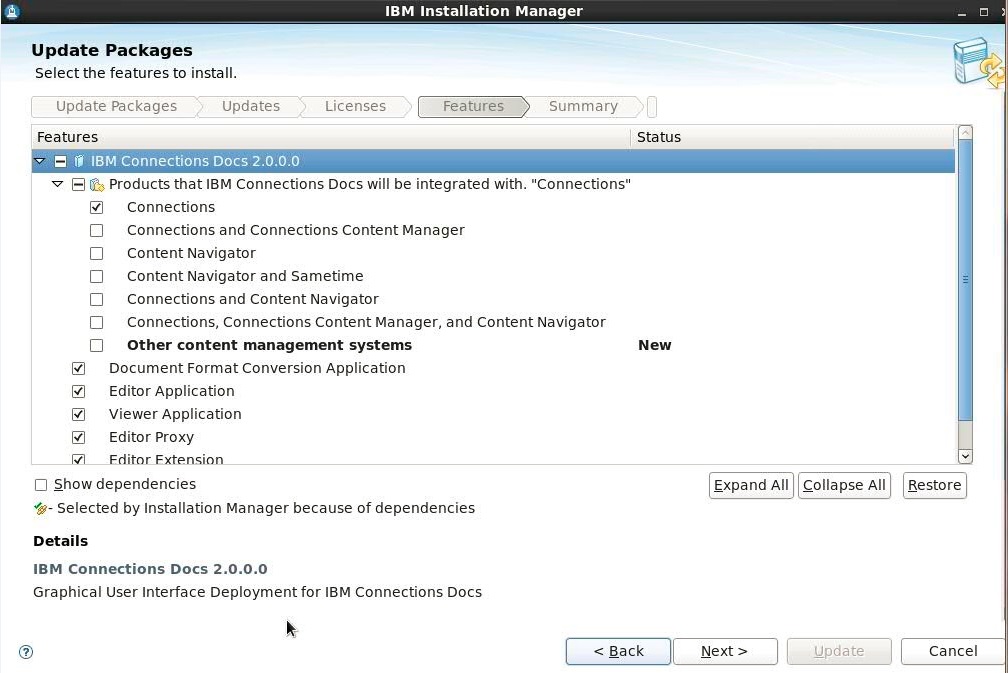
- Keep unchanged the selections for the products integration
and components, and then click Next.
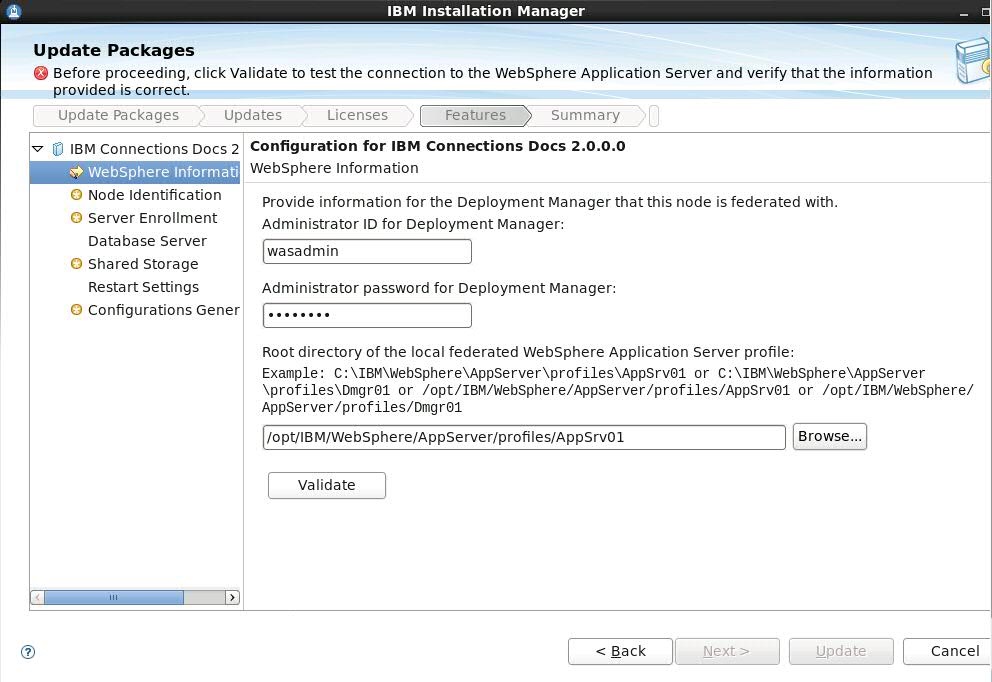
- Enter the details of your WebSphere Information:
- Enter the properties of the WebSphere Application Server
Deployment Manager:
Administrator ID
The
administrative ID of the Deployment Manager.
Administrator
Password
The password for the administrative user
of the Deployment Manager.
- Enter the path of the WebSphere Application Server profile
that is federated into the Deployment Manager.
- Click Validate to verify the
Deployment Manager information that you entered. If the verification
fails, IBM Installation Manager displays an error message.
- When the verification test is successful, click Next.
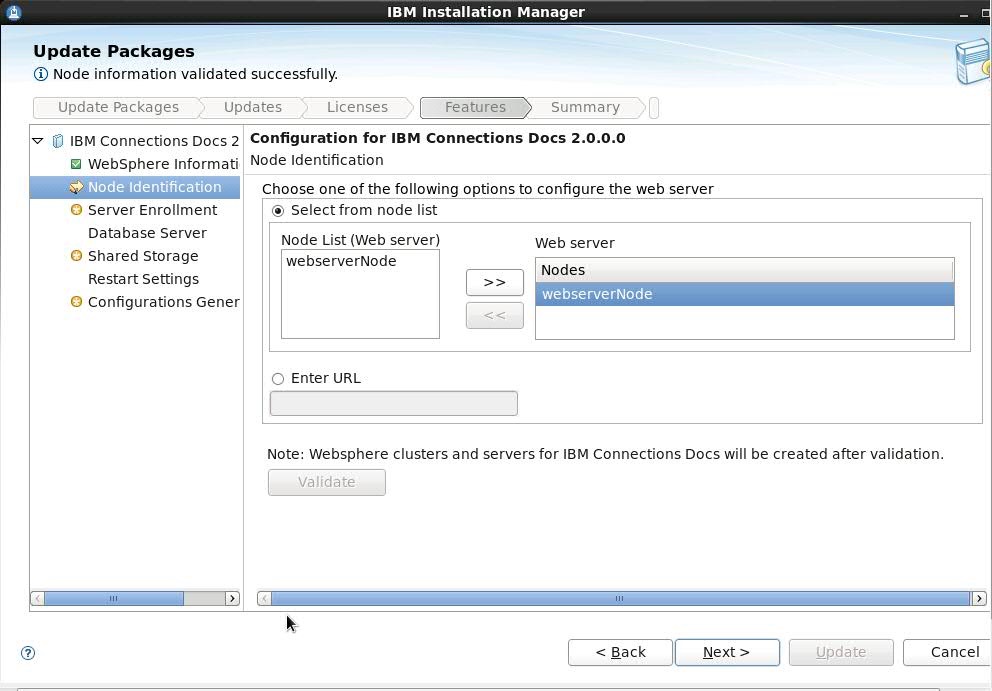
- Select the web server node, and click Validate.
When the verification test is successful, click Next.
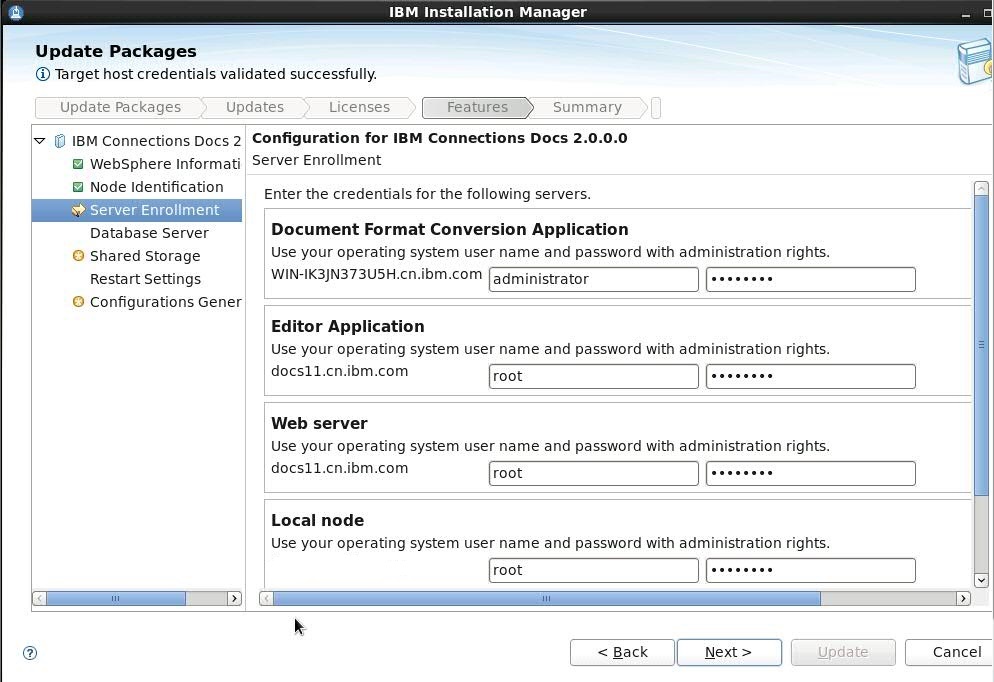
- Configure server enrollment for each IBM Docs component.
Ensure the password is correct and then click
Validate.
When the validation is successful, click
Next.
- In the Database Server panel, ensure
the password for the database is correct, and then click Next.
- In the Shared Storage panel, enter
the client mount point for the Editor Application data share directory
on Viewer Server, for example, /opt/IBM/docs_data.
For the other fields, keep the values unchanged and click Next.
- Select whether to restart web server and Connections. If
you select No, you must manually restart web server and Connections
later. Click Next.
- In the Configurations Generation panel, it lists all the cfg.properties and cfg.node.properties files
for upgrading. Click Next.
- Click Update.
Note:
- If IBM Docs 1.0.7
is configured with TAM (Tivoli Access Manager) setting, after migration,
you must re-configure TAM manually.
- After upgrading from 1.0.7 to 2.0, the Task Scheduler kill_timeout and sym_monitor are
changed to incorrect status. Reset it manually. Refer to Configuring the Windows task scheduler for the Conversion server for
detailed instructions.