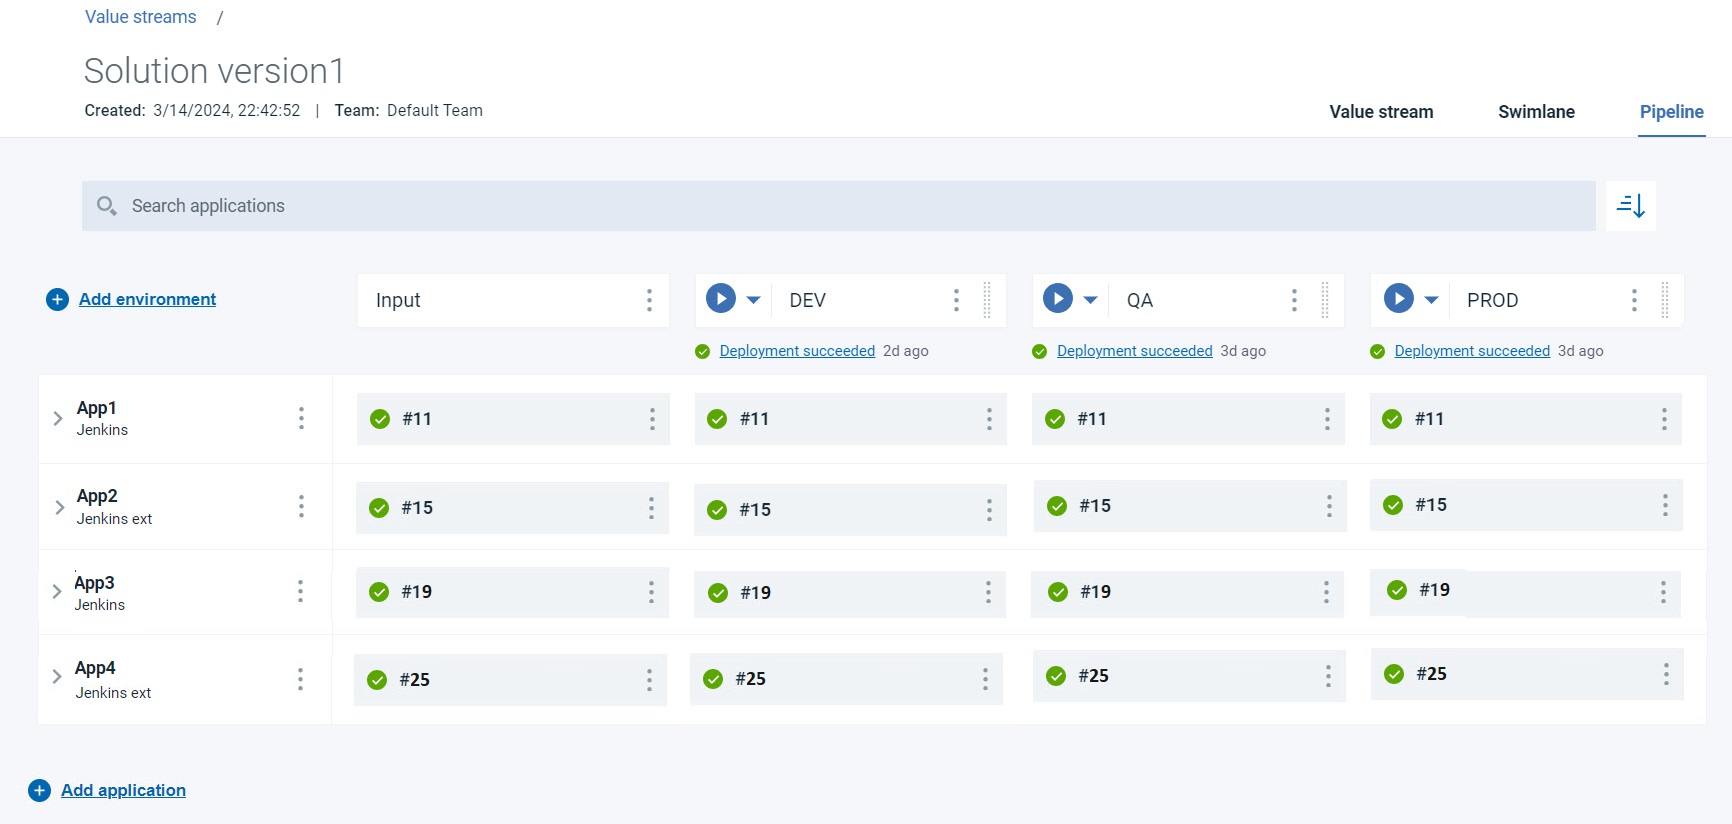
Adding an application to the pipeline
You can add an application to the pipeline in HCL DevOps Velocity (Velocity).
Before you begin
Procedure
-
Perform the following steps to add an application to the pipeline:
-
In the Velocity
home page, on the left navigational panel, click
 .
The value streams that you created are displayed.
.
The value streams that you created are displayed.
-
In the Velocity
home page, on the left navigational panel, click
-
Perform the following steps to create a version for the application in the
pipeline:
-
Click Create version
 under the Input
column.
The Create version window is displayed.
under the Input
column.
The Create version window is displayed.
-
Click Create version
-
Perform the following steps to map the application to
DEV environment:
-
Click
 under the DEV
column.
The Map a Jenkins job to a logical environment (DEV) window is displayed.
under the DEV
column.
The Map a Jenkins job to a logical environment (DEV) window is displayed.
-
Click
-
If required, do the above steps again to add the applications and map them to
the pipeline.