
Updating the privacy policy content
You can update the privacy policy content for your store to change the privacy policy details that display to shoppers on your store Privacy Policy and Just-in-Time Privacy Policy pages.
By default, the same privacy policy content is displayed on the Privacy Policy and Just-in-Time Privacy Policy pages. The Privacy Policy page is enabled to display in all stores by default, and can be accessed at any time from a link in the footer. The Just-in-Time Privacy Policy is an optional page that when enabled is displayed as a pop-up window. The Just-in-Time Privacy Policy is displayed to shoppers when they first visit the store to ensure that shoppers review and accept the store's privacy policy before they proceed to browse the store.
About this task
If you are including a privacy policy page or just-in time privacy policy notice within your custom store, create the content that needs to display on the pages. If your site includes multiple stores, create a privacy policy specific to each store. The acceptance of a store's privacy policy is recorded and applicable for just that store. Any consent that is provided by a shopper for a store to collect and use the shopper's data is provided for only the store where the consent was given by the shopper.
If you are copying and using the sample privacy policy pages that are provided with the Aurora store, replace the sample content with your store’s privacy policy content. The content that is included on the sample store pages is provided as a sample only for demonstrating how to display content on the page. Do not use this content as-is within your custom store.
Your organization is responsible for ensuring that any sample page that your store uses is customized to disclose the correct information to your shoppers. Your organization is also responsible for ensuring that your legal counsel has completed any required reviews of your store pages and privacy policy.
When you are planning the content to include in the privacy notice, detail your organization's request for consent and reasons for requiring consent. Include details to inform your shoppers about what data your store collects when a shopper provides consent and how the data is used and processed. Present the privacy notice to shoppers and obtain consent before your site collects any data about the shopper. It is your responsibility to ensure that the privacy notice content that you create takes into account any GDPR responsibilities for privacy notices that you may have. For the full details about the GDPR requirements for privacy notices and consent, see GDPR legislation.
The marketing content that includes the details for privacy policy can be updated or replaced within the Marketing tool for Management Center.
If you want to keep previous versions of the marketing content, such as for auditing purposes, consider creating and replacing the content with a new version instead of directly updating the content text. The following steps demonstrate how to copy and replace the content. If you do not want to keep the previous content version, you can directly update the existing content. The recording of each version of your store's privacy notices and the historical use of each version, such as for auditing purposes, is the responsibility of your organization. HCL Commerce does not record or provide this information.
Procedure
- Open Management Center.
- From the Management Center Tools menu, select the Marketing tool.
-
From the Store list, switch to your storefront asset store.
The e-Marketing Spot and content provided by HCL Commerce service belong to the asset store and are then inherited by a customer-facing store.
If needed, you can create an e-Marketing Spot and content within your customer-facing store and update the page JSP files to use that e-Marketing Spot and content.
-
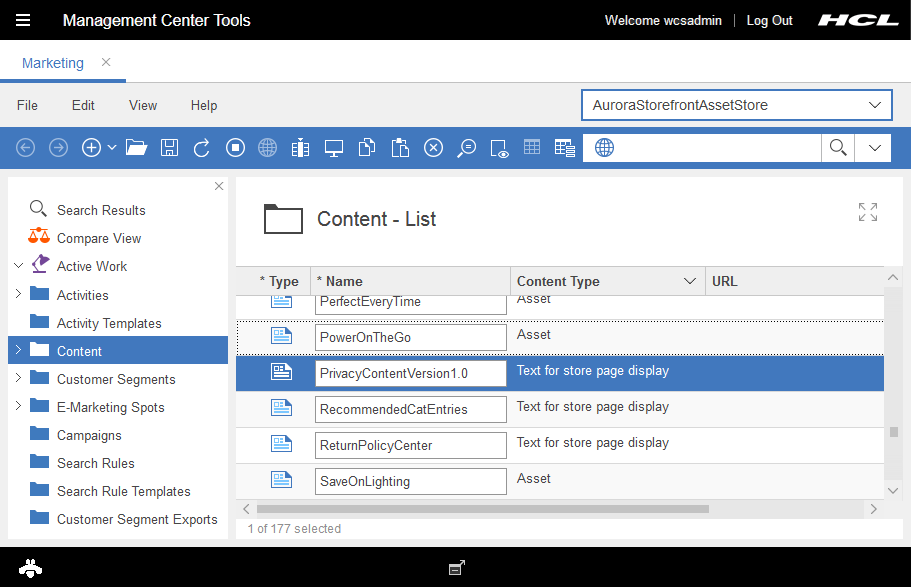
From the Explorer view, click Content
The Content - List view opens.
-
Browse or search for the privacy policy marketing content.
The marketing content is named PrivacyContentVersionx.x, where x.x is the current version of the privacy policy. The default content for the Aurora store privacy policy is PrivacyContentVersion1.0.
- You can browse through all marketing content that is defined for the store within the
Content - List view.
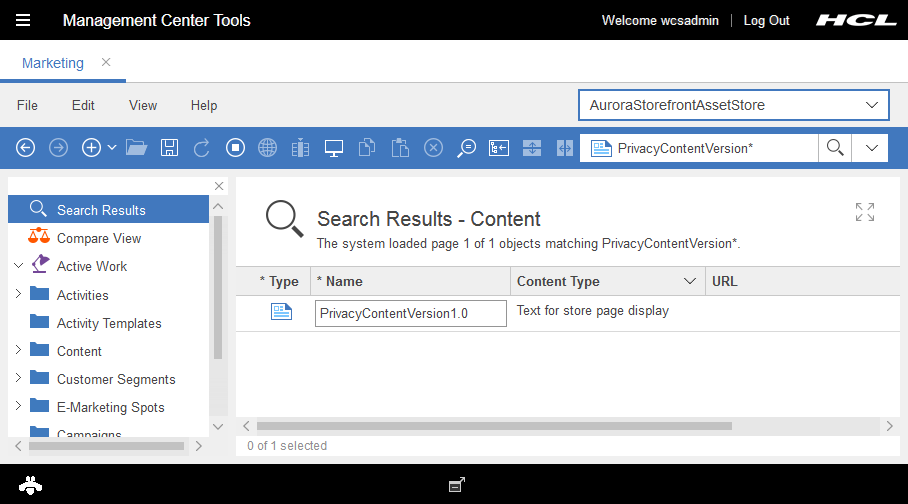
- Use find area to search for content by entering
PrivacyContentVersion* as the search term. Select
Content from the object type list for the Find area to
filter the results. The search results return all versions of the privacy content for the
store.
- You can browse through all marketing content that is defined for the store within the
Content - List view.
- Right-click the version of the privacy content that you want to update and select Copy or Copy to Clipboard.
-
From the Explorer view click Content.
The Content - List view is displayed.
-
Add the copied content into the list of available content.
- If you copied the content, right-click within the list of available content, and select Paste.
- If you copied the content to the clipboard, drag the content from the clipboard into the list of available content.
A copy of the PrivacyContentVersionx.x is displayed.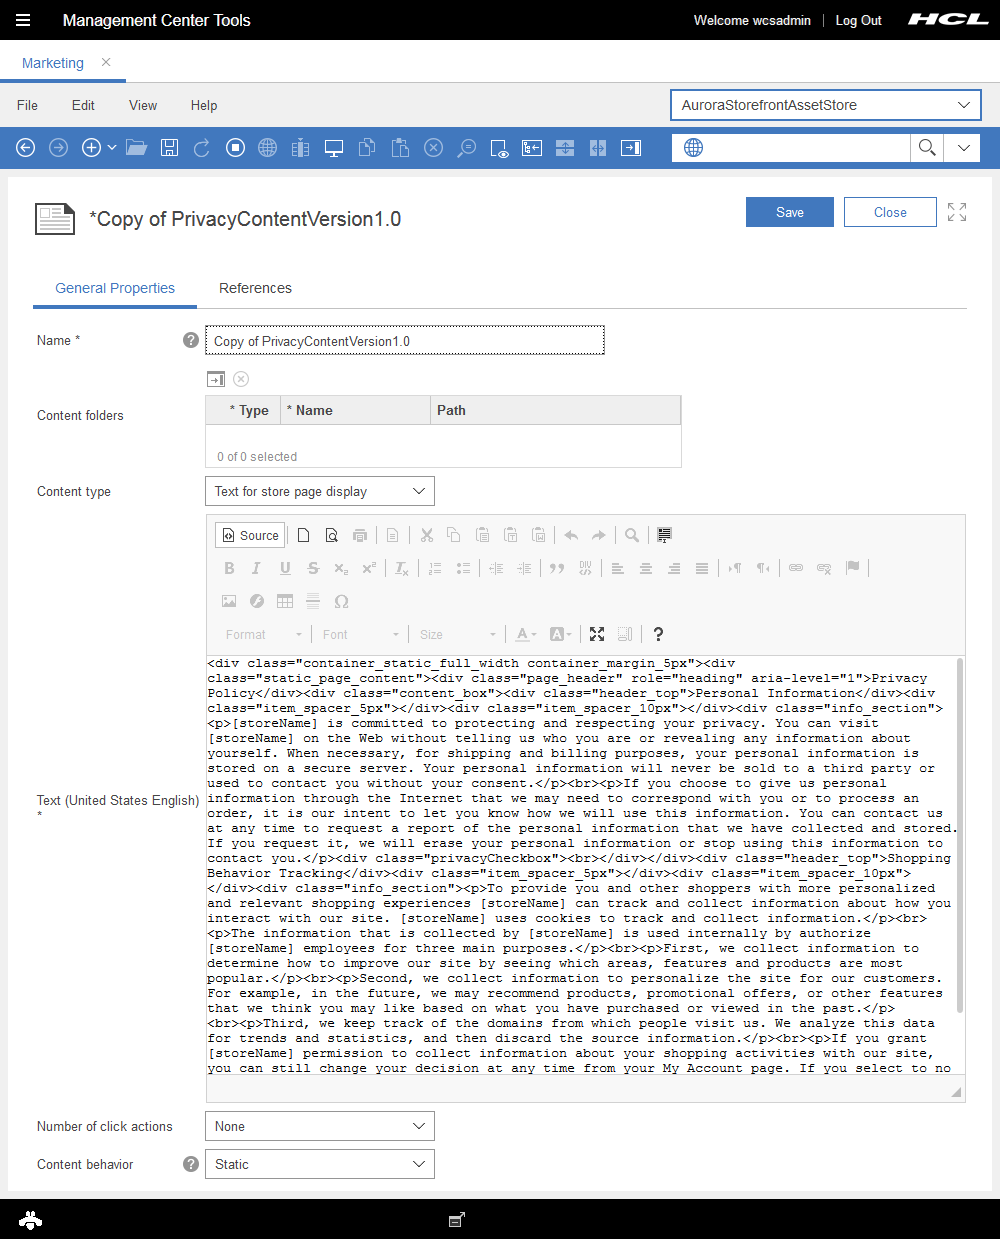
-
Update the following fields for the content.
Property Description Name Update the name to indicate the new version of the content. Use the naming convention PrivacyContentVersionx.x for the content. For example, if you are update the default PrivacyContentVersion1.0 content, you can name the new content PrivacyContentVersion1.1 or PrivacyContentVersion2.0
Content type Ensure that the option Text for store page display is selected to indicate that the content includes text or HTML. Text By default, the Text field editor is set to HTML mode within the Marketing tool. Enter the HTML content that you want to display as your content. In your text field, replace the text with your latest privacy policy.
You can also enter standard rich text into the Text field. If you choose to, you must first click the following icon in the text toolbar:
 . Clicking Source takes the editor out of HTML mode and into visual
rich text editor mode. The HTML that was previously entered is translated and displayed visually
within the Text field. You can switch back to HTML mode by clicking
Source again at any time.
. Clicking Source takes the editor out of HTML mode and into visual
rich text editor mode. The HTML that was previously entered is translated and displayed visually
within the Text field. You can switch back to HTML mode by clicking
Source again at any time. Number of click actions Keep the option None selected when your privacy policy content is only for display and if your content includes the privacy acceptance check box or consent management radio buttons. Content behavior Keep the option Static selected. - Optional:
Add the check box for accepting the privacy policy to the content.
Include the following string within the Text field to add the check box. Place the string where you want the check box to display within the page content.
<div class="privacyCheckbox"><br></div> - Optional:
If the store function for requesting consent from shoppers to track shopping behavior is
enabled, add the radio buttons for obtaining consent from shoppers to the content.
Include the following string within the Text field to add the buttons. Place the string where you want the radio buttons to display within the page content.
<div class="marketingConsentCheckbox"><br></div> - Click Save. Then, click Close.
-
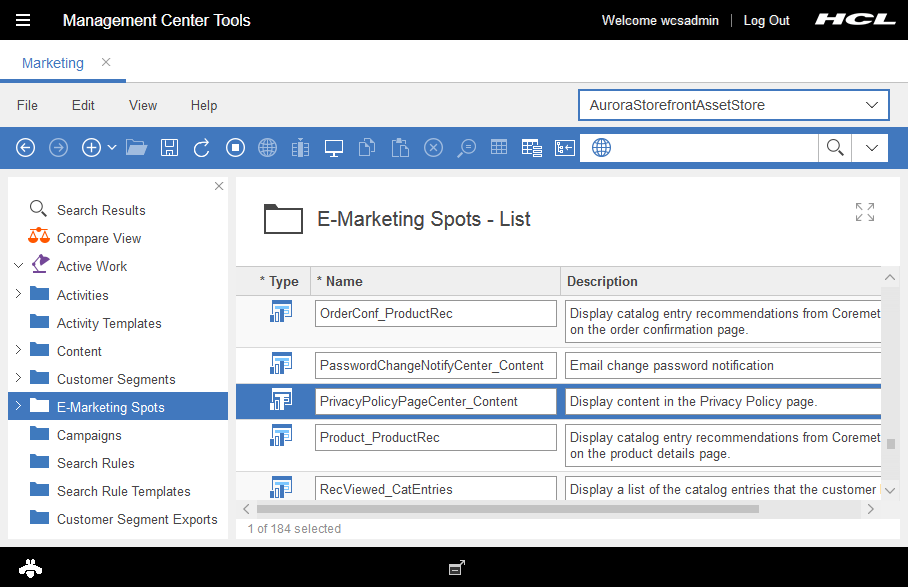
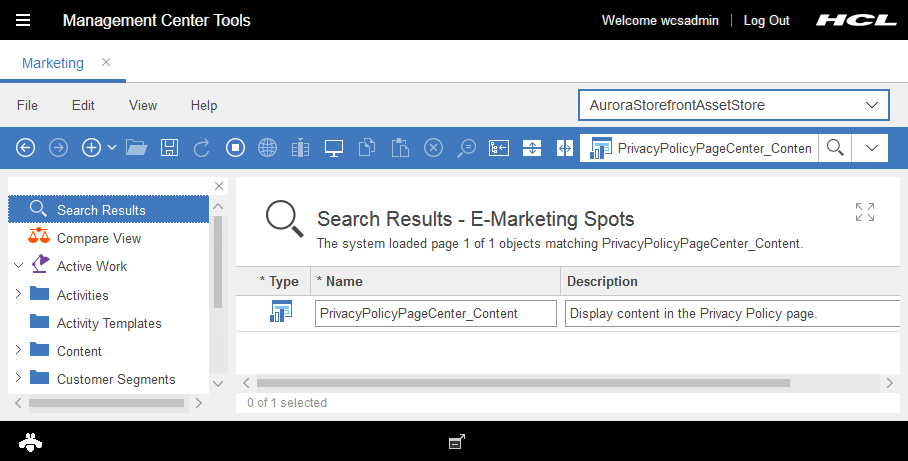
From the Explorer view, click E-Marketing
Spots
The E-Marketing Spots - List view opens.
-
Browse or search for the privacy policy e-Marketing Spot.
The e-Marketing Spot is named PrivacyPolicyPageCenter_Content.
- You can browse through all e-Marketing Spots that are defined for the store within the
E-Marketing Spots - List view.
- Use find area to search for content by entering
PrivacyContentVersion* as the search term. Select
Content from the object type list for the Find area to
filter the results. The search results return all versions of the privacy content for the
store.
- You can browse through all e-Marketing Spots that are defined for the store within the
E-Marketing Spots - List view.
-
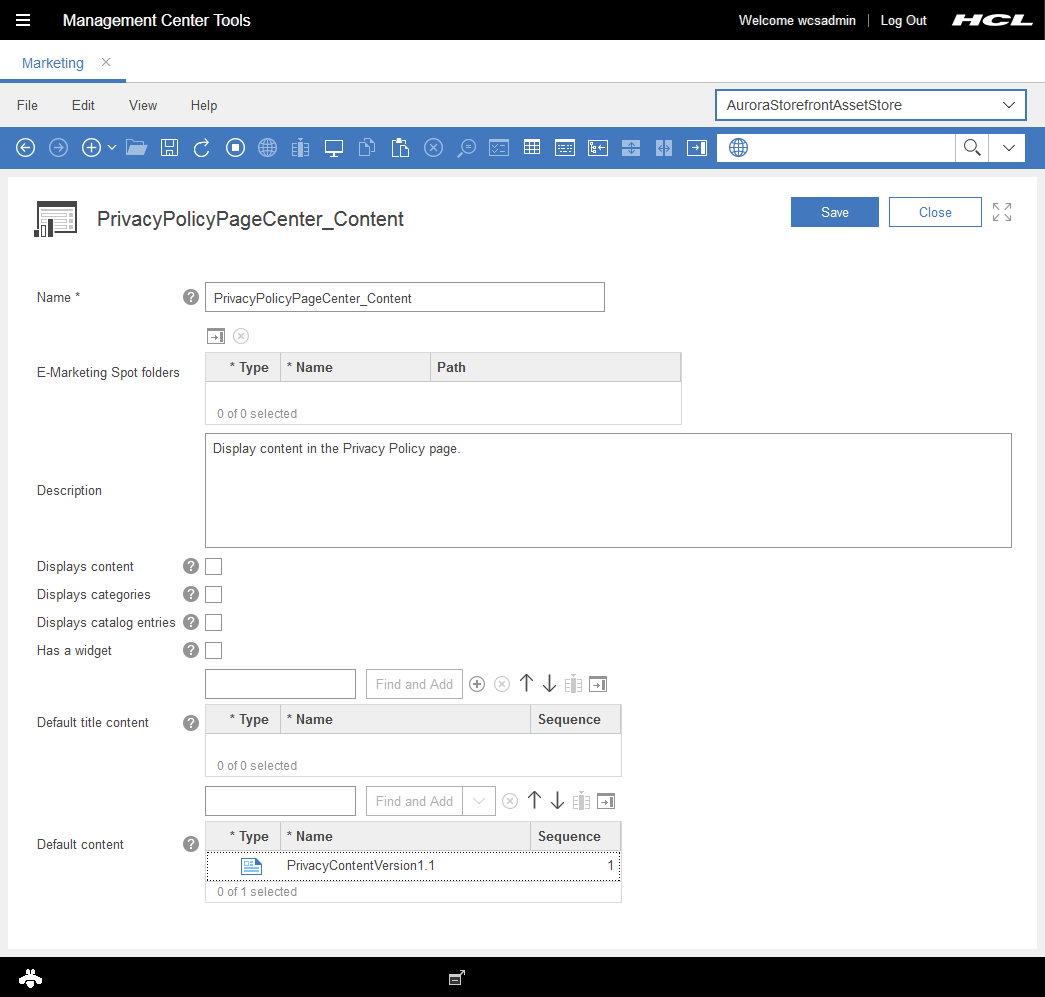
Double-click the PrivacyPolicyPageCenter_Content e-Marketing Spot.
The Properties view for the e-Marketing Spot opens.
-
Update the Default content field to replace the older version of the
privacy content with your new version.
- Click Save. Then, click Close.
- Open store preview and go to your Privacy Policy page and verify that your updated version is displayed.