Testing the customization
In this step of the tutorial, you verify that the customization is
successful.
Procedure
- Start the WebSphere Commerce Test Server.
- Open the Management Center.
-
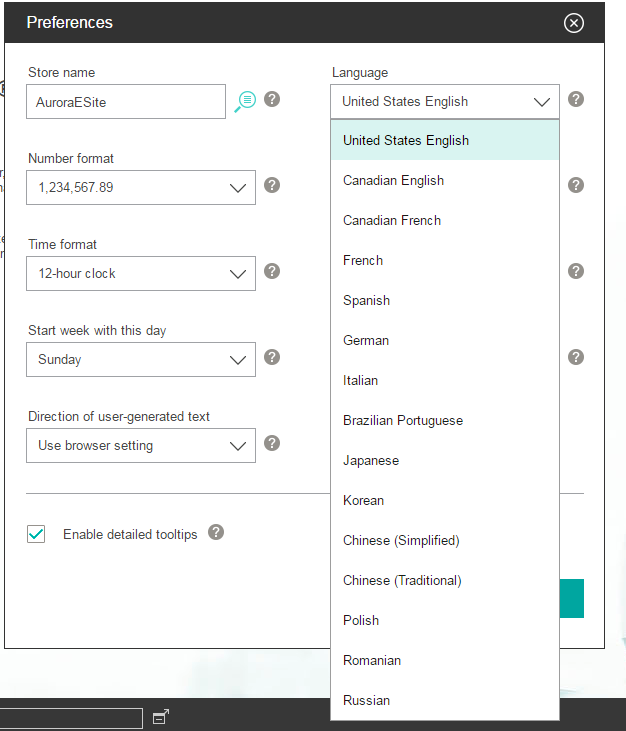
Click .
The Preferences dialog opens.
-
Select the Language list, notice that your new languages now appear in
the list.
-
Select Canadian English; then, click OK.
The user interface changes to the en_CA locale, with the label changes (CA_) updated in preceding tasks.
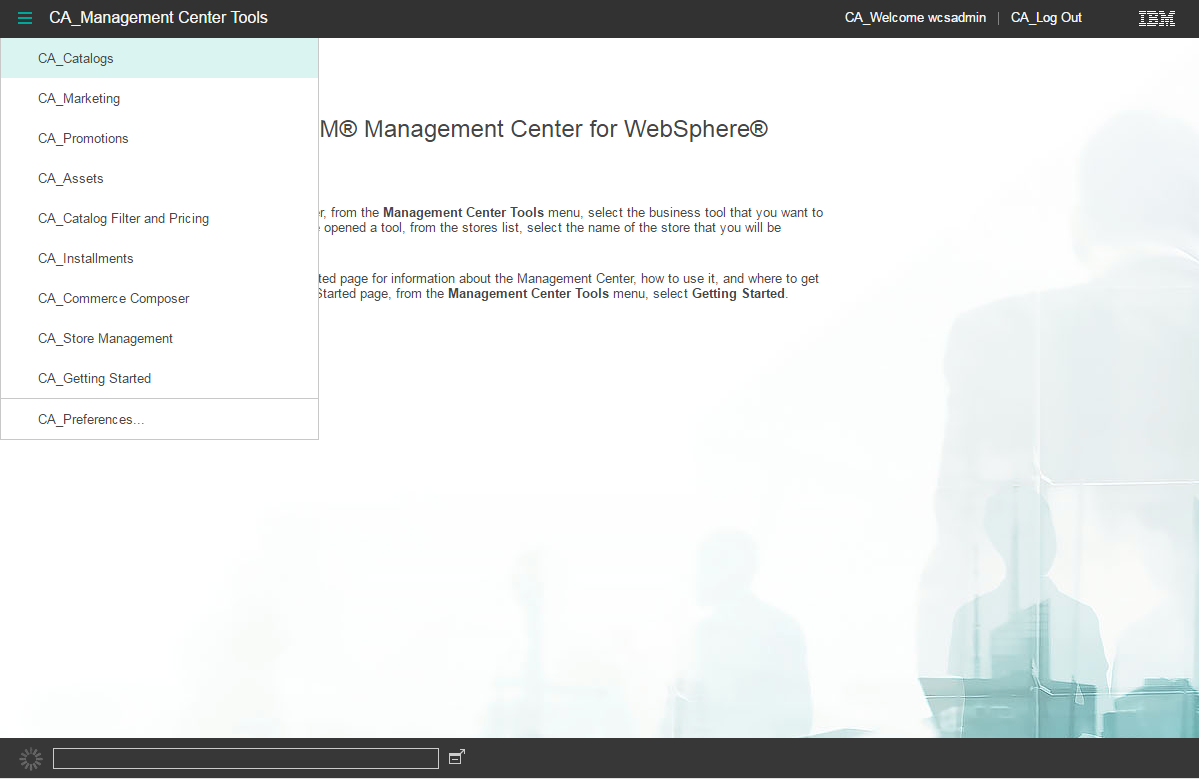
- Open the Catalogs tool, now labeled as CA_Catalogs.
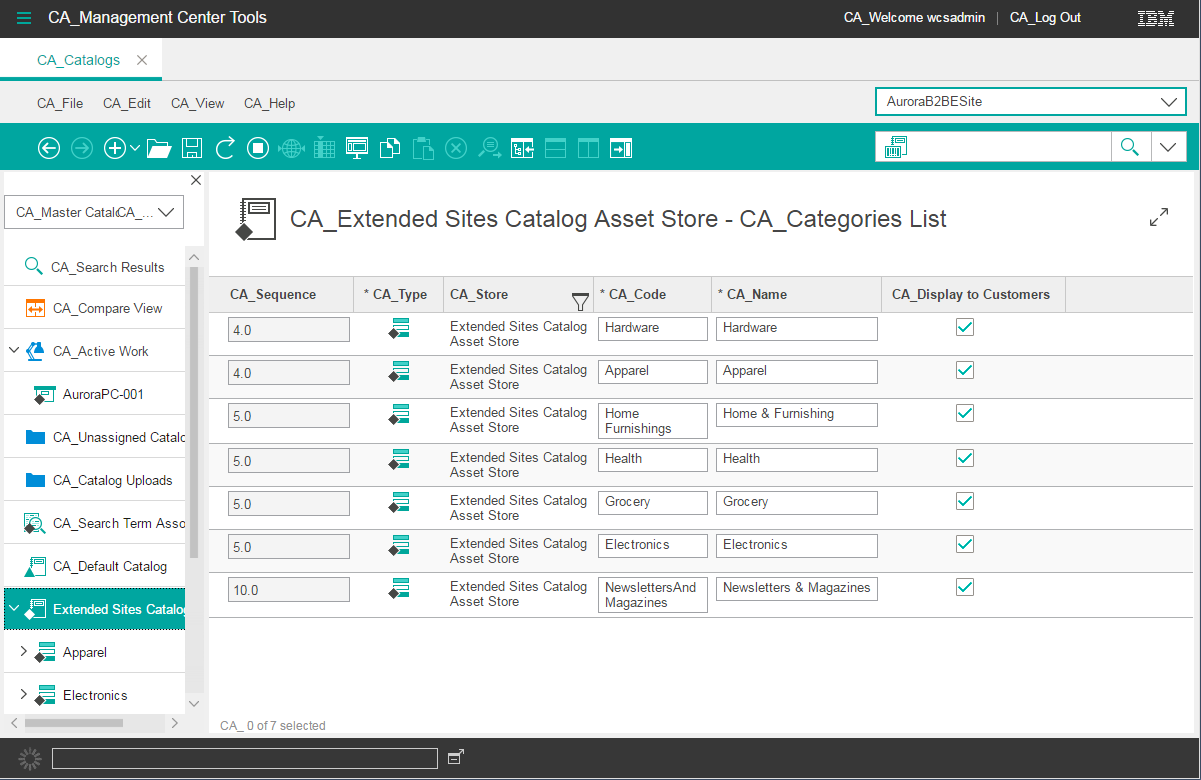
- Select a store to work with, such as AuroraB2BEsite.
-
Select the category list and notice that the assets changed to reflect the label changes.
-
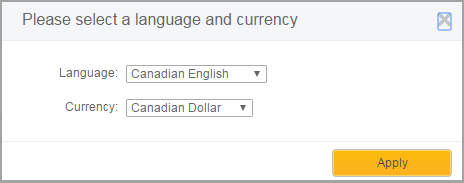
Test your customization in the storefront.
-
In the store header, select Language / Currency and select
Canadian English.
-
In the store header, select Language / Currency and select
Canadian English.
- Log out of the Management Center.
Alternatively, you can confirm the use of the en_CA locale by changing the language settings in your web browser, or by using the Management Center and directly specifying the locale in the address. Enter https://host_name:8000/lobtools/cmc/ManagementCenterMain?locale=en_CA