
Integrating with a Content Management System to use the web feed utility
To use the web feed utility, you can integrate with any Content Management System that generates web feeds.
- Create a template for the feeds by creating and configuring a Menu Component.
- Create sample data for feeds to output.
In this procedure, you use an example intranet site that is preinstalled with WebSphere Portal. The feed is managed by an Atom Feed Menu Component that creates an Atom feed for the existing site area. The feed is linked in the List presentation template. The Atom Feed Menu Component requires two 'CDATA' Text Components control rich text in the feed. To display your content on different pages, use a page URL mapping that refers to the page where the content is shown. Typically, design elements are stored in design library, but in this procedure you use the standard library 'Intranet 6.1.0' provided with the WebSphere Portal.
You can adapt this procedure to add feeds to other IBM Web Content Manager managed sites.
Before you begin
- Installed Mozilla Firefox. Firefox contains a built-in feed reader.
- Install IBM WebSphere Portal Fix Pack for Version 6.1.0.3 (Build Level: 20100311.0433D (2010-03-11 04:37).
- Install IBM WebSphere Portal Feature Pack 6.1.5.0 (FEAT615 wp6103_201_01 2009-11-07 11/07/2009)
- Installed fix packs WP_PTF_6103 (IBM WebSphere Portal, Version 6.1.0.3 Fix Pack)
- Install the following interim fixes:
- PK84963 (Caching Proxy gives 403 errors)
- PM02927 (Prevents ConfigEngine from failing after cluster-node-config-pre-federation fails)
- PM07968 (fix pack for Portal)
- PM08014 (fix pack for Portal)
- PM10086 (Cumulative interim fix 28 for IBM Web Content Manager v6.1.5.0)
- Create a user in Portal that is called
xyzadminwith passwordxyzadmin. Else after you install samples, move from xyzadmin to admin. (Instructions in the link that is provided with the next step) - Install samples:
- Go to the wp_profile_root\ConfigEngine directory.
- Run the command:
ConfigEngine.bat configure-express -DPortalAdminPwd=password
-DWasPassword=password
Restriction: Run the configure-express task before you configure your database, user registry, context root, or security. If you ran any tasks other than the installation task, do not run this task. See Install IBM WebSphere Portal Fix Pack for Version 6.1.0.3 (Build Level: 20100311.0433D (2010-03-11 04:37).
Procedure
- Add an Atom feed to your existing website.
- Expand . For example:
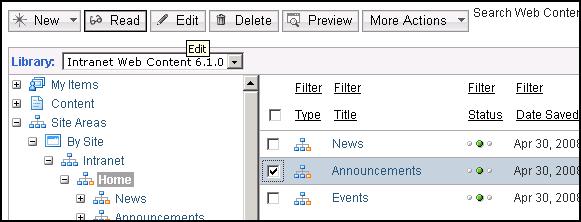
- Change the library from default
Internet Web Content 6.1.0toIntranet Web Content 6.1.0. Go to the Content to verify that you have an Intranet site with a Home – Announcements site area. Notice the Announcement List that controls the list view, and two announcement entries Employee Achievements and Company Milestones.For example:
- Go to the Home level; select ; then, click Edit.
- On the Announcements tab, Manage
Elements
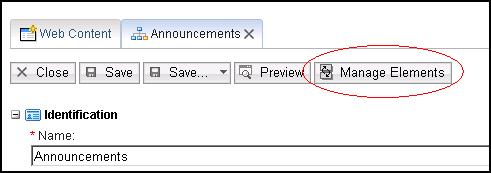
- In the Element type list, select Short Text. In
the Name field, type
PageURLMapping. In the Display title field, typePage URL Mapping. Click Add; then, click OK.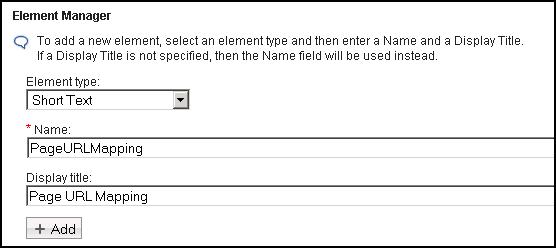
- In the Page URL Mapping field,
type
intranet. This portal page is where the announcements are shown. Click Save and Close. You can repeat this step for other site areas, News, and Events.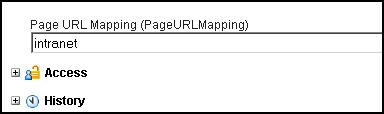
- Expand .
- To add rich text to your feeds, put text into CDATA tags,
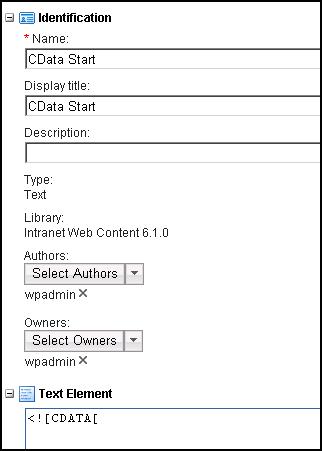
<![Data[, and]]>. Add the text in text components; then add the text components to the menu component.- Complete the fields:
- Name
- Type
CData Start. - Display title
- Type
CData Start. - Text Element
- Type
<
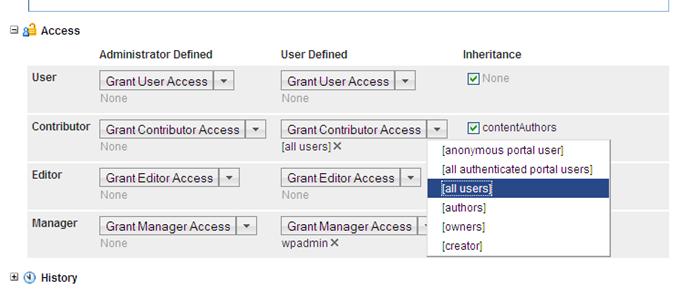
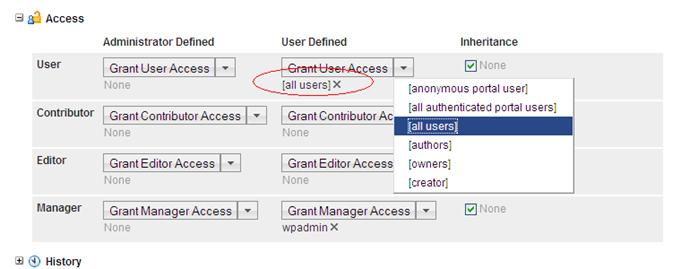
- Add access to all users (including anonymous). Expand
the Access section. In the Contributor User
Defined list, select [all users].
- Click Save as to create another
text component that is based on the one you created. Name this component
CData End. In the Text Element field, type]]>. For example: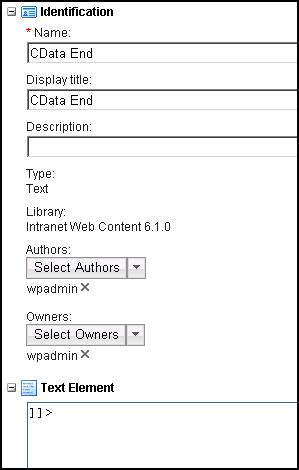
- Complete the fields:
- Create a menu component.
- Click
- In the Identification page, set
the following options:
- Identification section
- Name
- Atom Feed Menu
- Display title
- Atom Feed Menu
- Description
- Menu that creates an Atom feed for an existing site area
- Menu element query
- Select:
- Site Areas
- Exclude current content from results
- Further options
- Select:
- Current content
- Merge selected site areas with included site areas
For example:
- Enter the footer the code to end the feed:
</feed>For example:
- Click Save. Notice that an ID
is added to the component tags.
 If this ID is not added, verify that the correct names were used for the components.
 - Allow this menu to be read by all users (including anonymous
users). Expand the Access section and add [all users] to User-Defined
users.
- Click
- Test your Atom Feed Menu.
- Click Preview.
- Select the Intranet Web Content 6.1.0 library. Expand, ; then, select the Announcements List.
- Click Preview.
- Creating sample data for feeds to output.
- Select an authoring template.
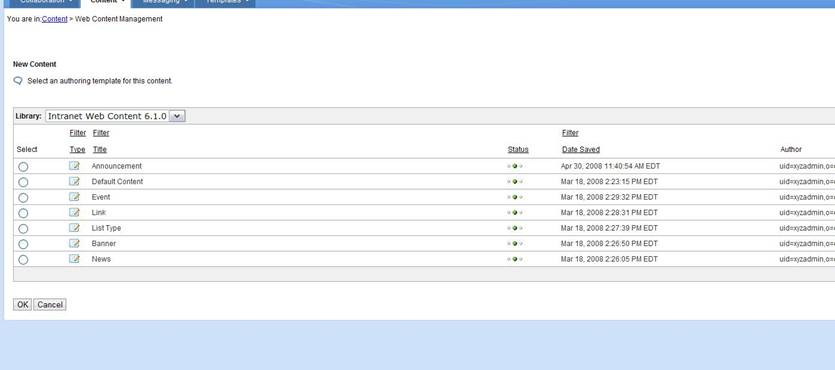
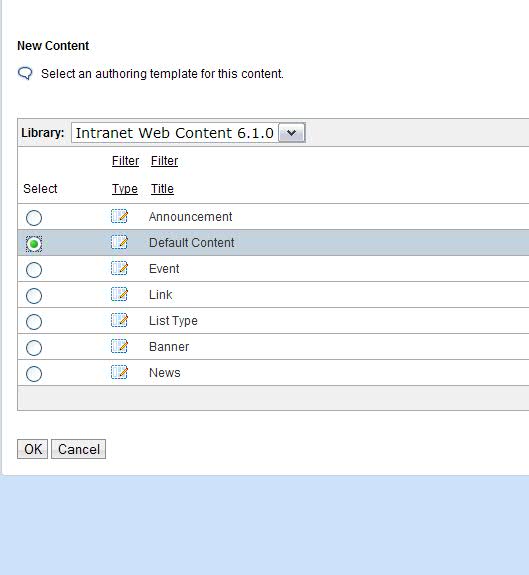
- Choose the option to create new content.

- Click Manage Elements and add
the attribute type.
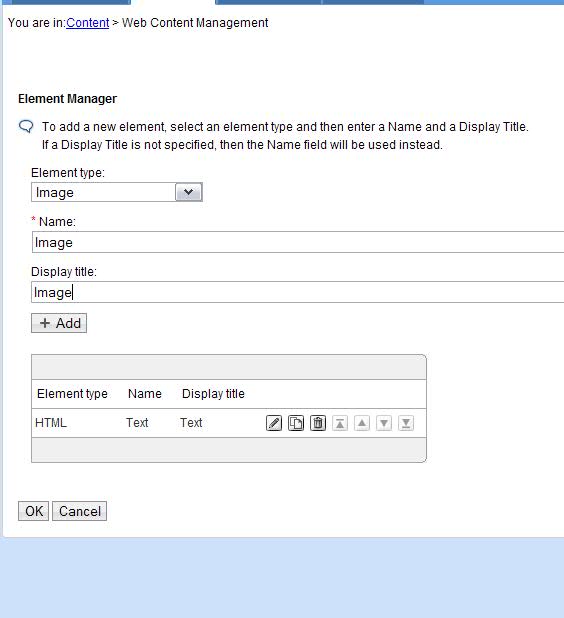
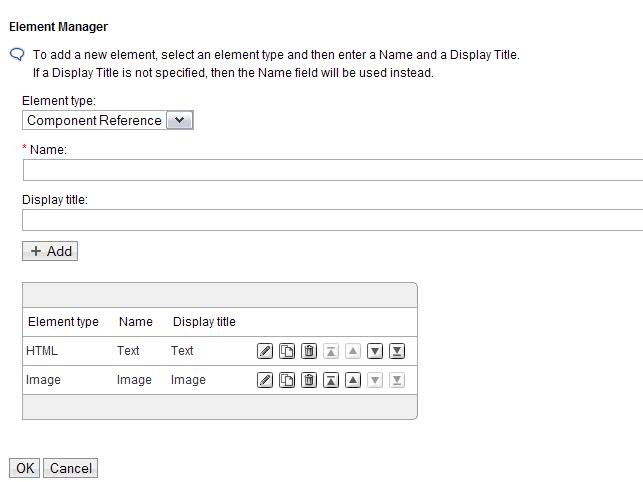
- Select a URL for the image.
- Select an authoring template.