Scheduling Reports
When you have your email server set up and your Address book populated, you are ready to schedule a report and email it to yourself or another operator.
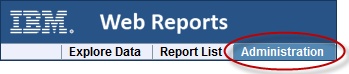
- Click Administration from the top tab bar.
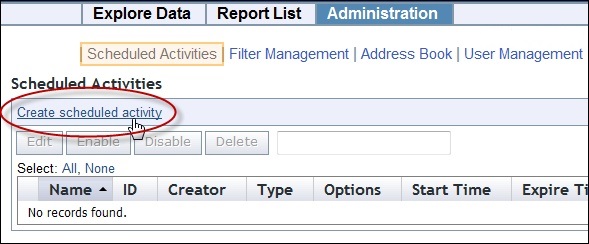
- Click Scheduled
Activities and click the Create scheduled activity link
to create your custom event.
- In the linked page, you can create triggers for your events as
well as the actions that you want to trigger.
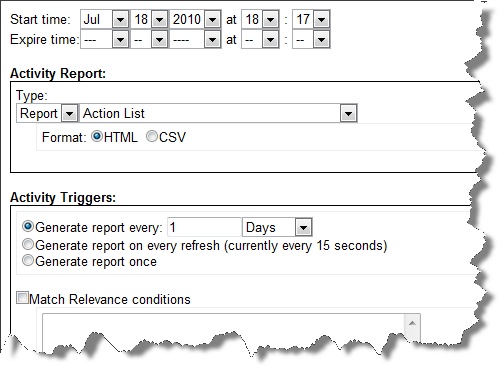
- The Start time defaults to the current time, and is often what
you want. Below this are three sections for you to complete.
- The Activity Report section is where you select the report you want to schedule, as well as its format. From the pull-down menu, select the report you want.
- The Activity Triggers section is where you specify how you want to trigger your event. The most popular technique is to set a time period, such as every day or week, to trigger the report (or other activity). However, there are many other useful ways to trigger a report, as described later in this guide.
- The Activity Actions section
is where you select the action you want to trigger.
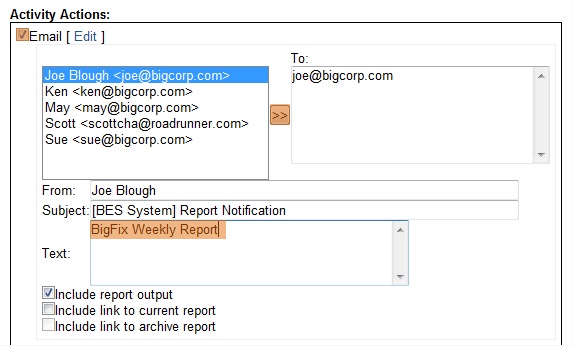
Typically that is just to email your report. To do this, click the Email check box, add contacts from your Address book, and set the subject line for the emailed report.
- When you have finished, click Submit.
You can now set up reports and alerts to be sent or archived on your schedule.