Create Location-Specific Tasks
The goal in the procedures below is to create two different configurations and tasks and attach them to different locations. As a result Configuration 1 is automatically picked up by users in Location 1, and Configuration 2 is picked up by users in Location 2. When users from Location 2 travel to Location 1 they automatically pick up Configuration 1 when connecting to the network.
How Location Properties Work
Each IBM BigFix Agent, on which the CPM for Mac client is installed, receives a complete list of all the Actions deployed from the BigFix Server through the various Tasks. The individual Agents check themselves against the list and create a short-list of only those Actions that apply to them. In the current example, relevance is determined by IP address. Configuration 1 is going to be deployed to all Agents, but only those Agents running on an endpoint with an IP address in the subnet that is defined for San Francisco will pick up the configuration. You can see this self-selection at work when you create the second configuration and apply it to a different Location. One Action is picked up by San Francisco endpoints and the other by German endpoints.
- Define some locations.
- Configure your scan, firewall, or URL filtering settings.
- Save the settings to a Task and create an Action to target some given endpoints.
Create the First Configuration and Task
- From the BigFix Console, click Endpoint Protection on the lower-left pane.
- From the upper-left navigation pane, go to Core Protection Module > Configuration > Global Settings > Global Settings Wizard. The Global Settings Wizard screen opens.
- Enable Configure scan settings for large compressed files and type the
limits that are shown here:
- Do not scan files in the compressed file if the size exceeds 2 MB.
- Stop scanning after CPM detects 2 virus/malware in the compressed file.

- Click the Create Global Scan Settings Configure Task button. The Edit Task window opens.
- Type a descriptive (or memorable) name for the Task such as,
Skip 2MB-2. - Click OK.
- At the prompt, type your private key password and click OK. The new policy now appears in the Configuration > Global Settings > Custom Tasks screen.
Create the Second Configuration and Task
- From the BigFix Console, click Endpoint Protection on the lower-left pane.
- From the upper-left navigation pane, go to Core Protection Module > Configuration > Global Settings > Global Settings Wizard. The Global Settings Wizard screen opens.
- Remove the check from Configure scan settings for large compressed files.
- Click the Create Global Settings Configuration Task button. The Create Task screen opens.
- Type a descriptive (or memorable) name for the Task such as,
Scan BIG. - Click OK.
- At the prompt, type your private key password and click OK. The new policy now appears in the Configuration > Global Settings screen.
Make the Configurations Location-Specific
- From the BigFix Console, click Endpoint Protection on the lower-left pane.
- From the upper-left navigation pane, go to the task you just created, for example, Core Protection Module > Configuration > Global Settings > Custom Task > Skip 2MB-2. A screen displaying the Task Description tab opens.
- Below Actions, click the hyperlink to open the Take Action window.
- Select All computers with the property values selected in the tree
below..
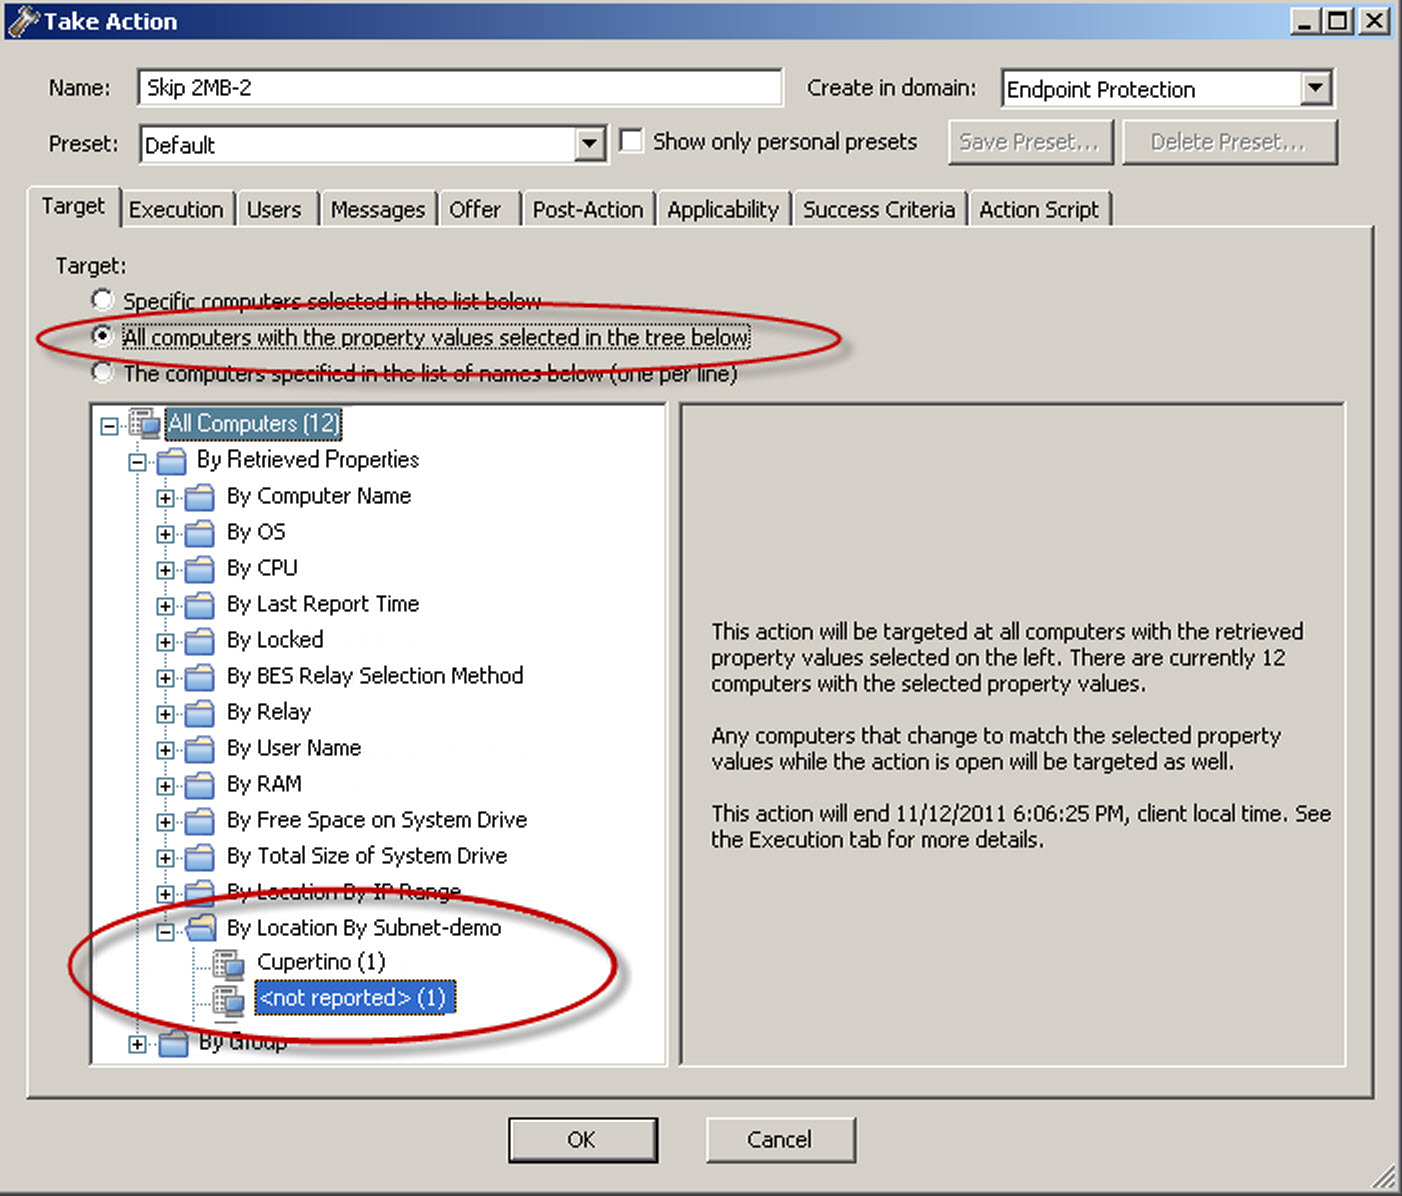
- Click the All Computers tree and then By Retrieved Properties > By Subnet Address to open that branch.
- Choose the Location name that you created for the San Francisco subnet in Create Location-Specific Tasks.
- With your location still selected, click the Execution tab.
- Remove any Constraints that you do not want to apply (such as a Start and End date), and in the
Behavior section, make sure that only the following option is enabled:
Reapply this action... whenever it becomes relevant again.

- Click OK.
- At the prompt, type your private key password and click OK.
- Repeat this procedure for the second configuration and Task (choose Scan BIG from the Global Settings screen), and use the Location name that you used for the Germany subnet.