Solutions
The solution module is used to create the automated solutions for a category that consists of different types of solutions and to the category the solution belongs, and it’s related to appropriate collections.
The admin can perform the following actions for an individual solution to the users:
- Create Solution
- Edit Solution
- View Solution
- Delete Solution
- Message
- Provide Notifications
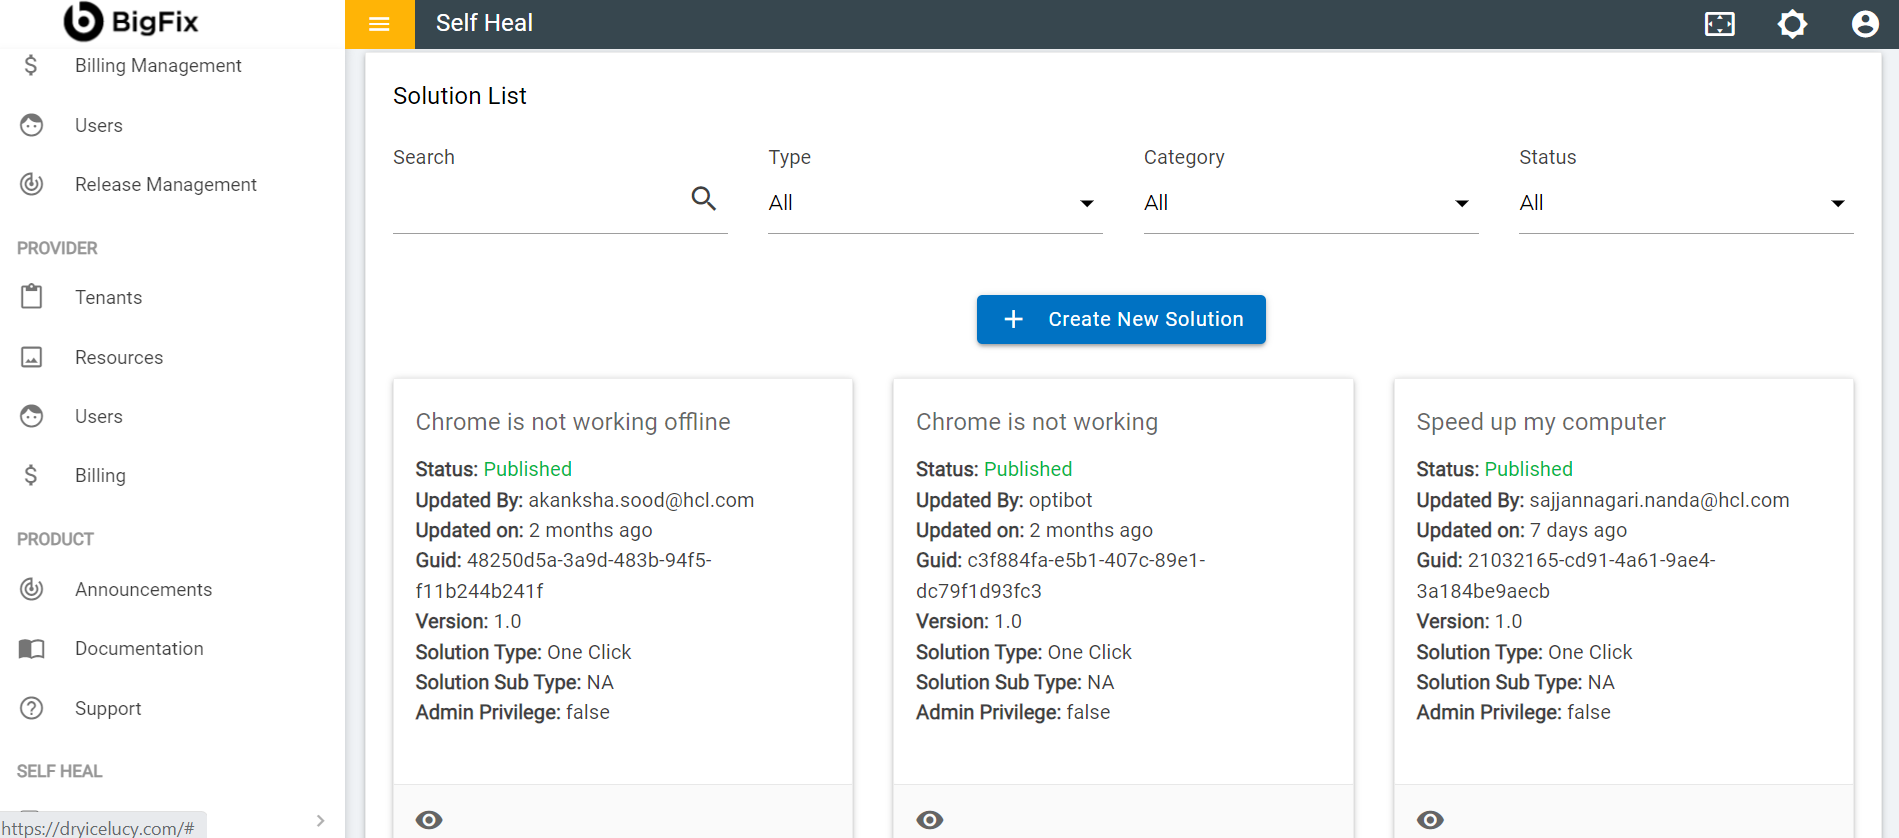
Create Solution
- To create a solution, click on Create New Solution on the Solution page.
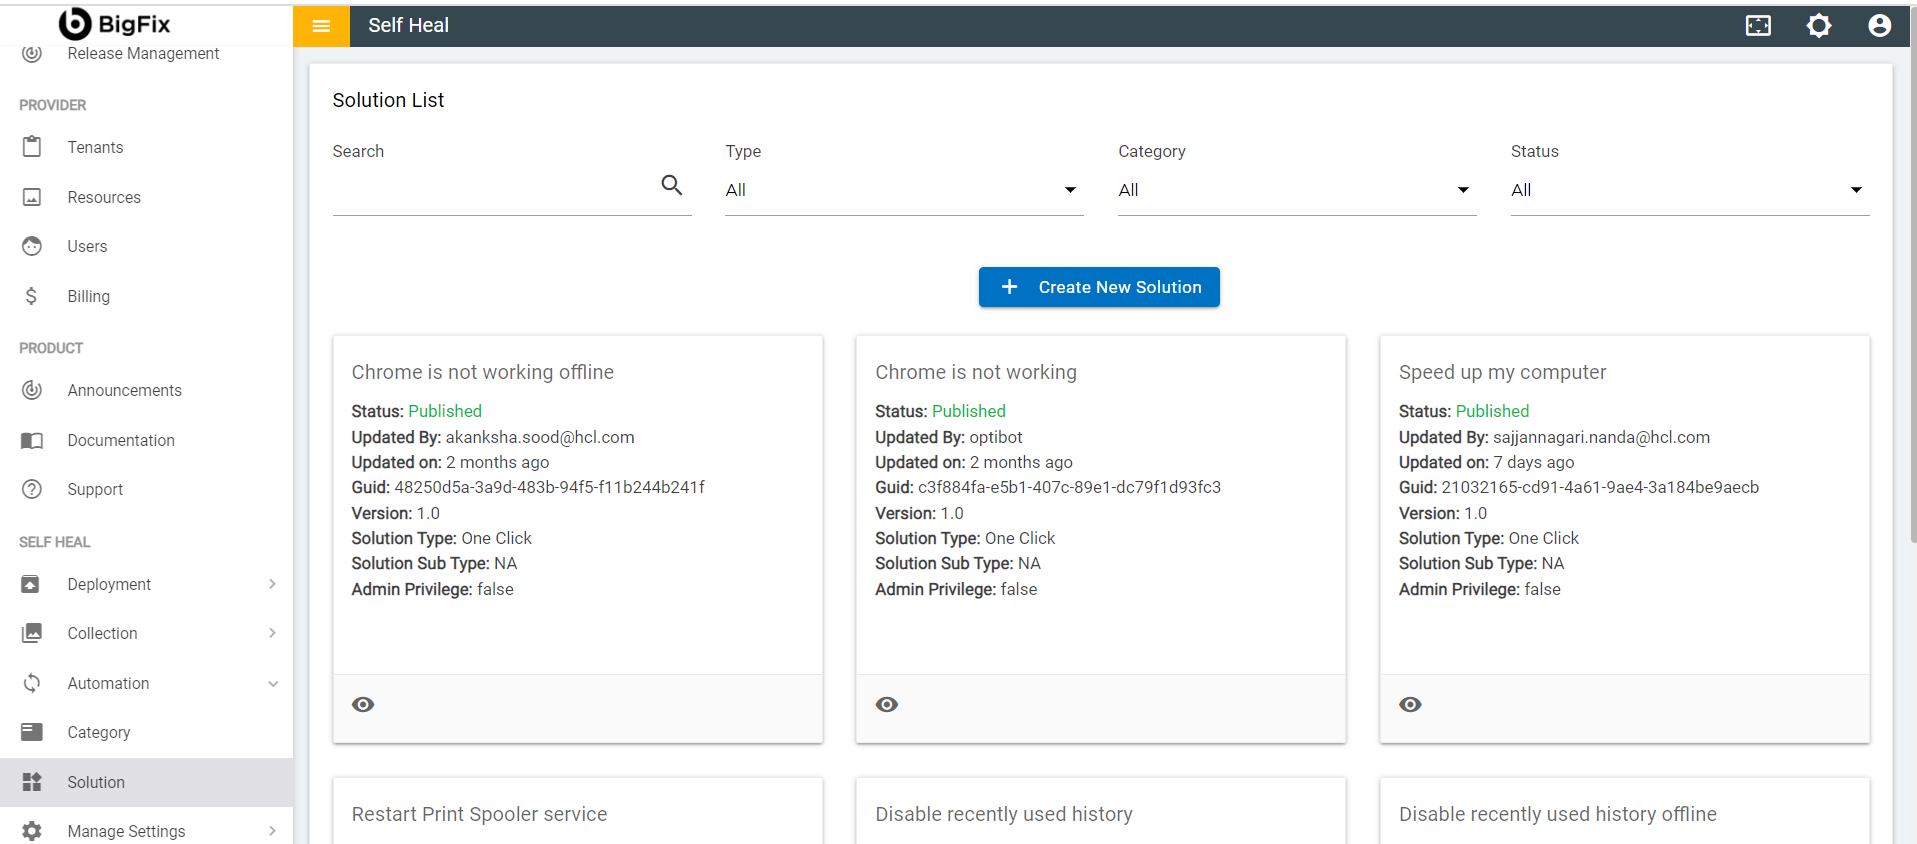
- The Following page appears:
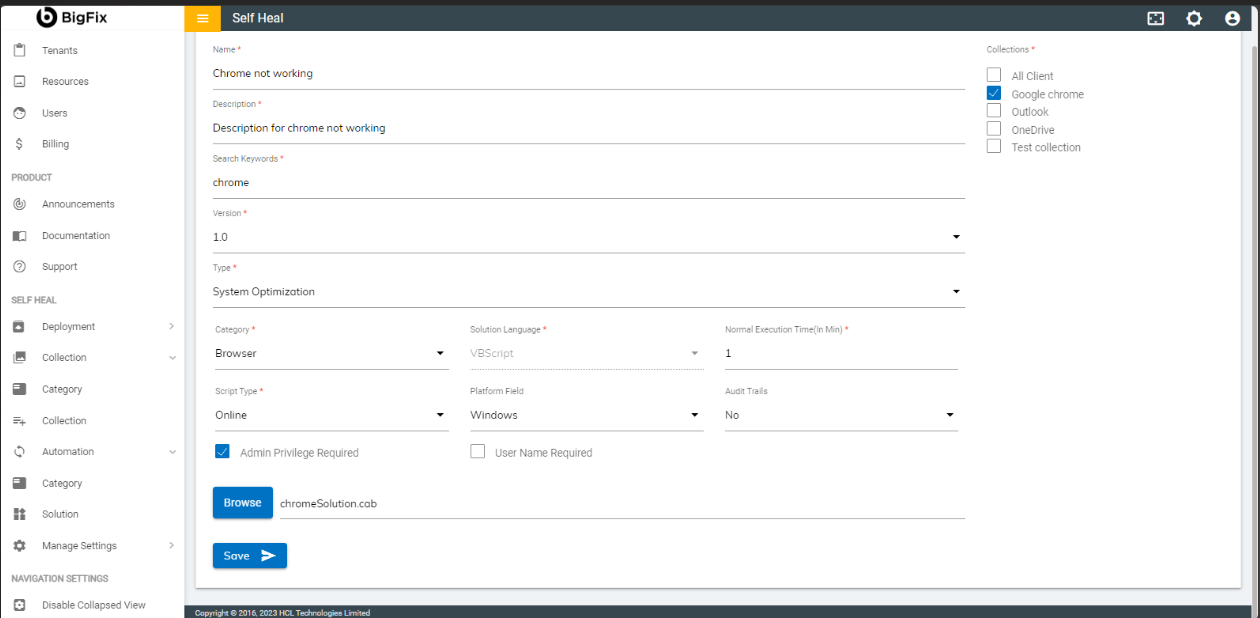
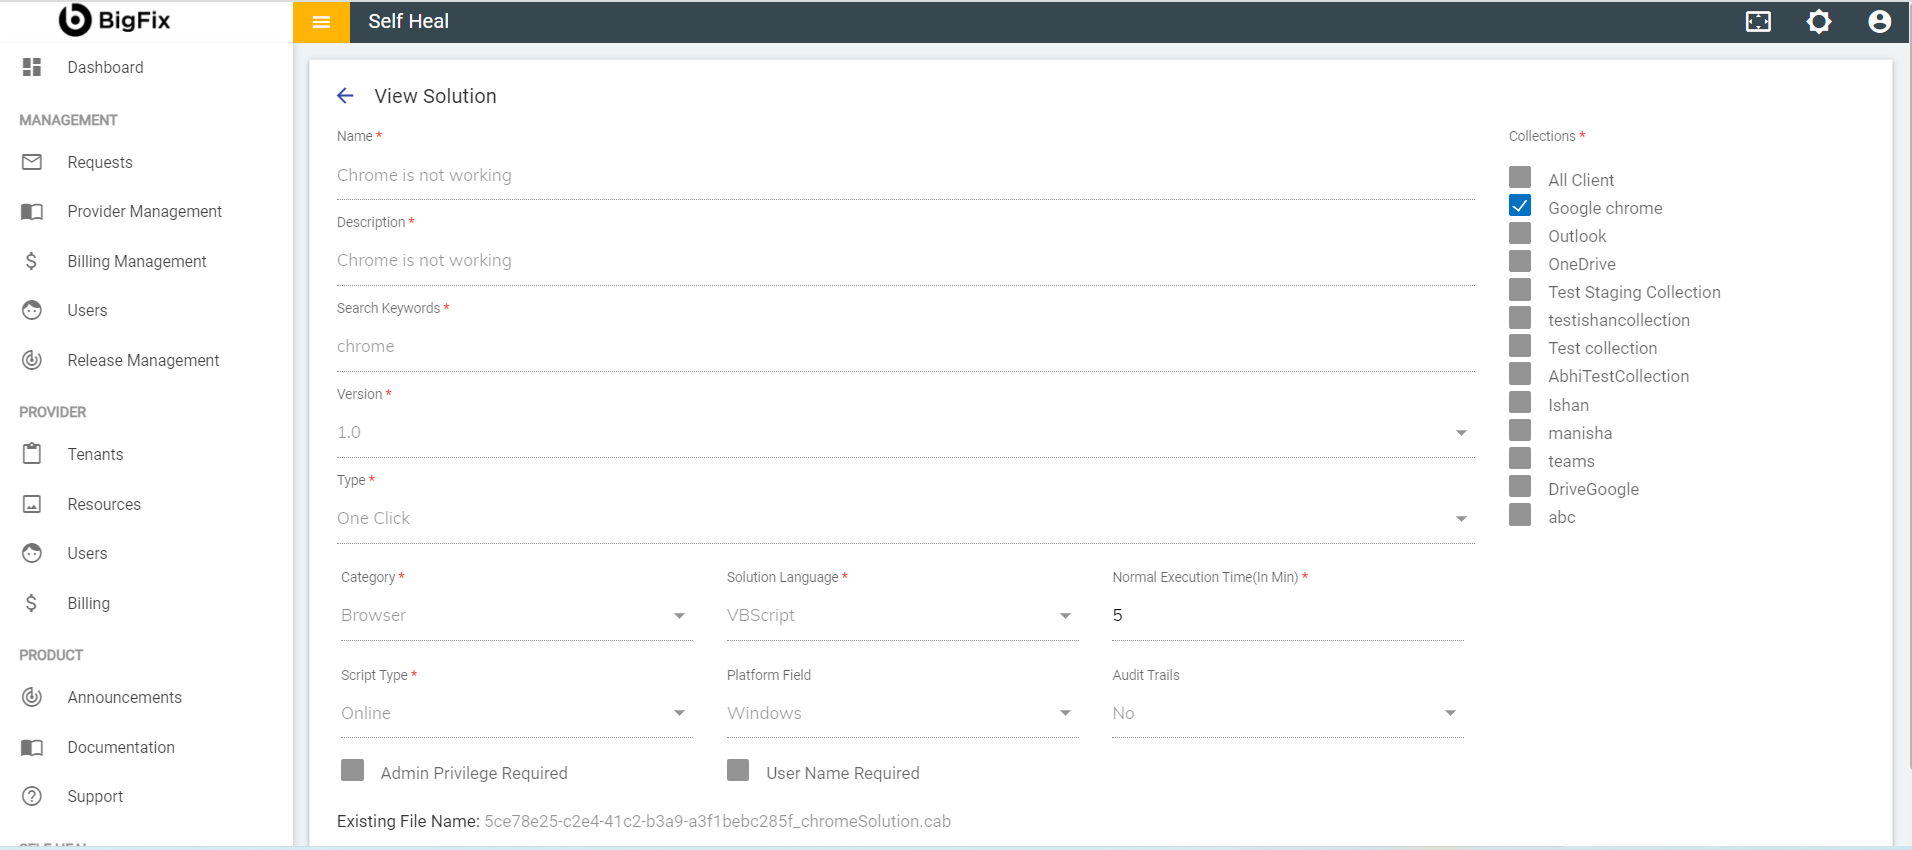
- The following fields are to be populated:
Name: Name of solution for a category
Description: Description for a solution
Search Keywords: The most used keyword for a particular solution
Type: Different types of solution listed in drop down list
Collections: Collections for category
Category: Category defines the type of categories (on what user is facing an issue), which is used to resolve solutions.
Solution Language: Here admin can find different types of solutions from drop down list for a category.
Normal Execution Time: Admin sets the prompt Execution time (in mins), if any solution does not execute, automatically solution gets fail for post execution time.
Script Type: Here script is referring to the solution, whether user needs “Online” or “Offline” solution for a category
Platform Filed: Type of Operating system.
Audit Trails: The process which is used to store the transactions/computation data of a particular item/thing.
Admin Privilege Required: Admin can enable this option if for a particular solution admin is required.
Username required: Admin can enable this option if for a particular solution Username is required.
Do not Show Notification: This checkbox is selected if user does not want notification to be displayed on the application post execution of the solution.
Create Incident: If solution fails, admin can create an incident for a particular category.
Cab File: Uploading a cab file for a solution.
- Click Save. A success message appears, and a solution is created.

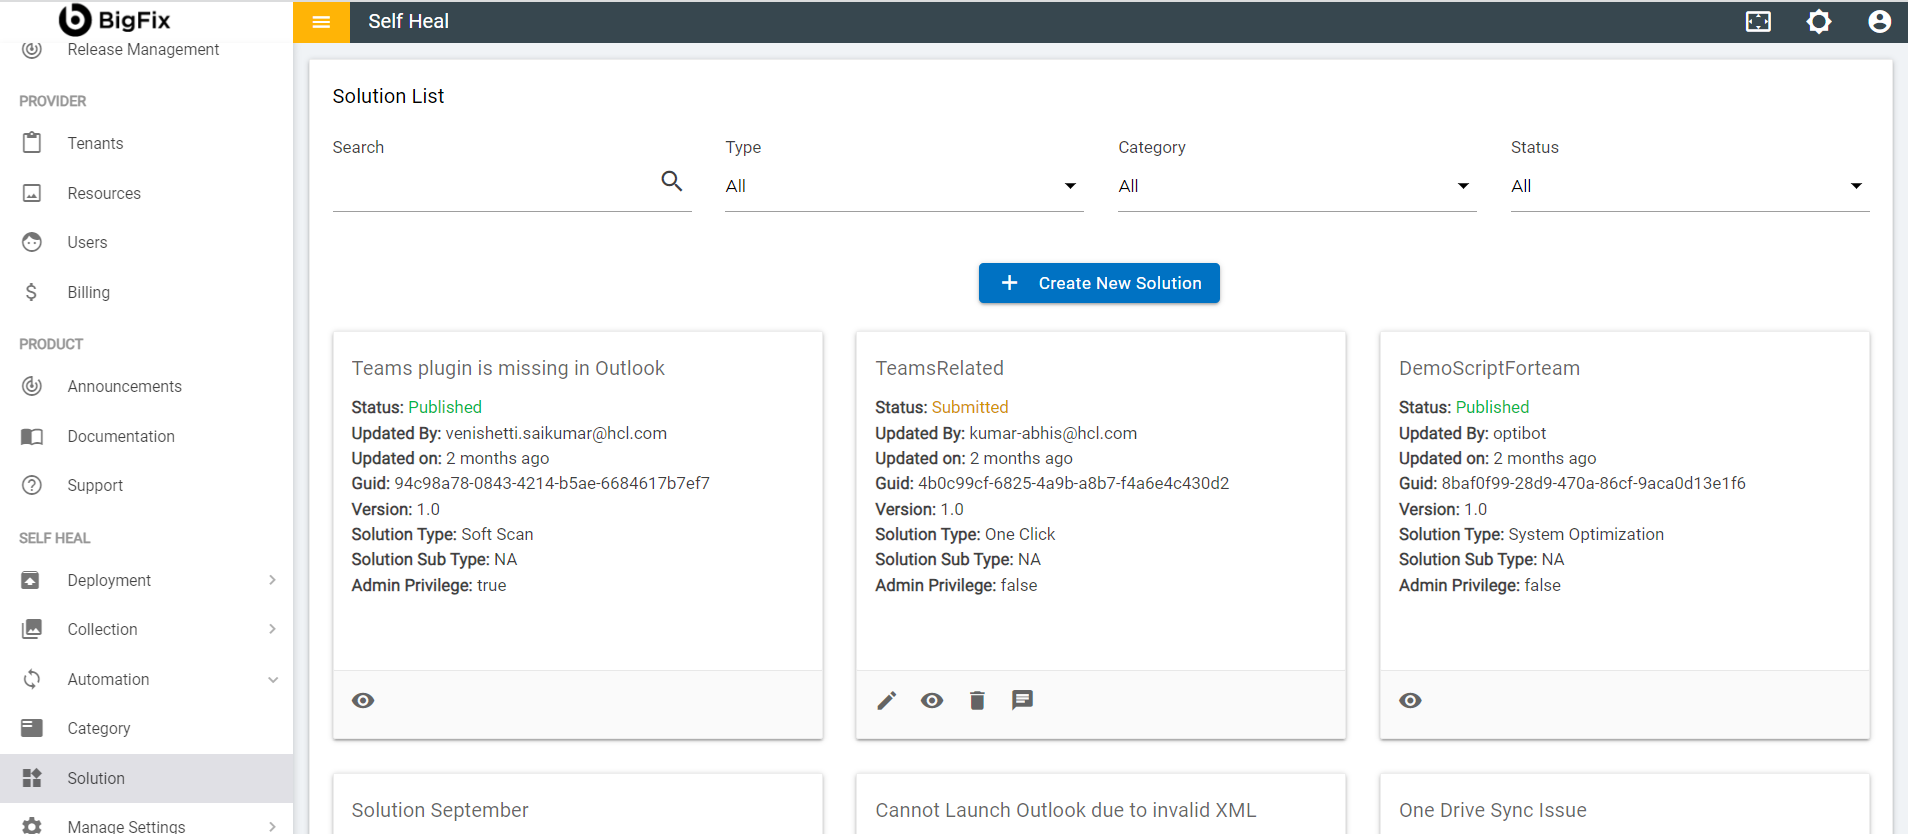
Edit Solution
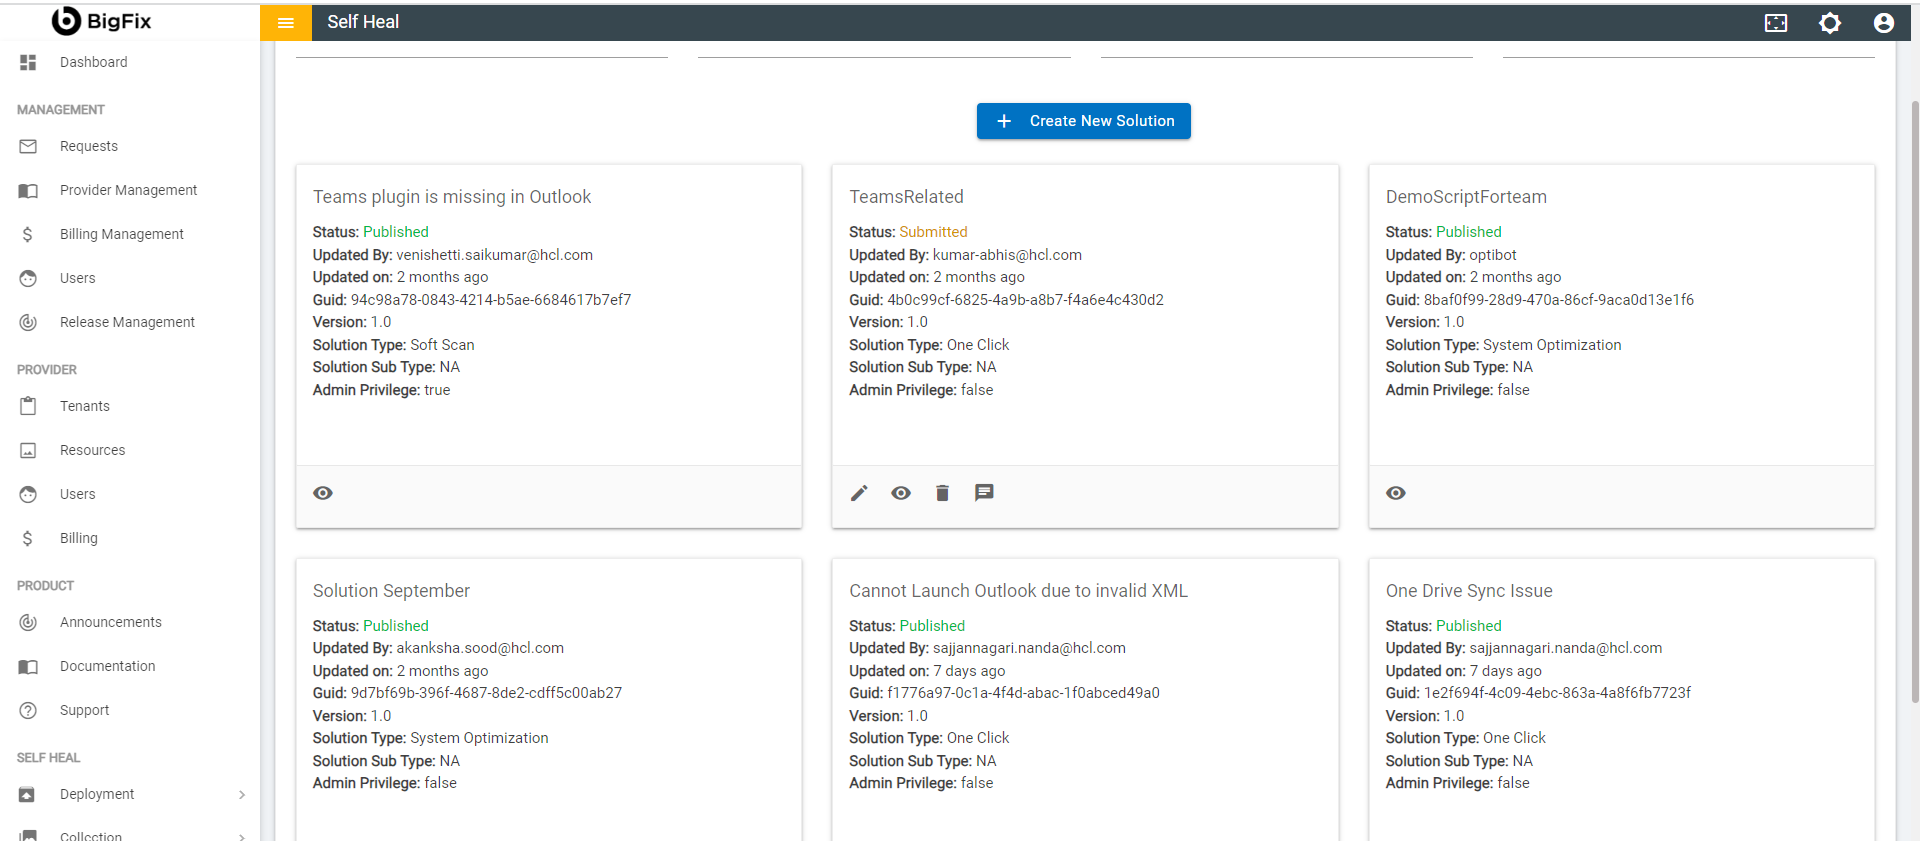
- An admin can edit the details of a solution by using the edit icon in the Solution page. The admin must click the edit icon which is corresponding to the solution that he wishes to modify.
- The Edit Solution page appears:
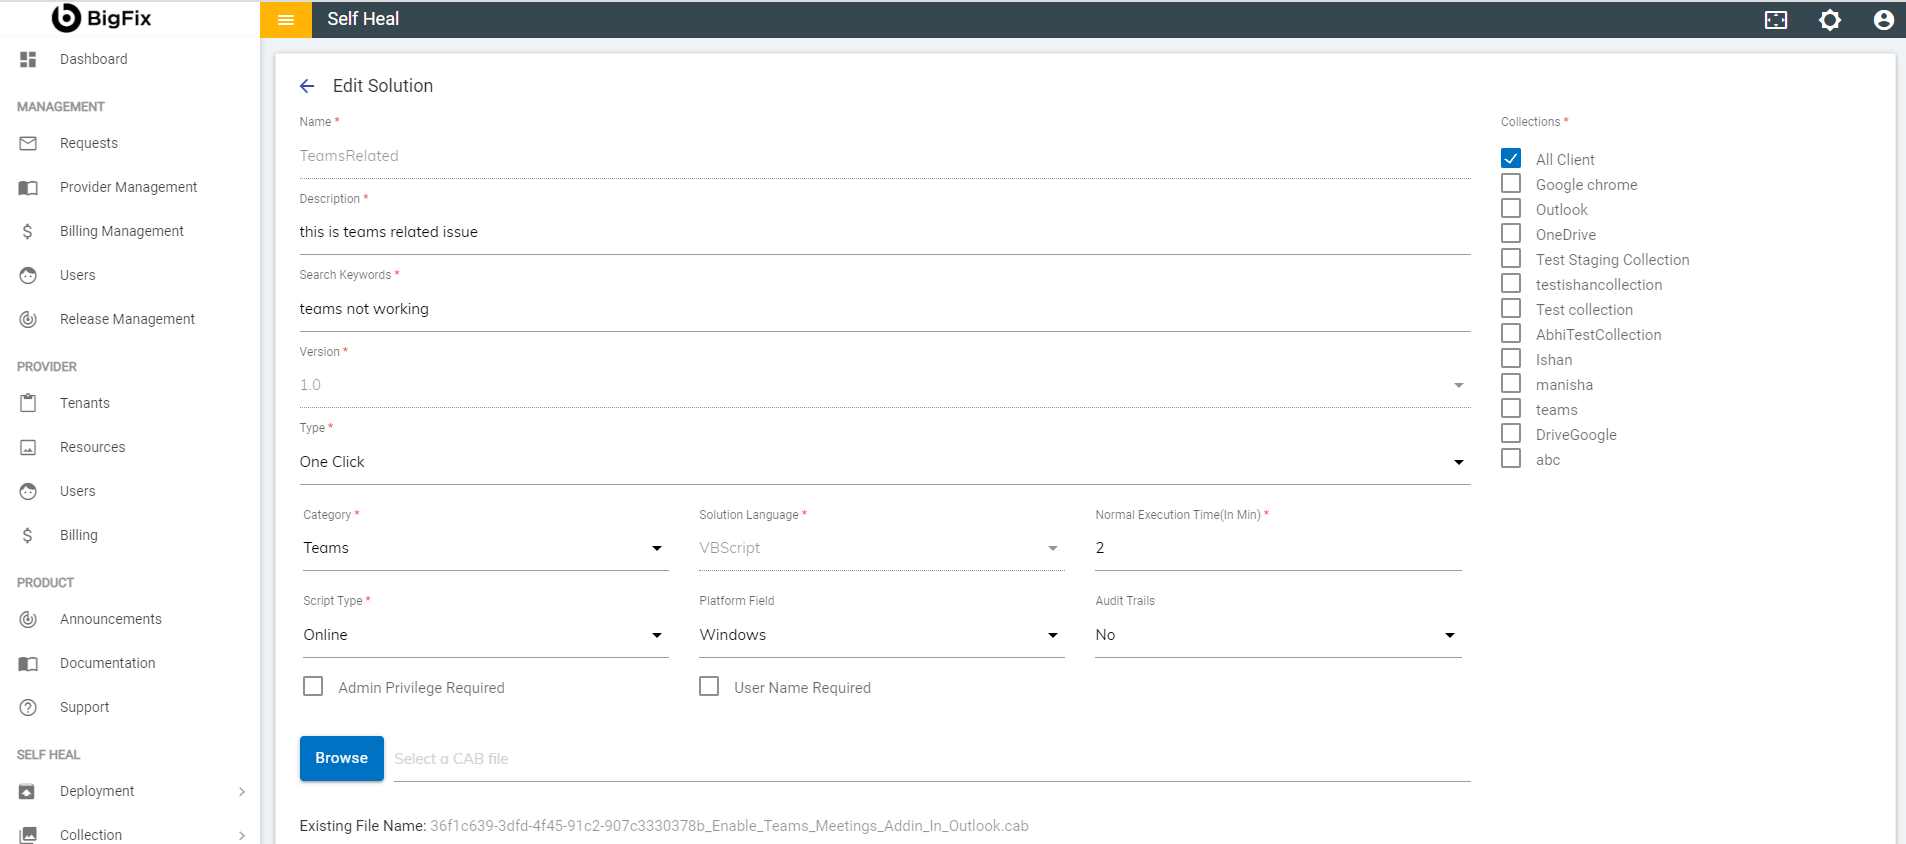
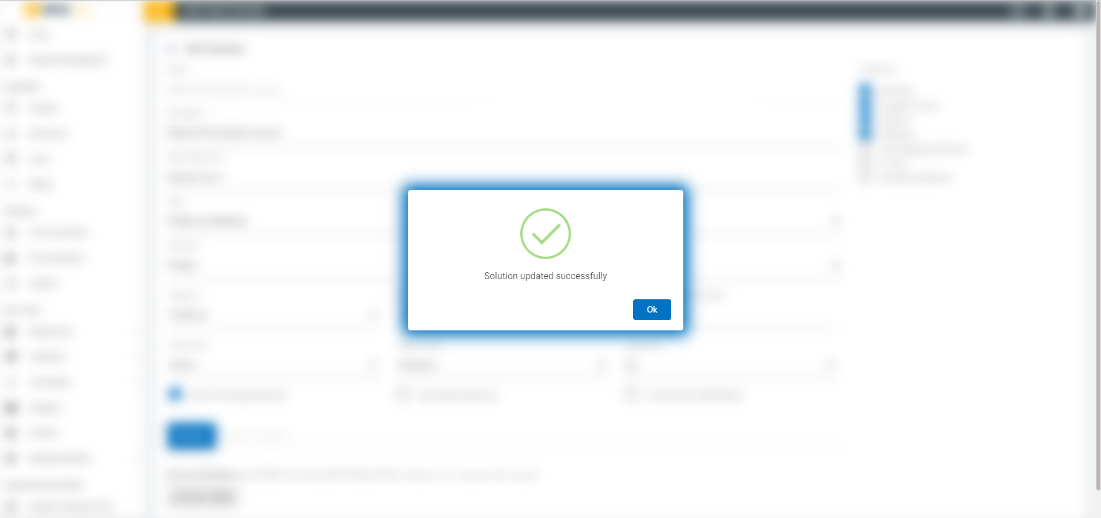
- Modify the details as required and click on Update. The details are updated, and the following success message appears:
View Solution
- To view a solution, click the corresponding View icon placed on each solution on the solution page.
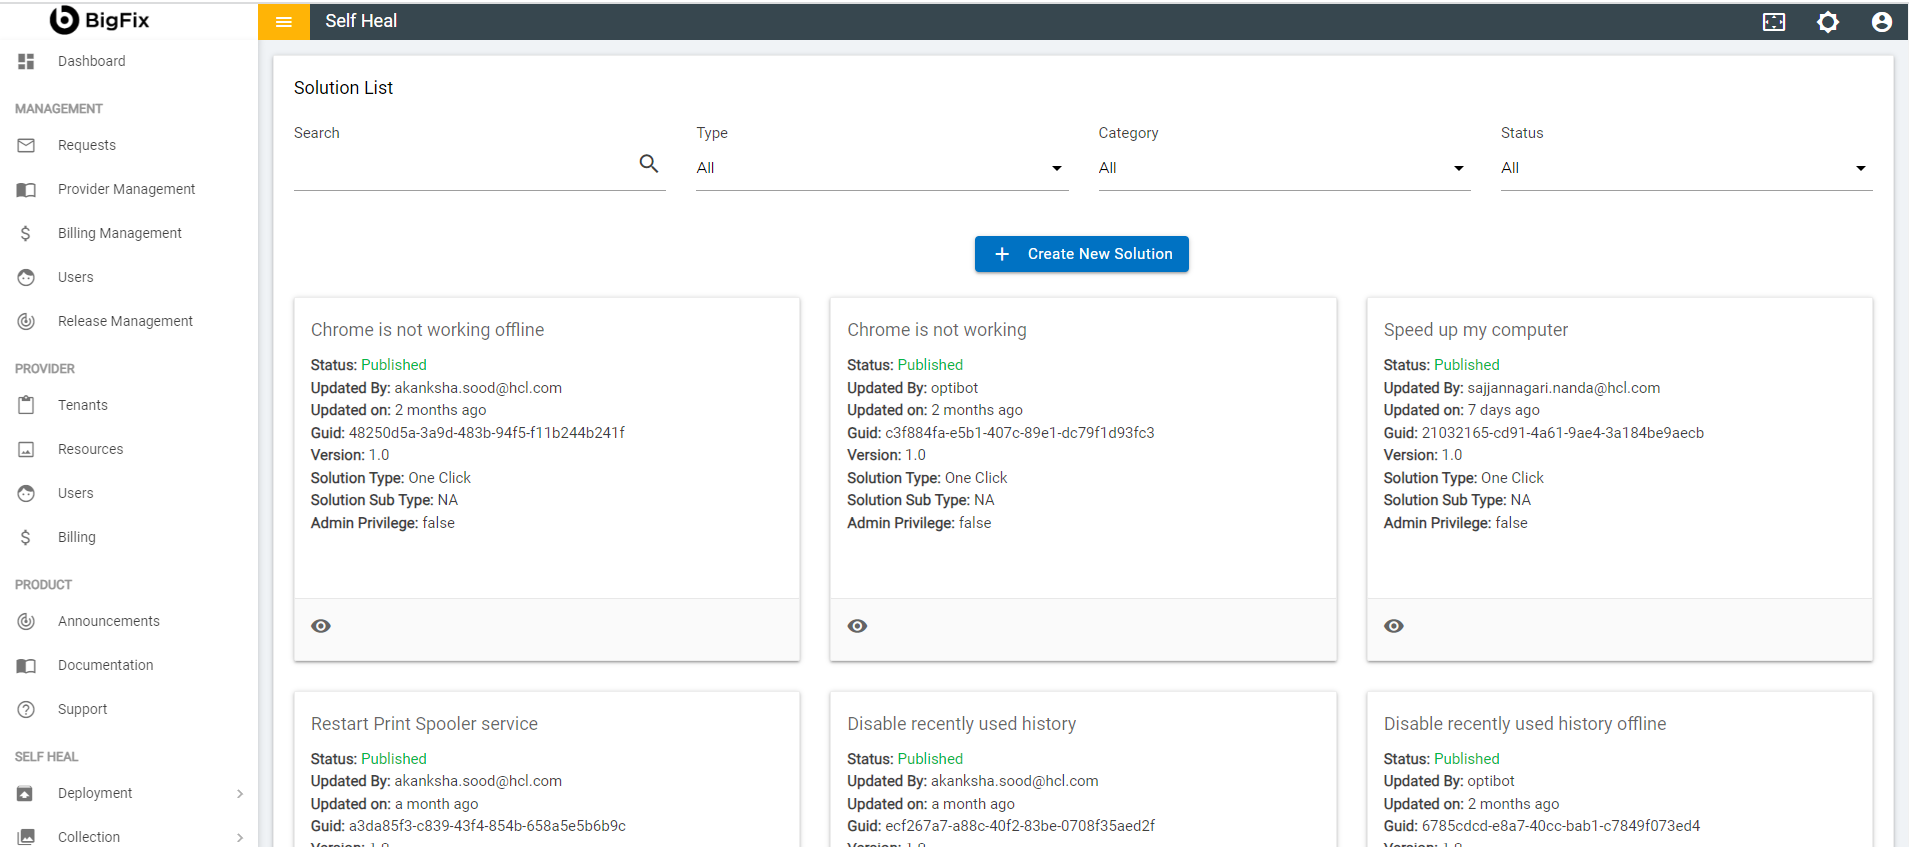
- This redirects user to the View Solution page.
Delete Solution
- An admin can delete a solution by using the delete icon in the Solution page. The admin must click the delete icon which is corresponding to the solution that he wishes to delete.
- A confirmation message appears to confirm the delete action.
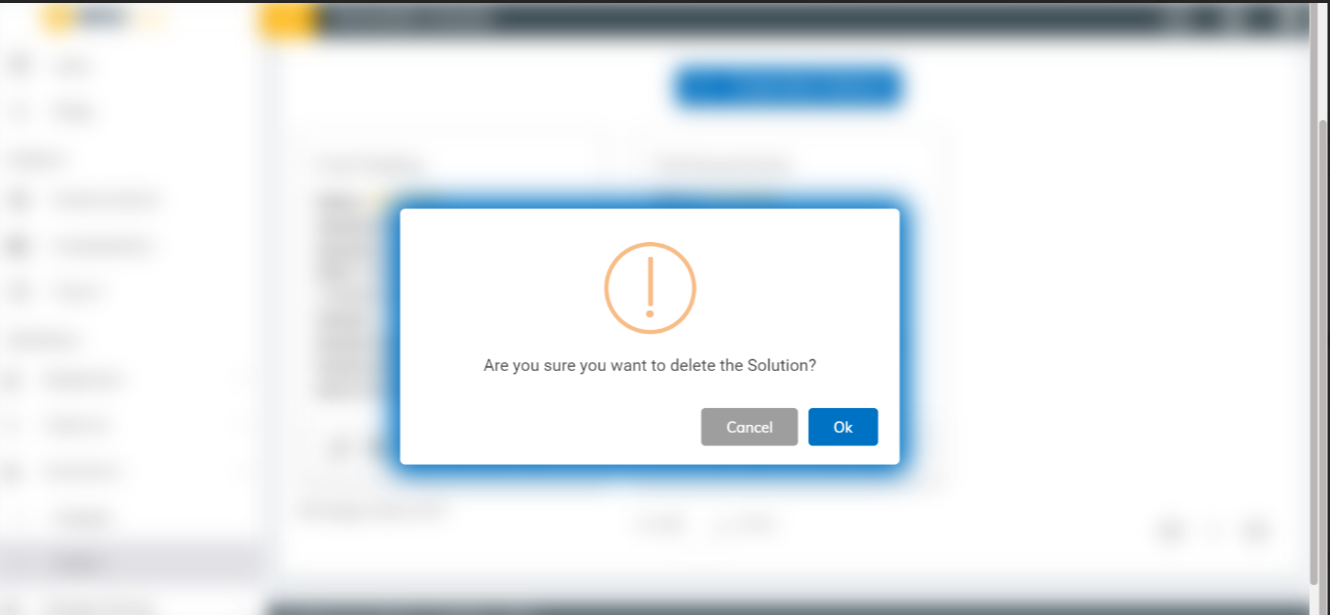
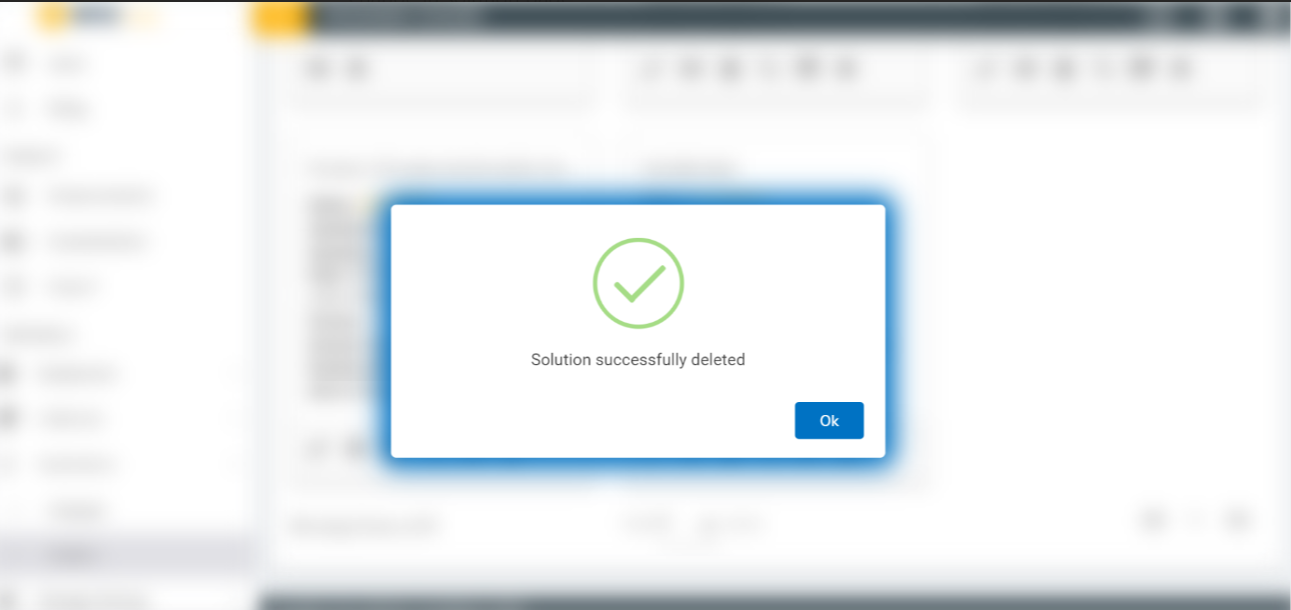
- Click Ok to delete or click Cancel to cancel the delete action. A success message appears:
Message
The admin can manage the messages that are displayed in the client app using this section.
- To get into the message page click on the message icon
 placed in the solution page.
- The following page appears:
Figure 97 – Message Page
- Create a Message for a solution by clicking on the Create button, on the top right corner of the Message page.
Figure 13. Figure 98 – Message Page 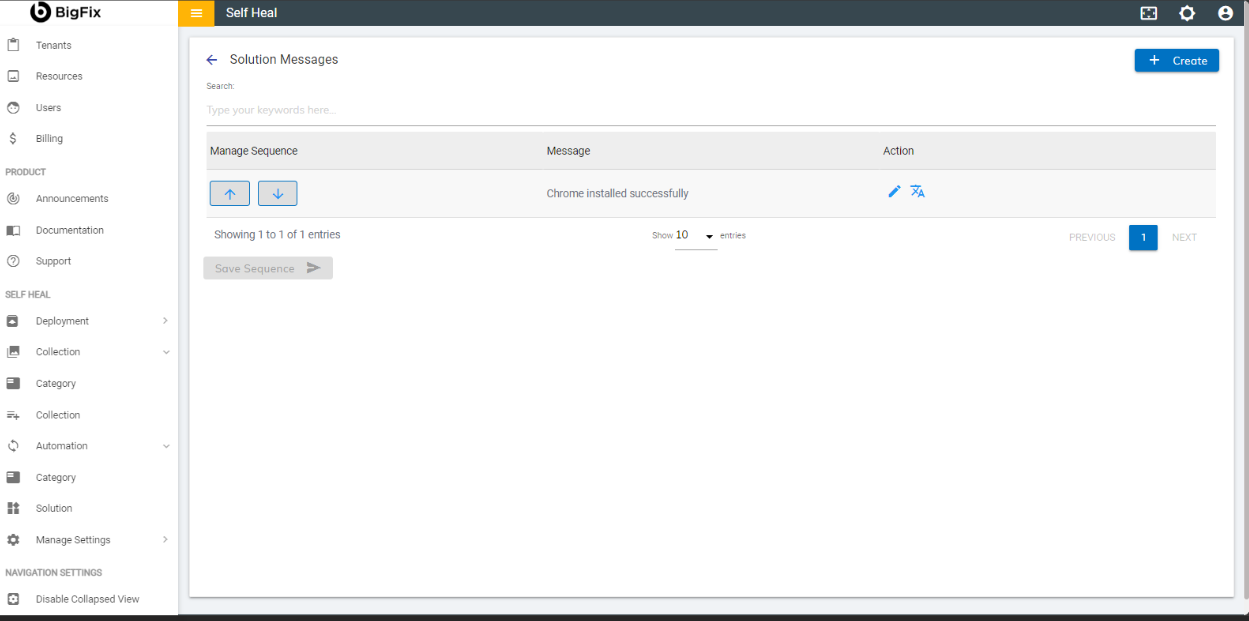
- The following page appears:
Figure 14. Figure 99 – Create Solution Message Page 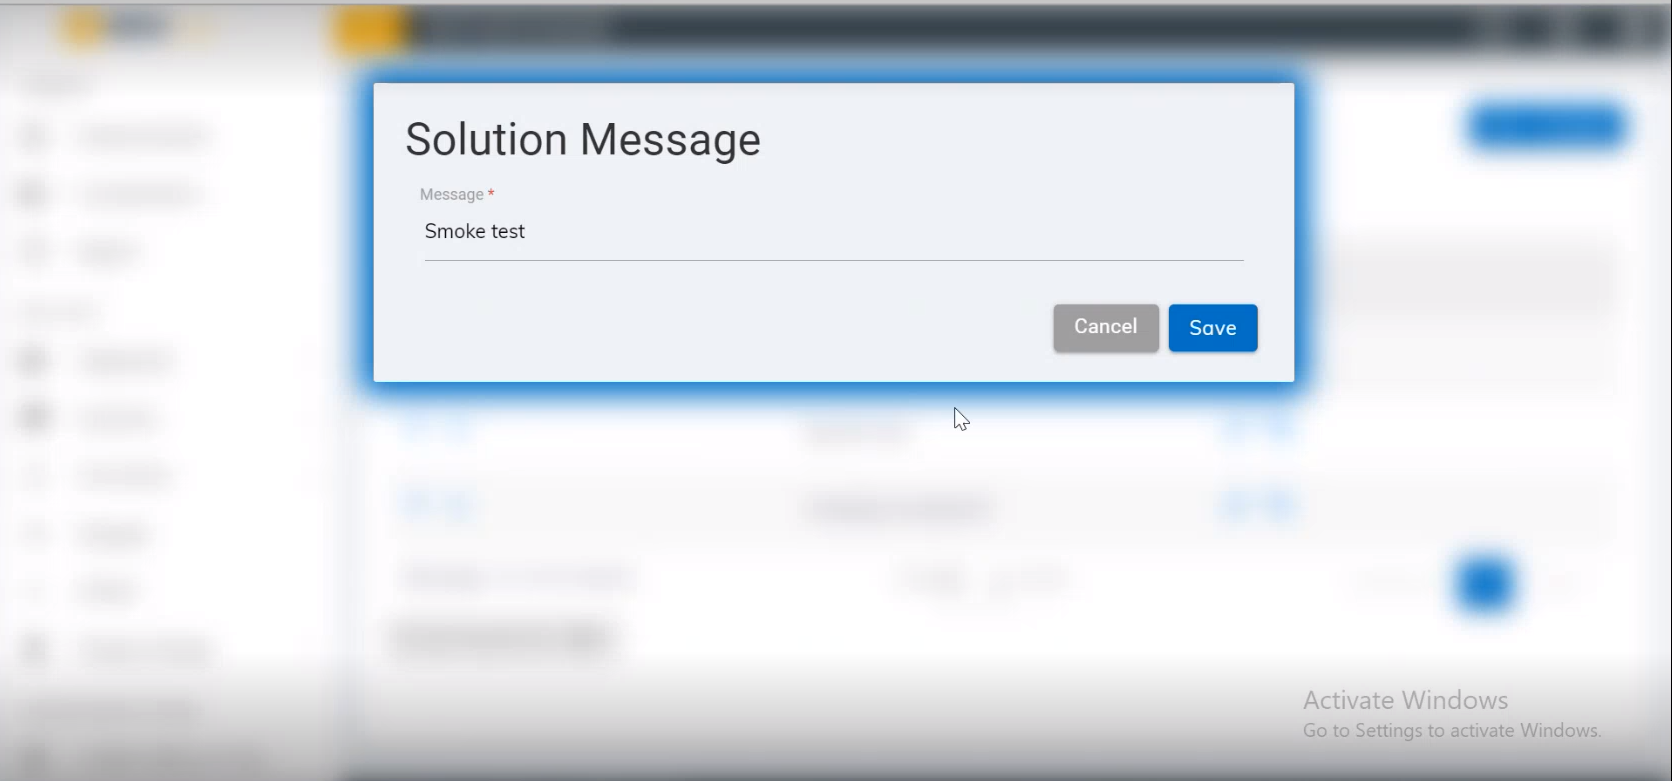
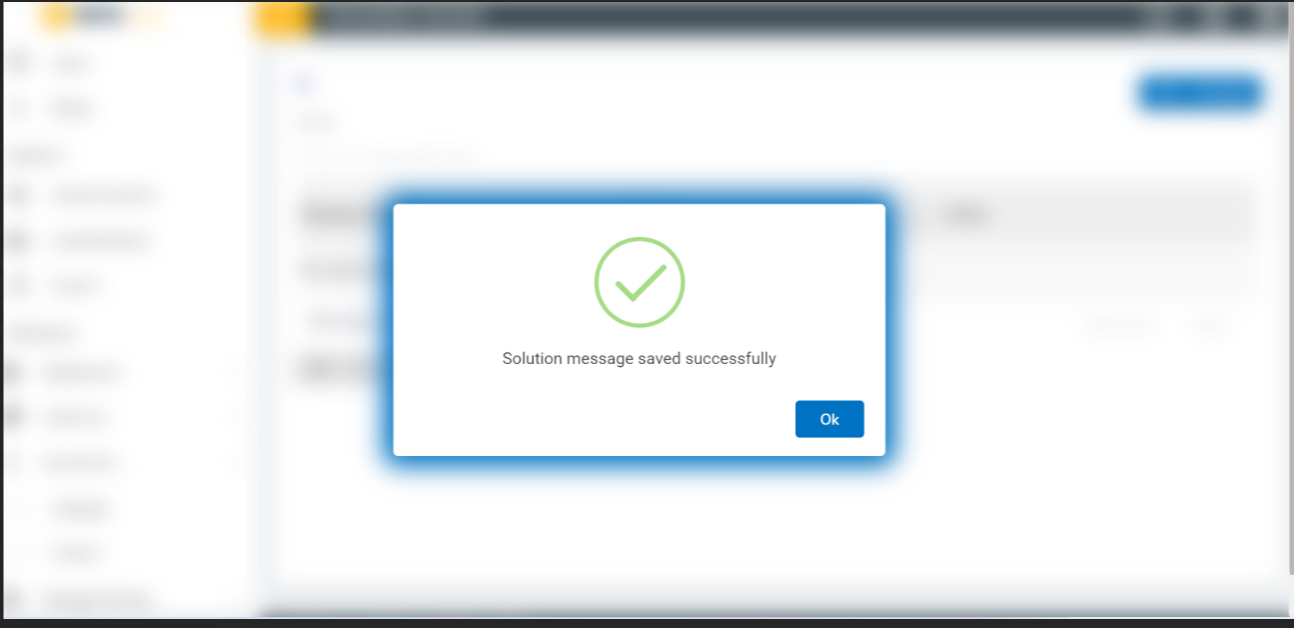
- Populate the Message field with the desired message and click Save.
- A new message is added, and a success message appears:
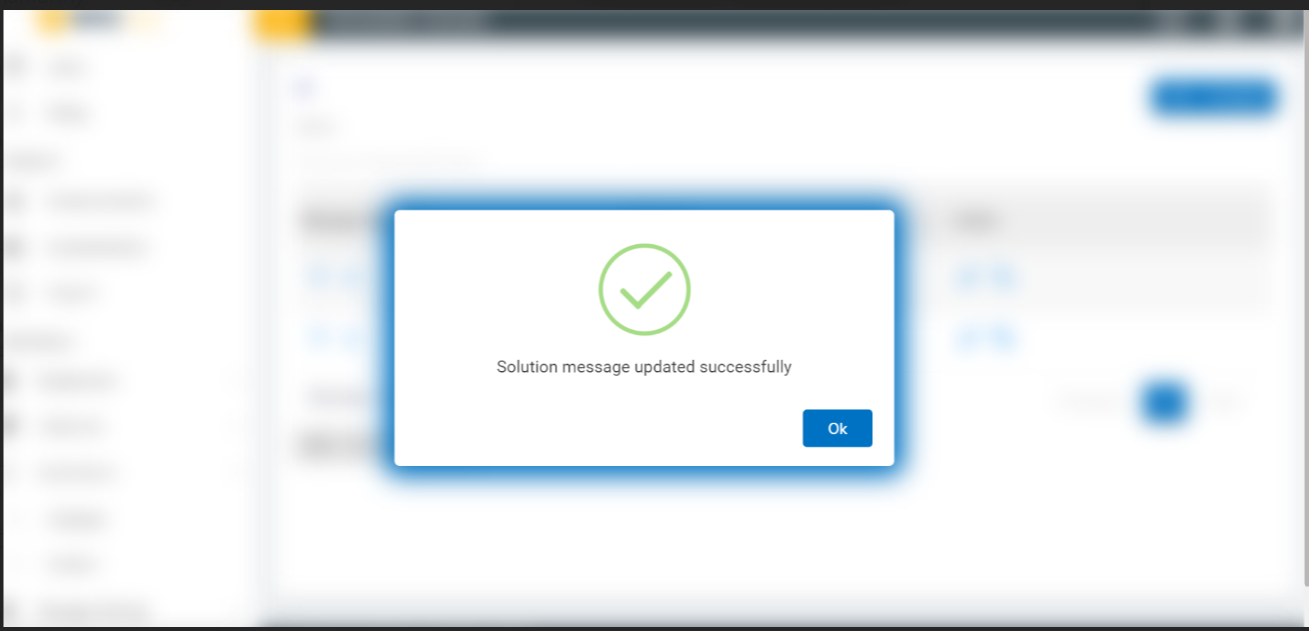
- User can edit a Solution Message be clicking on the edit icon associated with a message on the Message page. The following screen appears where the user can update the message:

- Modify the message as required and click Update. The following success message appears:
Provide Notifications
The admin enables this option to not display the notification on the client app.