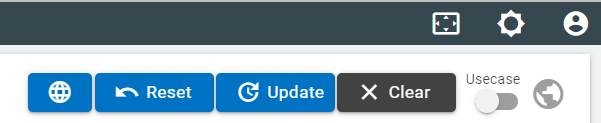
Functional Buttons on Update Page
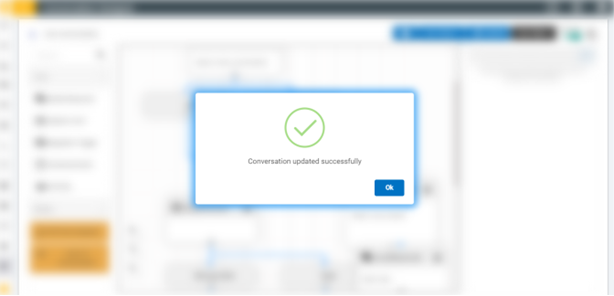
Update Button: Once the user clicks on the edit conversation for a flow, they can modify the conversation details and update the flow. After reaching the edit page, the user can easily select the node that he wants to customize, or any other change that the user intends to make to the conversation flow. After the user is done with the customization of the flow, they are required to click the Update button to save the changes that are made to the flow. After successful completion of update, the console cites a pop-up confirmation box stating that the changes have been saved and the flow has been updated and the user is redirected to the list page.
- There are some validations that are checked for successfully updating the conversation. These are:
- All the responses in the conversation that is to be updated must have content in them.
- The first and the last node type is checked. It has already been discussed which nodes can be first node and which are allowed to be last node.
- There can be a maximum of 10 BigFix AEX and 10 User type responses in the flow at the time of update.
- Users can add either OTB flow Snippet or other responses.
- On clicking update, the user is redirected to the list page after successful validation check.
Reset Button: This button reverts a conversation back to the last saved state. The Reset Button only appears when the user is on the edit page and not on the create page. That means that reset operation can only be done on the flows that have been already saved once.

Switch Language Button: This button appears only on the edit page and not on the create page. This button allows the user to convert the conversation flow to any of the languages available in the language drop down.
- To be more specific, when the user clicks on this button, the console provides the user with a drop-down menu containing all the available languages.
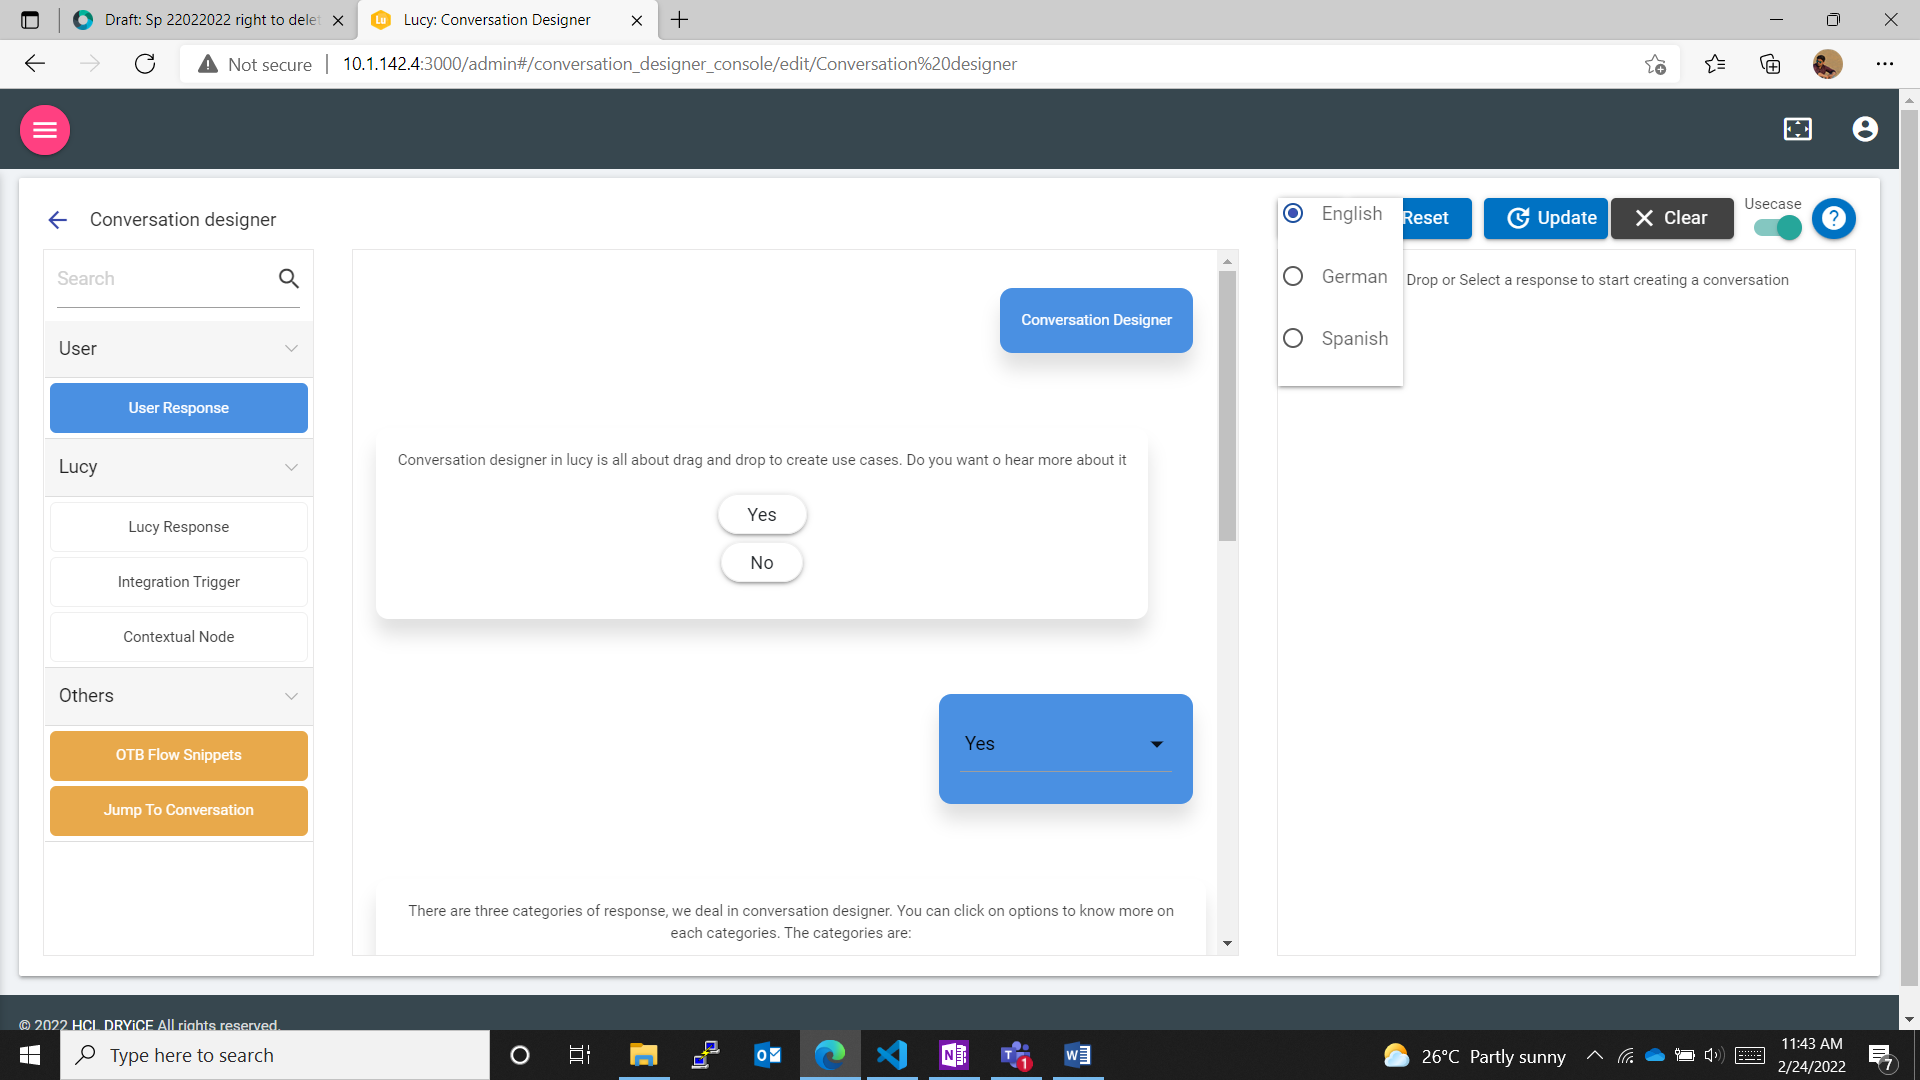
- Whenever the user selects any of the available languages, the flow switches the visible language to that selected language.
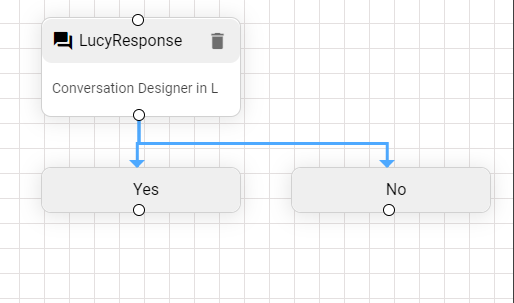
- To take an example, the following figure depicts a sample conversation flow in ‘English’ language.
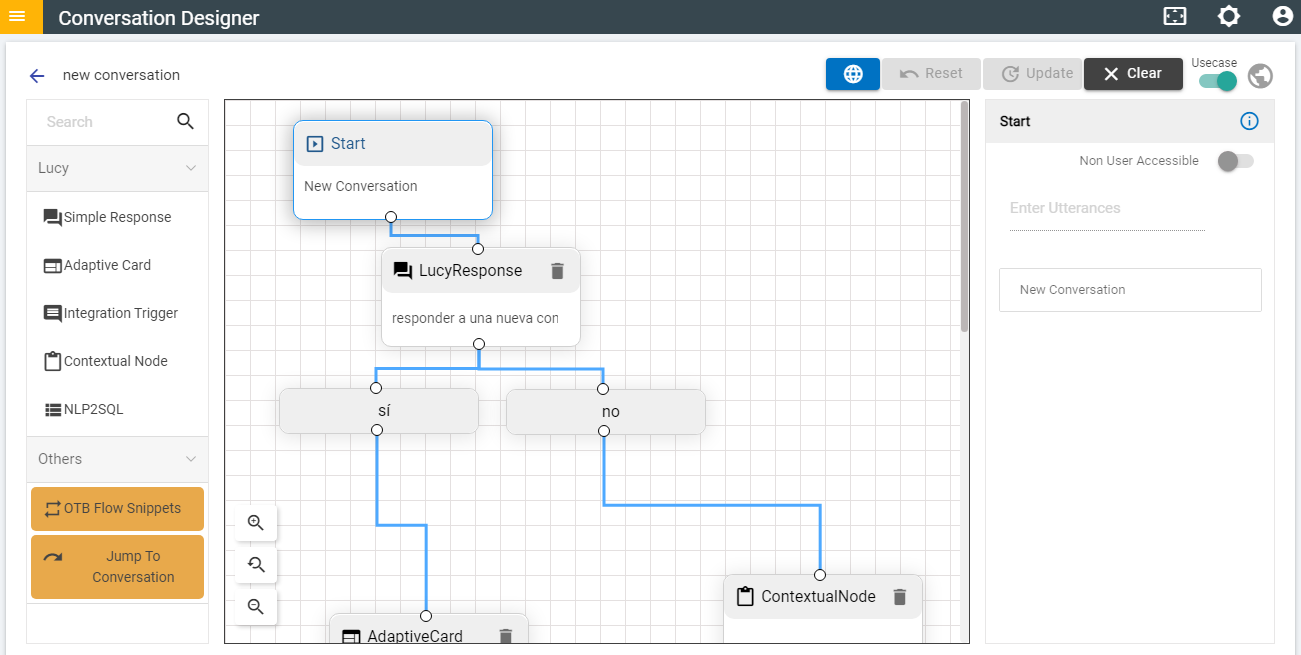
- Now, let us assume that the user requires this flow to be in ‘Spanish’, and from the switch language dropdown menu selects the same.
- In the following picture the change in the flow due to switching language from ‘English’ to ‘Spanish’ can be seen.
- Now, after switching the language, the user can update the flow using the Update button and can train the conversation flow in that switched language. The Change Language button is not visible on the Create Conversation page. After creating the flow, when the user saves the conversation, independent flows of all the available languages in that tenant are created in the JSON. When the user tries to edit any conversation and enters the Edit page, the Change Language button is visible there. As soon as the user changes the language using the dropdown menu, the flow is displayed in the selected language as described earlier. The flows are independent to each other, changes made in one flow, such as, changes made in ‘Spanish’ does not affect the flow in ‘English’ or ‘Dutch’. All the flows in different languages are not co-dependent and making changes to one flow does not affect other flow.