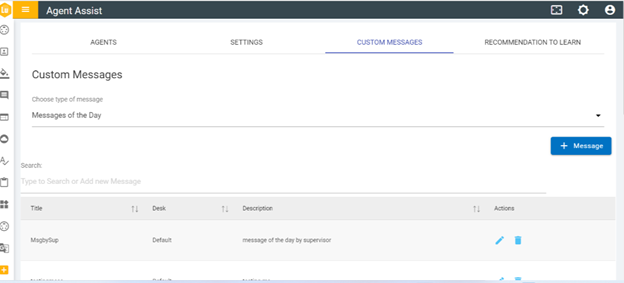
Create a Custom Message
- After selecting the type of message from the drop down, click on Message button to create a new message.
- The following screen appears displaying the fields to be
populated with required information:
Figure 2. Figure 26 – Create Custom Messages (Cont.) 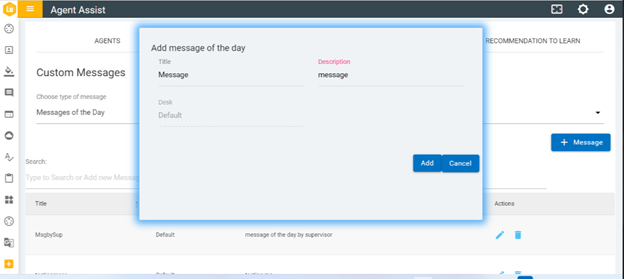
- Enter the Title and the Description of the message and click Add.
Figure 3. Figure 27 – Create Custom Messages (Cont.) .png)
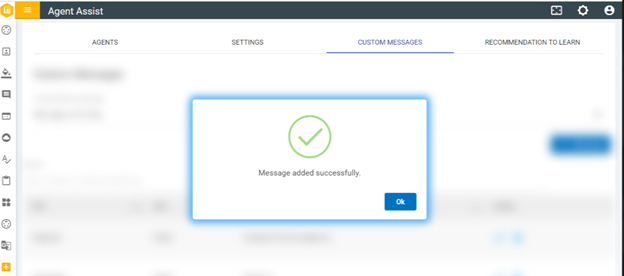
- The following success message pops up.
Special characters are not allowed in the title of the message.