Lab Exercise 1 – Identification of Automation Opportunities through Ticket Analysis
This lab exercise covers the step-by-step procedure for performing ticket analysis through BigFix Runbook AI to identify automation potential. The exercise includes prerequisites, solution steps, and the conclusion.
Scenario
A company named BigFixRunbookAI, hereby refered to as Organization, is currently having a complex infrastructure and application landscape with multiple IT service vendors managing different technologies. They are facing challenges in terms of high error rates due to manual resolution of voluminous incidents, service and change requests. They are looking for a solution which can help in automating these monotonous tasks of resolving pre-known issues with standard resolution procedures. They have connected with Presales team and asked them to propose a solution for the same. With mutual agreement, Organization has also agreed to share required information with Presales team for assessing their environment and preparing the proposal accordingly.
In this lab, we will cover the step by step procedure to perform ticket analysis through BigFix Runbook AI for building the business proposal.
Prerequisites
User must have the following information before proceeding forward with this exercise.
Ticket Dump from the Service Management tool with information like type of tickets (Incident, Service Request Tasks, Change Request Tasks) at least for last 6 months.
Please seek this information from the Instructor.
Requisite user, role and access privileges to BigFix Runbook AI.
User should be part of an Organization.
Please note that the ticket dump may include different type of ticket data namely Incident, Service Request Tasks, Change Request Tasks. However, ensure that the data consolidates in one file and contains only four columns namely – Ticket Number, Short description, Description and Date
Solution
Please follow the below steps for identifying the automation potential:
- Launch a web browser and provide BigFix Runbook AI Web Portal URL.
- The BigFix Runbook AI Login Page appears as shown in Figure 2 – BigFix Runbook AI Login Page
.
- On BigFix Runbook AI Login page, type the Login ID. If unavailable, then ask your trainer to provide the login credentials.
Figure 1. Figure 6 – BigFix Runbook AI Login Page 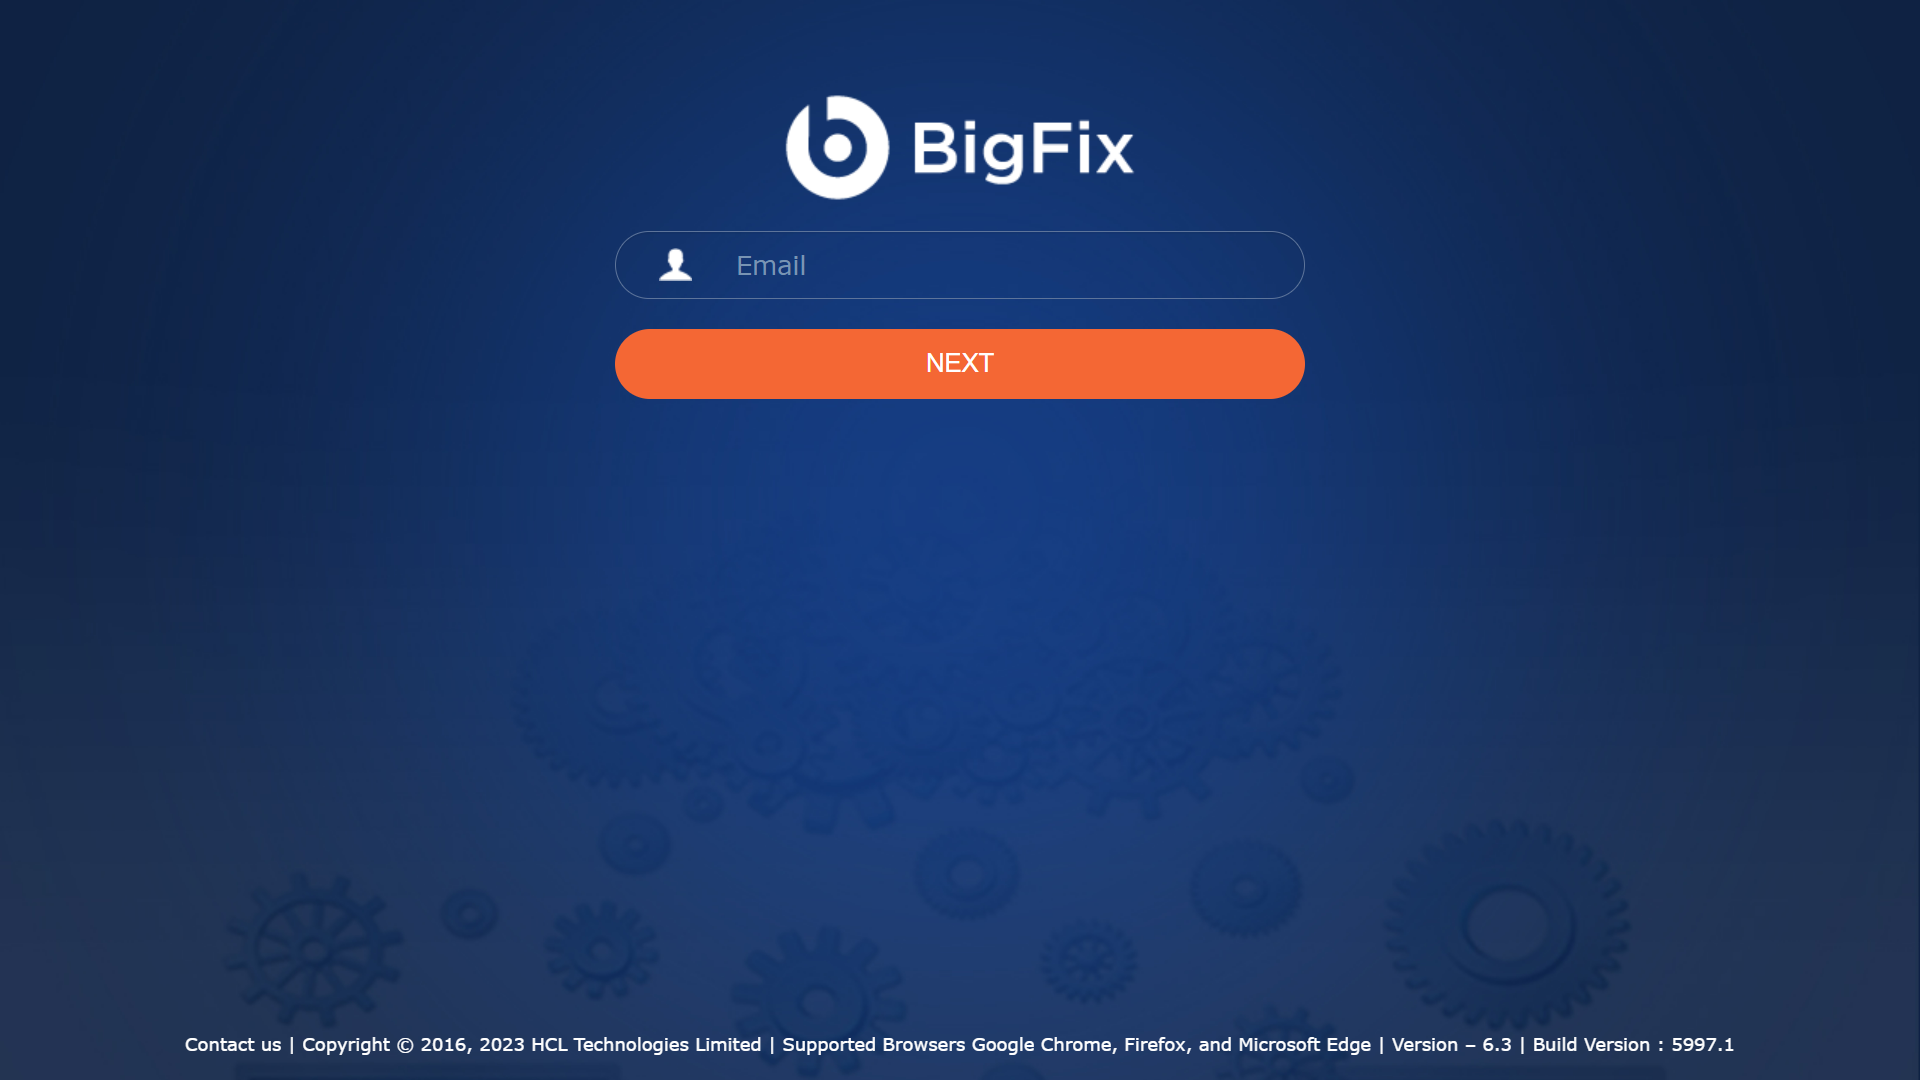
- Click Next.
- Type password in the Password field.
Figure 2. Figure 7 – Enter Login Credentials 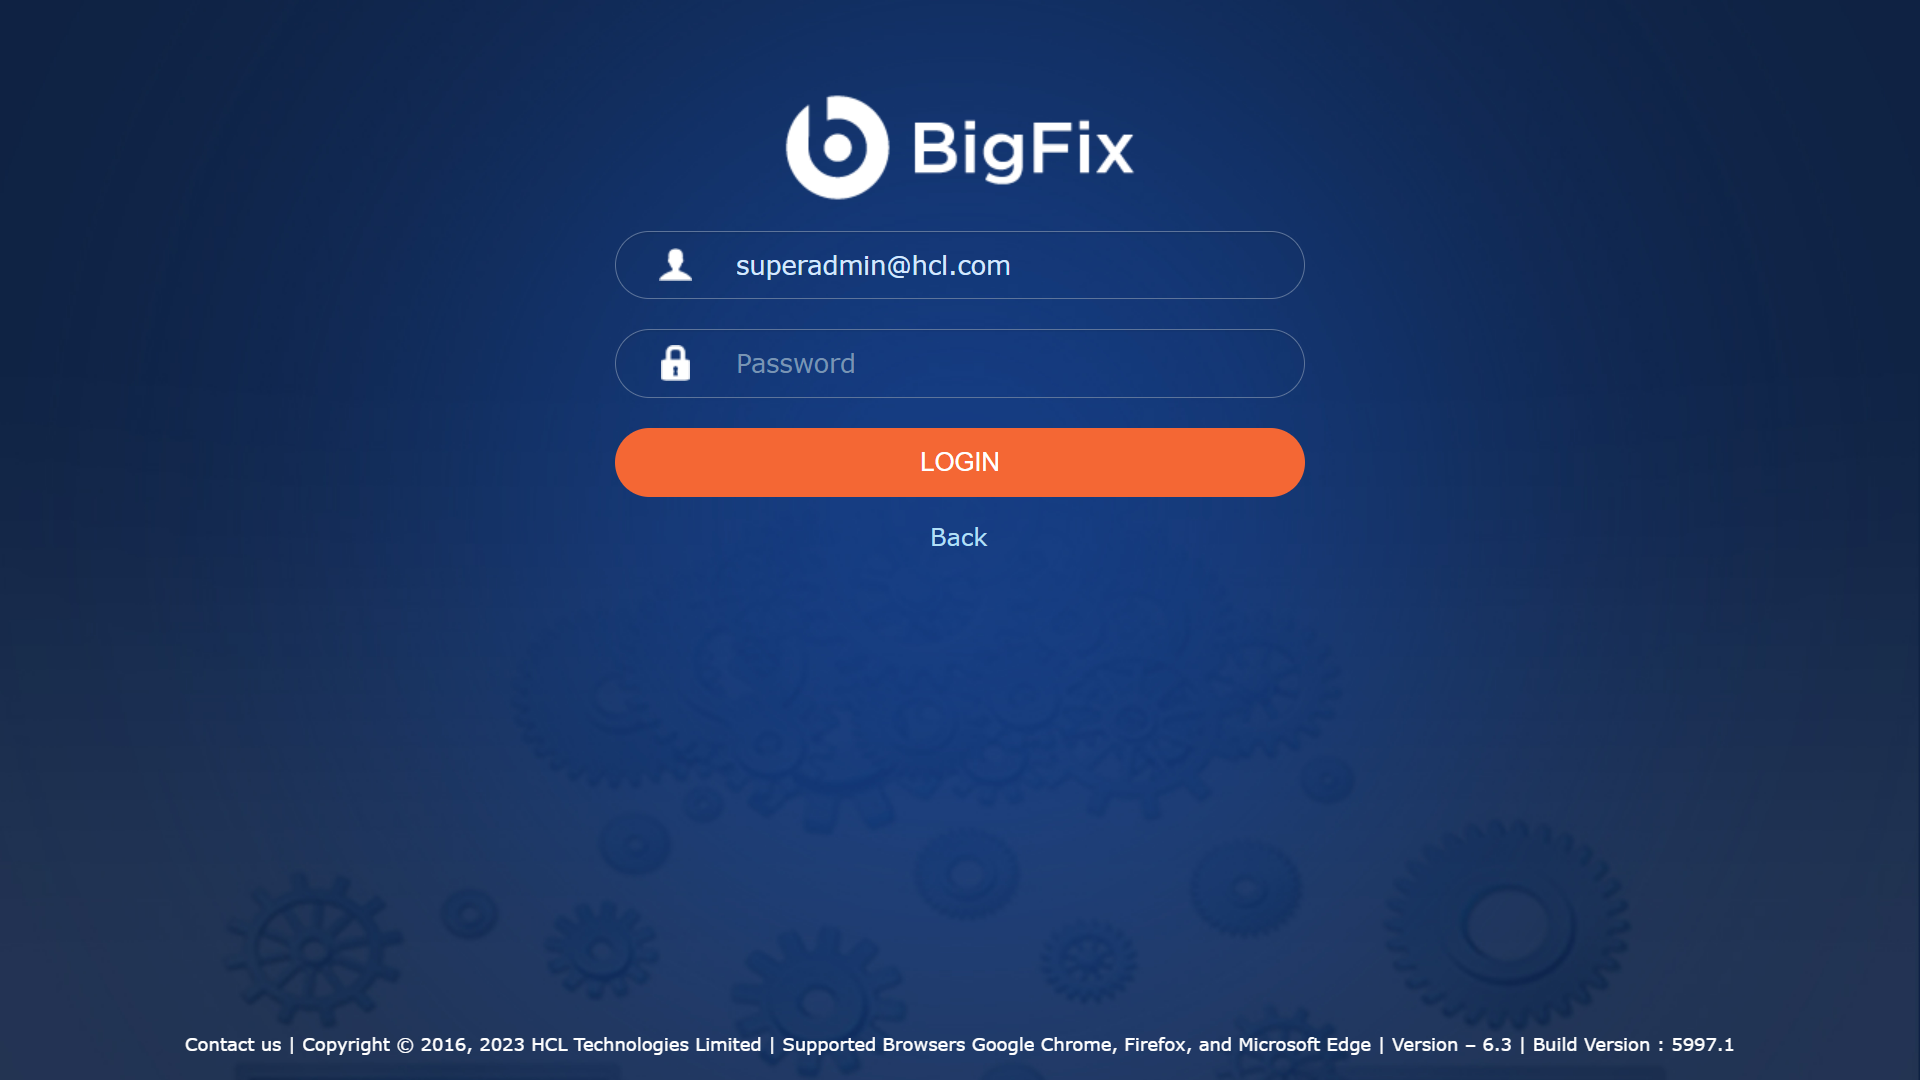
- Click Login. The BigFix Runbook AI User Console page appears.
Figure 3. Figure 8 – BigFix Runbook AI Admin Console 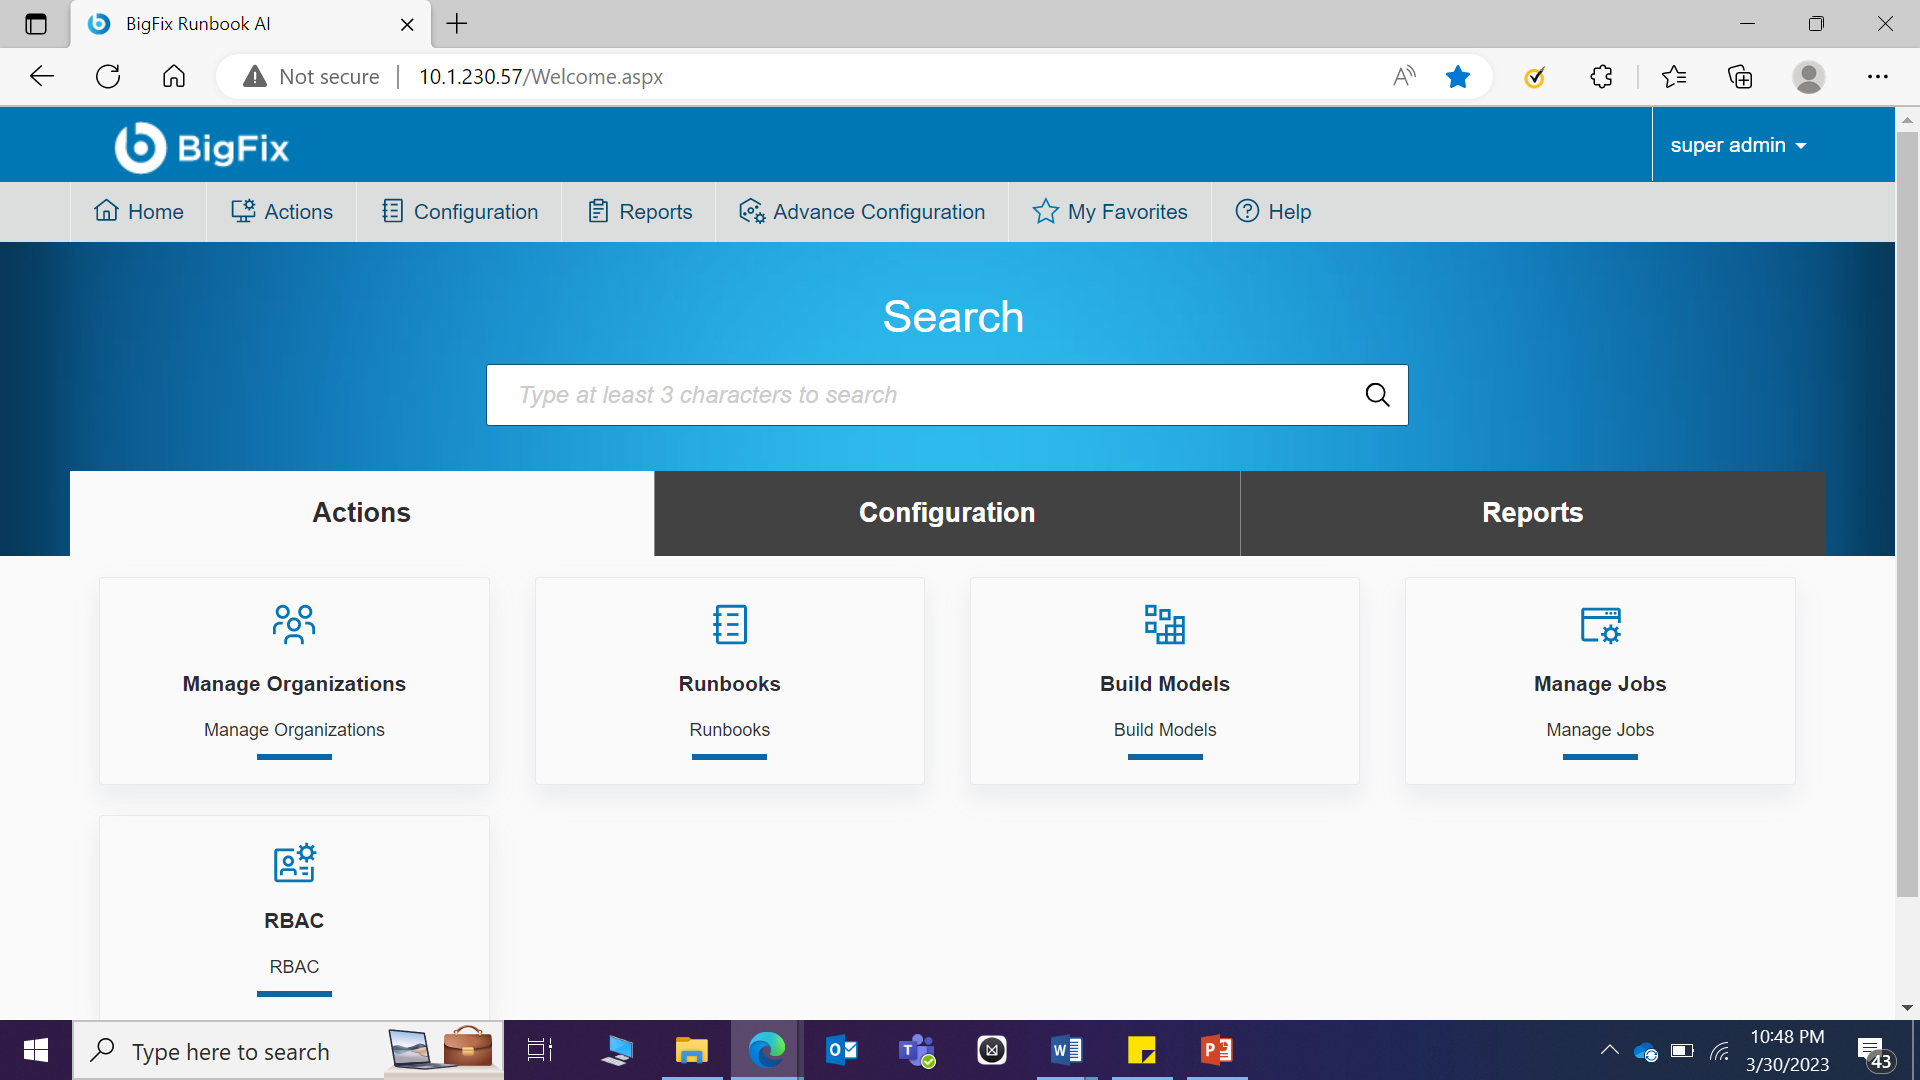
- Go to Actions Analysis sub menu and select Ticket Analysis.
Figure 4. Figure 9 – Ticket Analysis Selection 
- The Ticket Analysis page appears. To upload the ticket data file as a new analysis, click Add New Analysis.
Figure 5. Figure 10 – Ticket Analysis 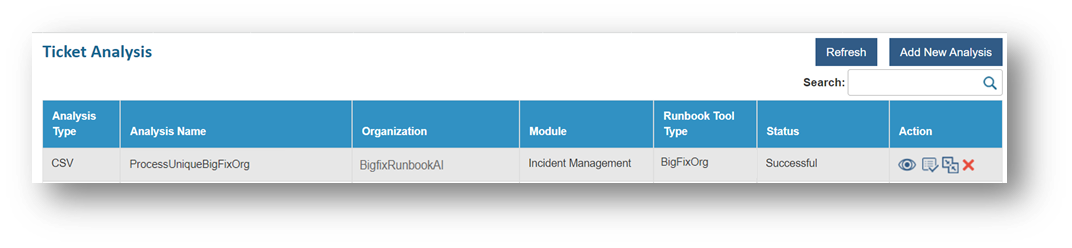
- For performing the analysis, BigFix Runbook AI requires a .csv file with four columns – Ticket Number , Short description , Description , and Date . Please refer to the template below for reference.
Table 1. Table 2 – Ticket Dump Template Number Short_description Description Date INC0054414 CPU Utilization Issue CPU Utilization Issue 9/6/2020 11:51 Please ensure that csv file should contain only the mentioned four columns. This data should be prepared from the ticket data extracted from the Service Management tool. If multiple data sheets are available, each having its own set of ticket number and other details, they should be consolidated into one .csv file. Please ensure to upload only a single csv file for one customer.
- On clicking Add Analysis, the Upload Data page appears.
- Select Organization from the Organization drop-down list.
Figure 6. Figure 11 – Upload Data 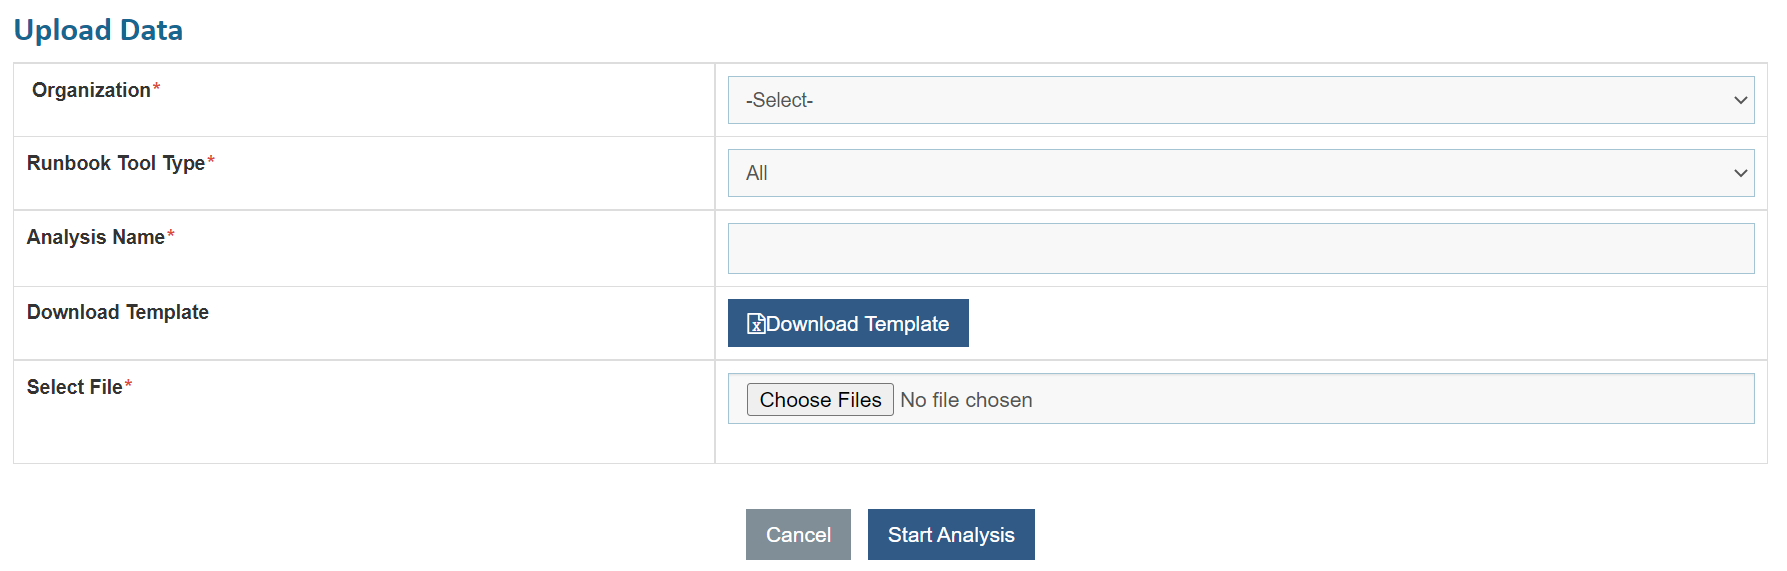
- Type in the Analysis Name. You can use the naming convention: “OrganizationName_ModuleType”. For e.g. in this case, organization name is BigFixRunbookAI and module type is Incidents, so the name could be mentioned as “BigFixRunbookAI_Incidents”. We have considered BigFixRunbookAI_Analysis for this exercise.
- Click on Choose Files to select the CSV file and upload it as per the format mentioned earlier.
- Click Start Analysis.
Figure 7. Figure 12 – Start Analysis 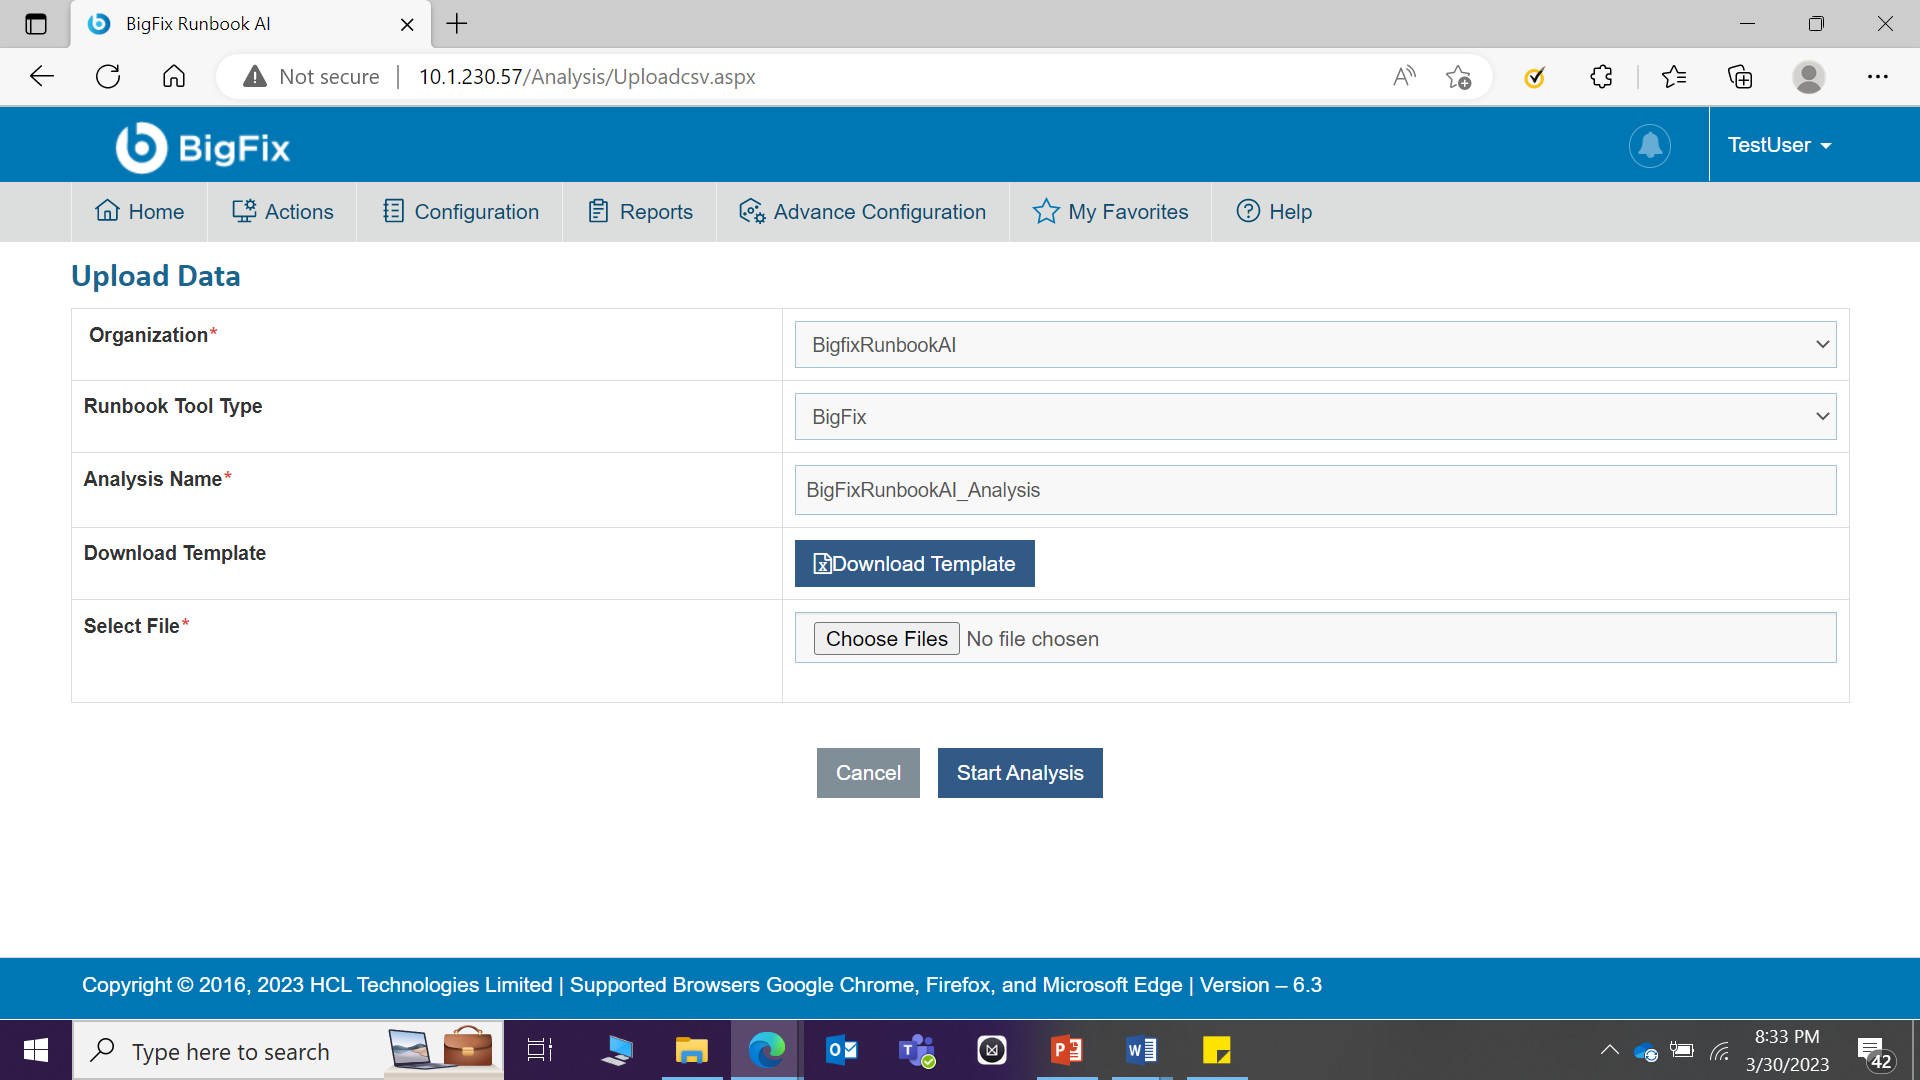
User will be prompted with the success message as depicted in the below.
Figure 8. Figure 13 – Analysis Created Successfully 
On clicking Start Analysis, three new jobs are created. These are Unique Clustering, Unique Script, and Recommendation. The newly added analyses are listed in the Manage Jobs page.
- Next step is to enable the jobs which have been created in the
previous step.
- Go to Actions and click Manage Jobs.
Figure 9. Figure 14 – Manage Jobs 
- On Manage Jobs screen, click filter icon next to Organization and search for “BigFixRunbookAI” for which analysis has to be done.
Figure 10. Figure 15 - Manage Jobs (Cont.) 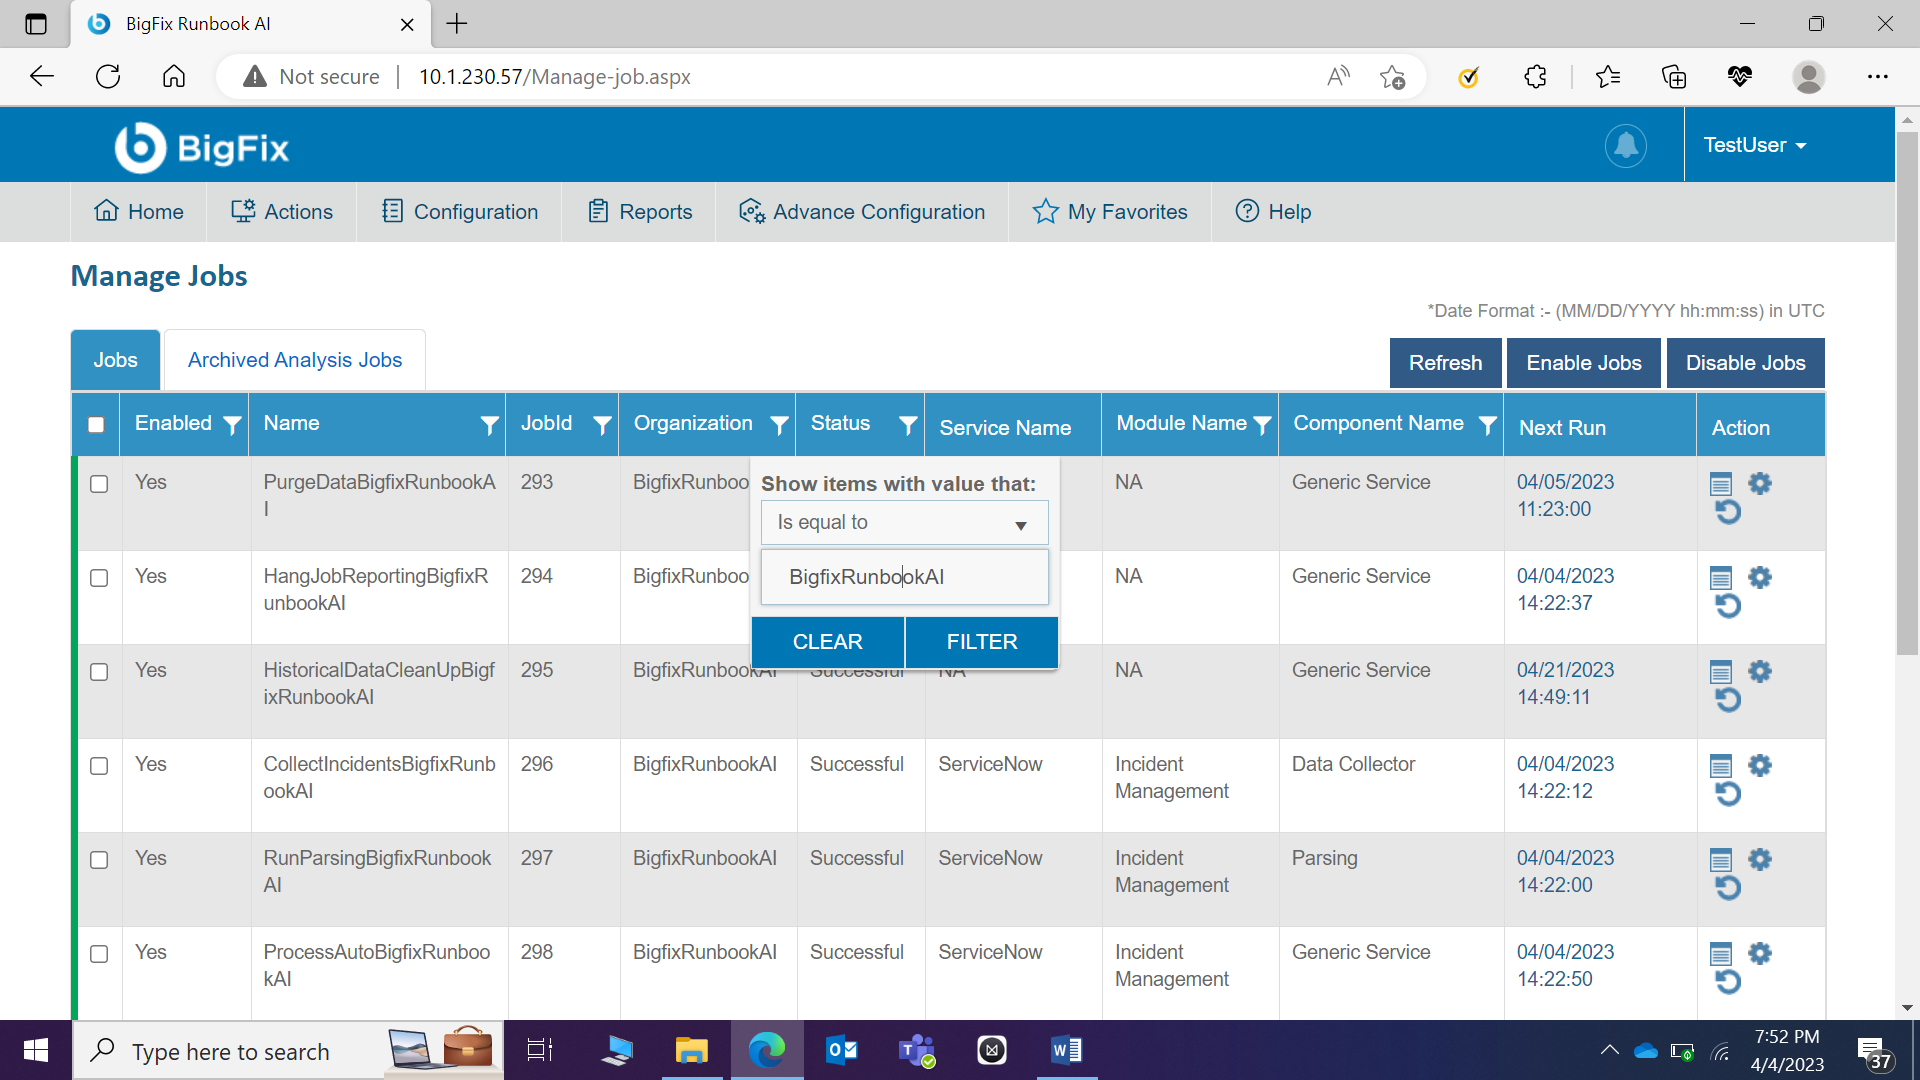
- You will see the list of three jobs for your organization:
ProcessUnique (Unique), responsible for clustering the tickets into unique categories. Each bucket comprises of tickets with similar issues.
FetchUniqueRecommendation (Recommendation) – Responsible for providing relevant runbook recommendations for the respective ticket categories.
FetchScriptForUnique (Script) – Responsible for searching and downloading relevant scripts from open data sources for ticket categories for which runbooks are not available within BigFix Runbook AI.
Figure 11. Figure 16 - - Manage Jobs (Cont.) 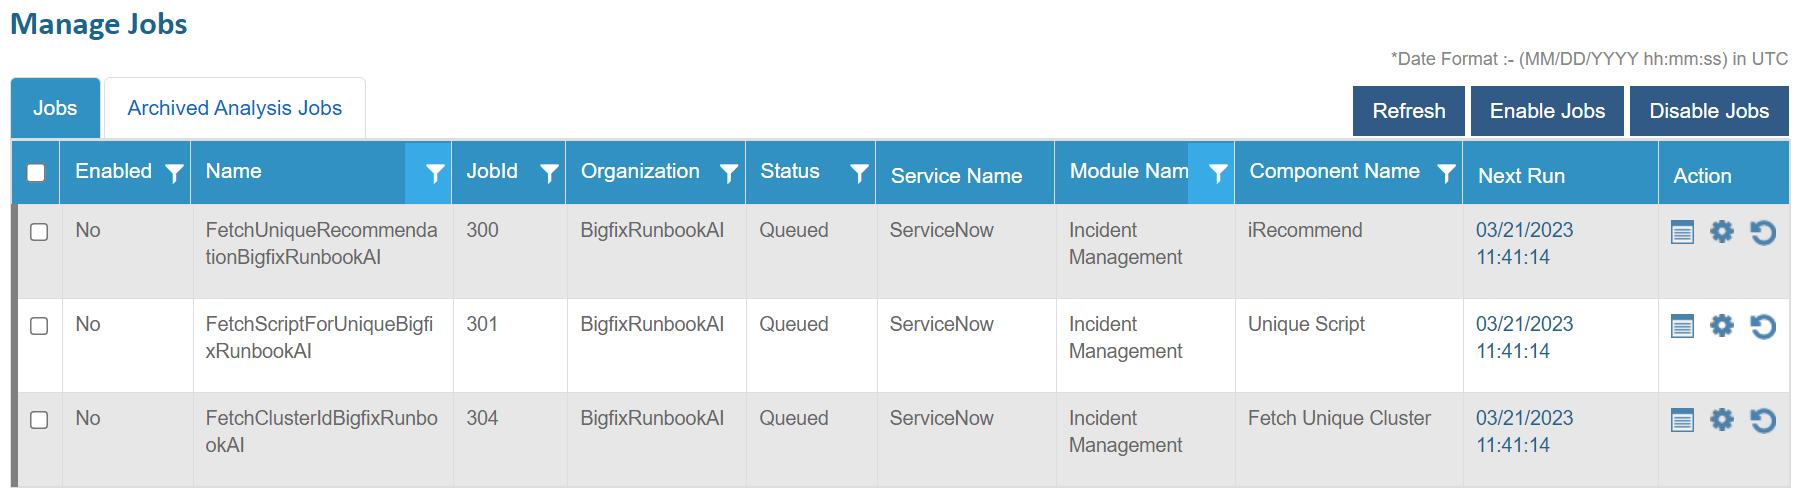
- Select the checkbox for ProcessUnique job and click Enable Jobs.
Figure 12. Figure 17 - Manage Jobs (Cont.) 
For ticket analysis, ProcessUnique should be run before FetchUniqueRecommendation and FetchScriptForUnique. Therefore, user should enable job corresponding to iUnique (ProcessUnique) only and rest should only be enabled once it has been completed.
- Go back to Actions Analysis Ticket Analysis screen. You should see the entry corresponding to enabled job for ProcessUnique. Initially the status will be “In Progress” and will change to “Pending Verification” once the job is complete.
Figure 13. Figure 18 - Manage Jobs (Cont.) 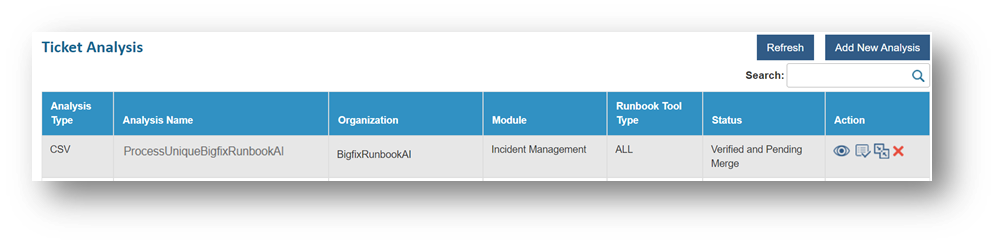
- Next step is to build / approve the analysis.
- In the Action column, click
 (Click to Build/Approve
Analysis) icon. On the new screen, scroll down and click
Verify.
(Click to Build/Approve
Analysis) icon. On the new screen, scroll down and click
Verify.
Figure 14. Figure 19 - Manage Jobs (Cont.) 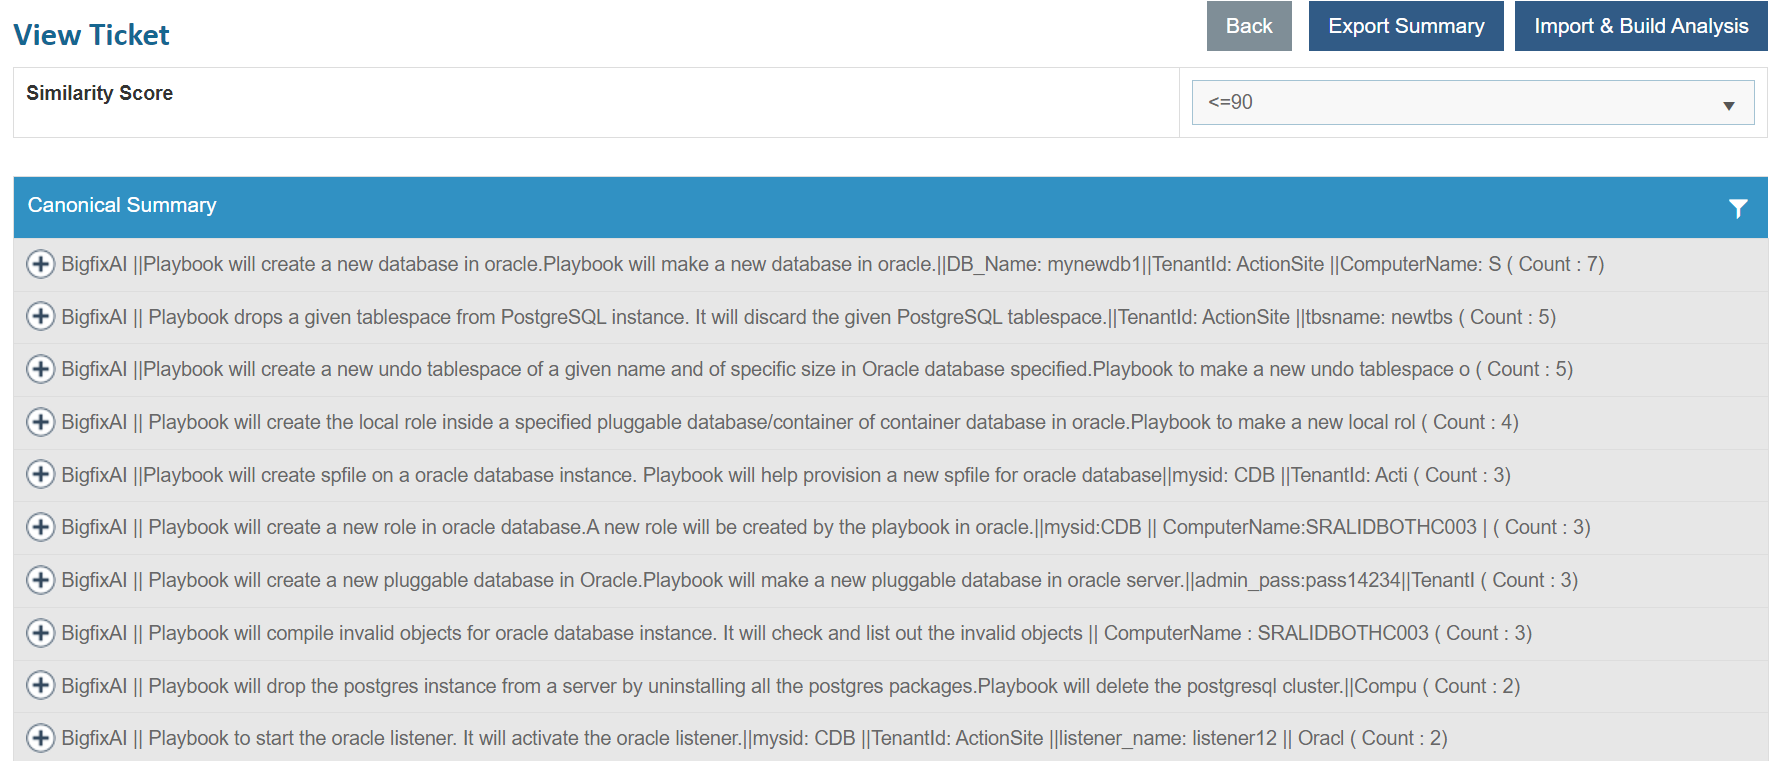
- In the Action column, click
- User should define the Discriminator before clicking on
Verify if the ticket corresponding to same type of
issues for different domain lands in the same bucket. Please refer
to BigFix Runbook AI Configuration Guide for more
details.
- User will be redirected to Ticket Analysis screen and status of the analysis should be Verified and Pending Merge.
Figure 15. Figure 20- Manage Jobs (Cont.) 
- In the action column, click
 (Click to Merge
Analysis) icon. It will take you to Merge
Analysis screen.
(Click to Merge
Analysis) icon. It will take you to Merge
Analysis screen. - Scroll down to the bottom of the page and click Final Submission.
Figure 16. Figure 21 - Manage Jobs (Cont.) 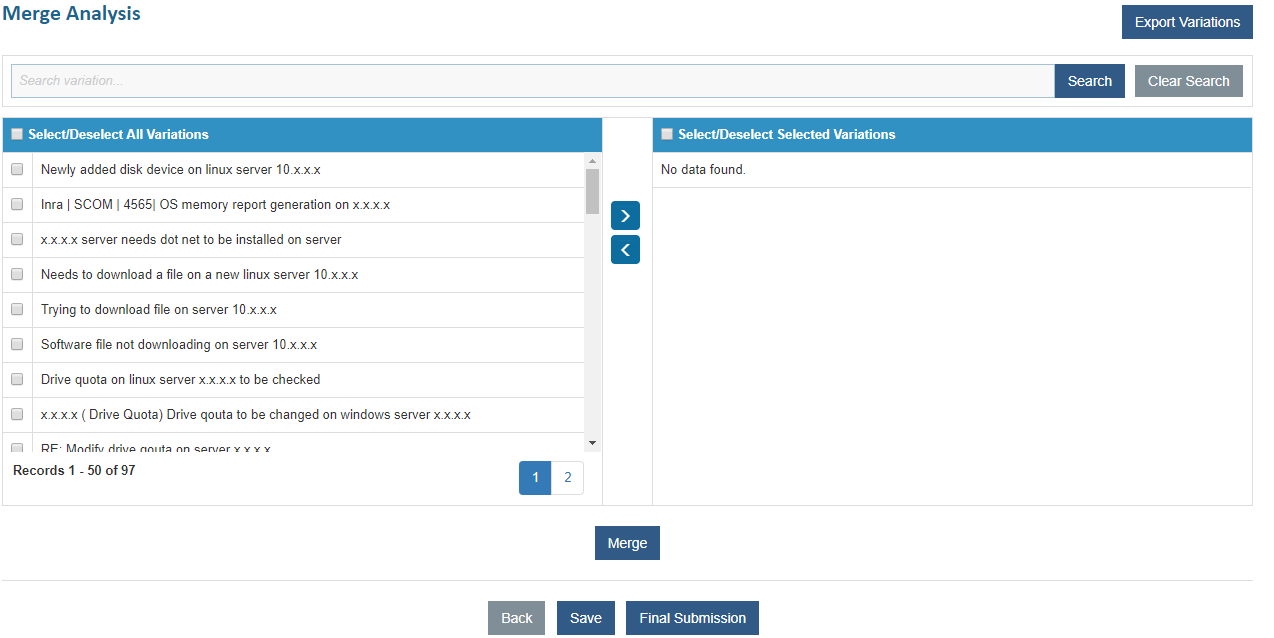
- User will get a message Merge Analysis saved successfully and user will be redirected to Ticket Analysis page again as shown in Figure 18 - Manage Jobs (Cont.). The status of analysis will change to Successful.
Figure 17. Figure 22 - Manage Jobs (Cont.) 
- Once the ProcessUnique (iUnique) job is completed, user needs to enable FetchUniqueRecommendation (Recommendation) job. Since, Recommendation system processes tickets in batches. Therefore, if ticket count is very high then user should define number of tickets which should be processed at once under job properties.
- Go to Actions Manage Jobs. Filter the jobs for BigFixRunbookAI.
- Click
 icon under the
Action column corresponding to the
Recommendation component.
icon under the
Action column corresponding to the
Recommendation component.
Figure 18. Figure 23 - - Manage Jobs (Cont.) 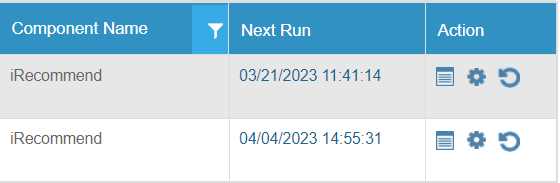
- In the popup window, click Parameters and change the values of FetchTicketCount and ReturnRunbookCount as shown below:
Figure 19. Figure 24 - Manage Jobs (Cont.) 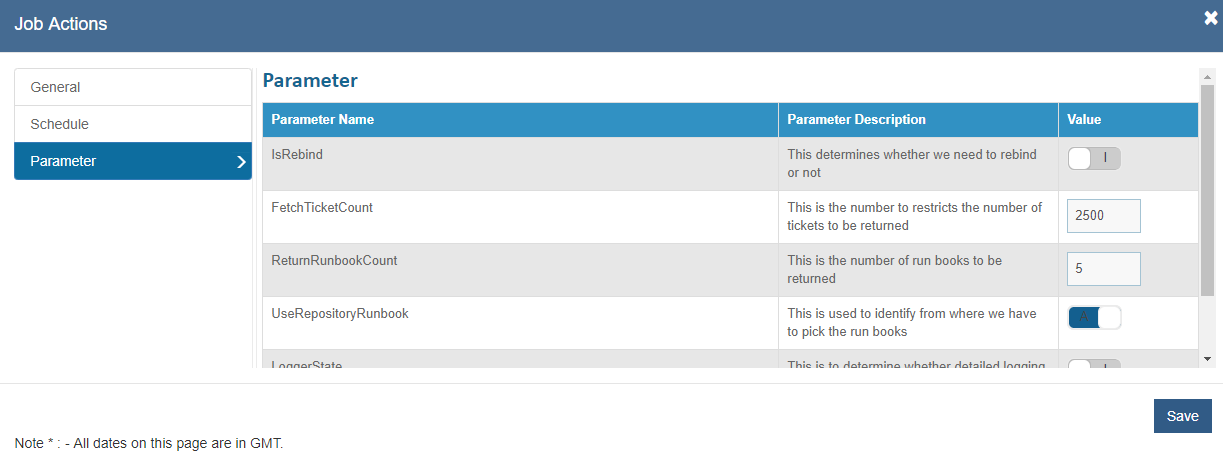
- Click Save.
- Select checkbox for Recommendation (FetchUniqueRecommendation) for that analysis and click Enable Jobs.
Figure 20. Figure 25- Manage Jobs (Cont.) 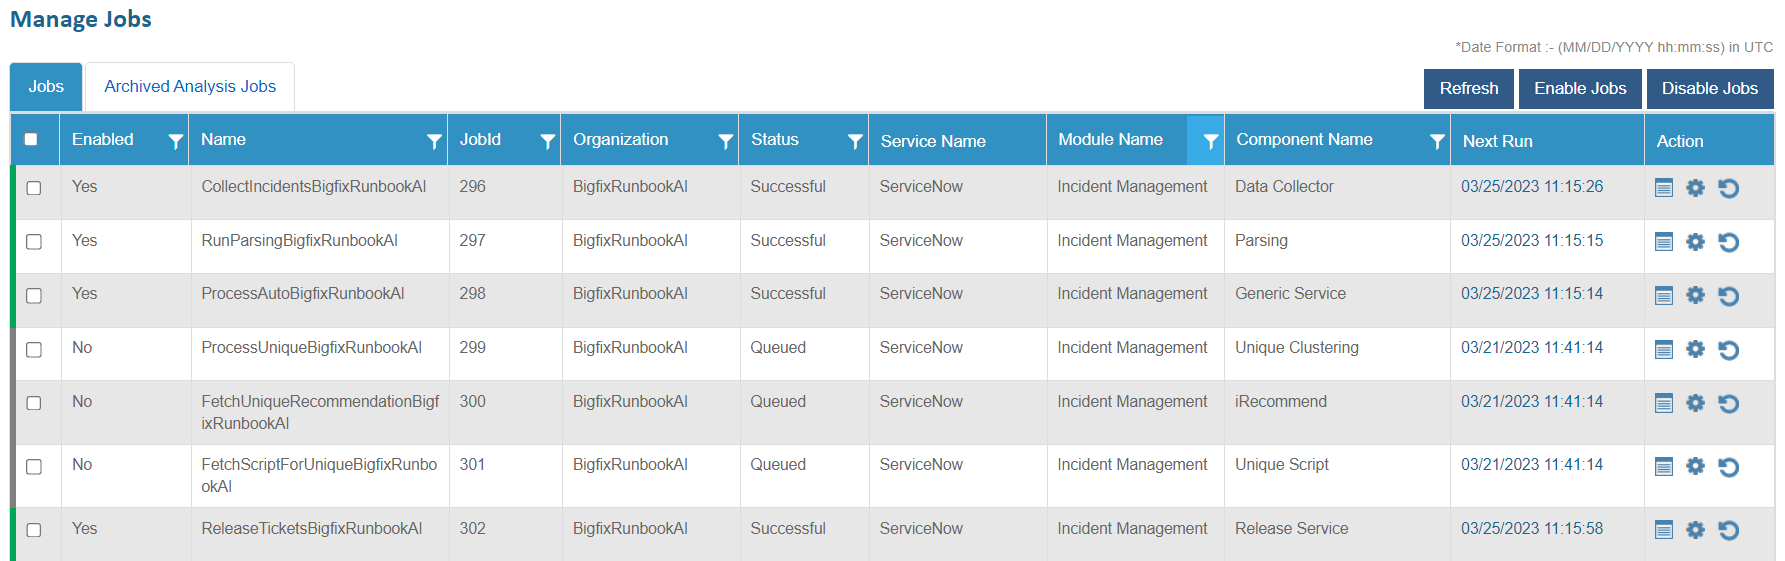
- Go to Analysis Recommendation Analysis. Here, you will see that the recommendation for analysis is in ‘In Progress’ state. The status will change to Successful once the analysis is complete.
Figure 21. Figure 26 - Manage Jobs (Cont.) 
- Click
 icon in Action column
for the recommendation analysis. A popup window
Recommendation Details appears.
icon in Action column
for the recommendation analysis. A popup window
Recommendation Details appears. - Click Show Details to view detailed analysis.
- Click Export to download the analysis.
Figure 22. Figure 27 - Manage Jobs (Cont.) 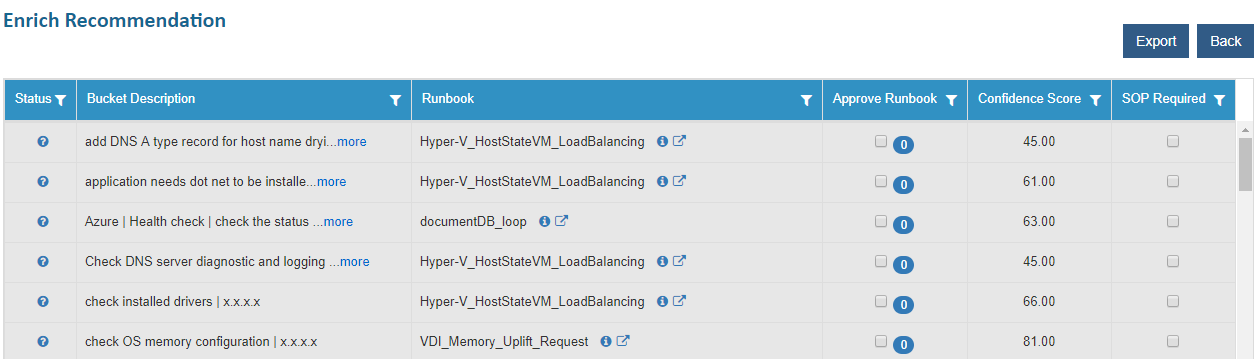
- A CSV file will be downloaded with Recommendation details for the analysis. The downloaded file will have following columns - ID (Ticker Number), Original Summary (Canonical Description), Runbook Name (Name of recommended runbook), Similarity (Confidence Score) and Count (Number of tickets similar to current ticket for dump under analysis).
- To calculate the automation percentage, user can filter on Similarity field i.e. >=0.60. It will show only those incidents corresponding to which recommended runbook confidence score is greater than or equal to 0.60. Thereafter, sum all numbers corresponding to column Count for leftover rows and divide them by the total number of tickets in dump. It will give you automation percentage. Also, the Original Summary column will provide the list of indicative use cases.
Filter value in above text i.e. >=0.60 can be changed as per the customer data. If you see there are some tickets with recommendation whose similarity is less or greater than 0.60 then you can either increase or decrease filter values respectively.
- Additionally, this file can further be shared with the Runbook Automation SMEs to identify cases corresponding to which BigFix Runbook AI doesn’t have runbooks but can be potentially automated if SOPs are available.
Conclusion
Through this module, we have covered the step by step procedure to identify the automation potential from the ticket dump shared by an organization. It helps in assessing the applicability of BigFix Runbook AI for enhancing automation within their environment.
Considering that an organization has agreed to deploy BigFix Runbook AI to bring in automation in their environment, let’s explore the procedure of installing BigFix Runbook AI in the next module.
Related Documentation
BigFix Runbook AI Configuration Guide