Adding a timer behavior to a stub
You can use a timer behavior to set a timer event in a stub. After a set time period, the timer event is triggered, the stub receives the event, which it can then respond to. For example, you might have a stub to manage user sessions and you want to add a timer behavior that automatically logs out a user after 30 seconds of inactivity.
Before you begin
You must have a stub before you can add a timer behavior to it. For information about stubs and what you can do with them, see Stubs: Overview and tasks.
About this task
You want to schedule a timer event to trigger after 30 seconds of elapsed time.
To add a timer behavior to a stub:
Procedure
- In HCL OneTest™ API Test Factory perspective,
double-click the stub that you want to add a timer behavior to.
The Stub Editor opens.
Next, you want to add stub behaviors. You do that from the Behavior page.
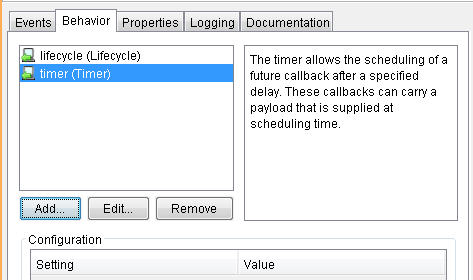
- Click the Behavior tab and then
click Add to open the Add Behavioral Entity
dialog.
You can see the behavior-types that are provided with HCL OneTest™ API. You can also see a description of the Lifecycle behavior.
Tip: To see the Timer behavior description, select it from the list. For more information about the behavior types, see The Behavior tab.Now, you want a Lifecycle behavior instance so you can schedule a timer event to trigger after 30 seconds. You also want a Timer behavior instance so you can define a message to be sent when the timer event runs.
- Set behavior types for the stub:
- Click Add to return to the Add
Behavior Entity dialog and select Timer.
Give the timer instance a name or accept the default name that is
provided in the Instance field and then click Add.
The Behavior tab opens with the name and description of the timer behavior. The timer behavior does not have any configuration settings.
Next, you set the events for the behavior types that you just added. You do this task from the Events page.
- Click Add to return to the Add
Behavior Entity dialog and select Timer.
Give the timer instance a name or accept the default name that is
provided in the Instance field and then click Add.
- Click the Events tab.
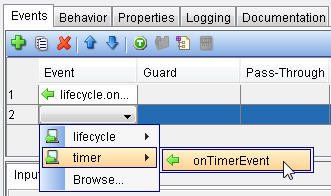
- To add an event, click the Add Event (
 ) icon. Double-click the Event box, select lifecycle then onStart from
the list.
) icon. Double-click the Event box, select lifecycle then onStart from
the list. You select onStart because you want the stub to trigger an action when the stub starts. You define that action later. Next, you want to add another event and use that event for the Timer behavior such that the stub sends a message when the event occurs.
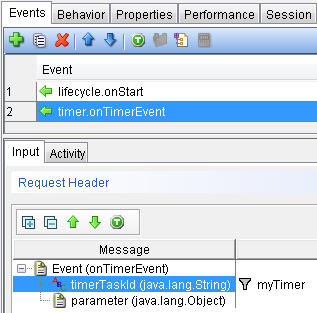
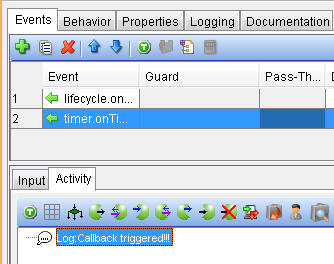
- Click the Add Event () icon. Double-click the Event box, select timer then onTimerEvent from
the list.
onTimerEvent is a callback that provides an event to the stub when a timer runs out.
- To add an event, click the Add Event (
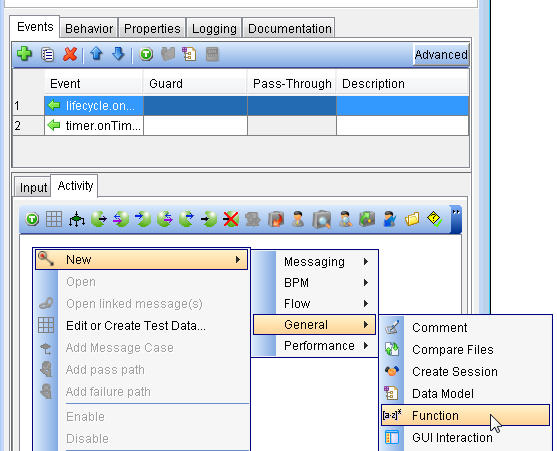
- To start a timer, you must add code to the lifecycle.onStart event.
- Go to the Activity tab of this
event and add a Function action by right-clicking
in the Activity pane and selecting .
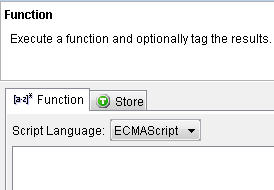
- Double-click the Function action
to edit it. Make sure that the Function tab
is selected and that the Script Language field
is set to ECMAScript.
- Go to the Activity tab of this
event and add a Function action by right-clicking
in the Activity pane and selecting .
- To add an action to run when the timer is triggered, you
can add business logic or a send message to the
timer.onTimerEventevent.- Go to the Activity tab of this event and add a log action by right-clicking in the Activity pane and selecting .
- Type an output message and click OK to close the Log action.
- Go to the Test Lab perspective and run the stub.
In the Test Lab, you can see that the
timerevent was triggered after 30 seconds, at which time the output messageCallback triggered!!!was sent.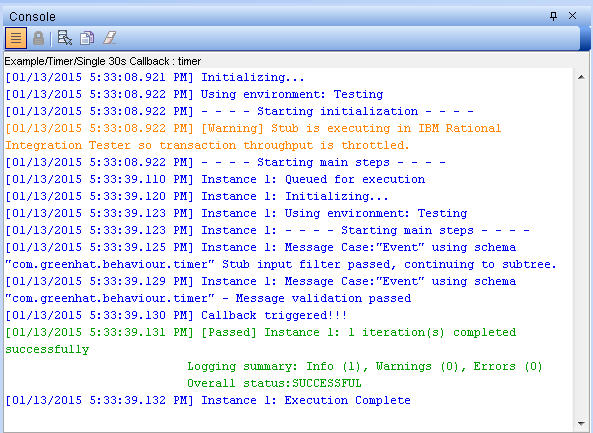 Tip: You can use filtering to act on a stub only when a specific timer is triggered. In this example, the timer event is only triggered for the timer named
myTimer. You can also tag the parameter object and reuse it in further actions.