The Properties tab
With the Properties tab, you can set up states for your stub and input parameters that can determine how the stub behaves when it runs.
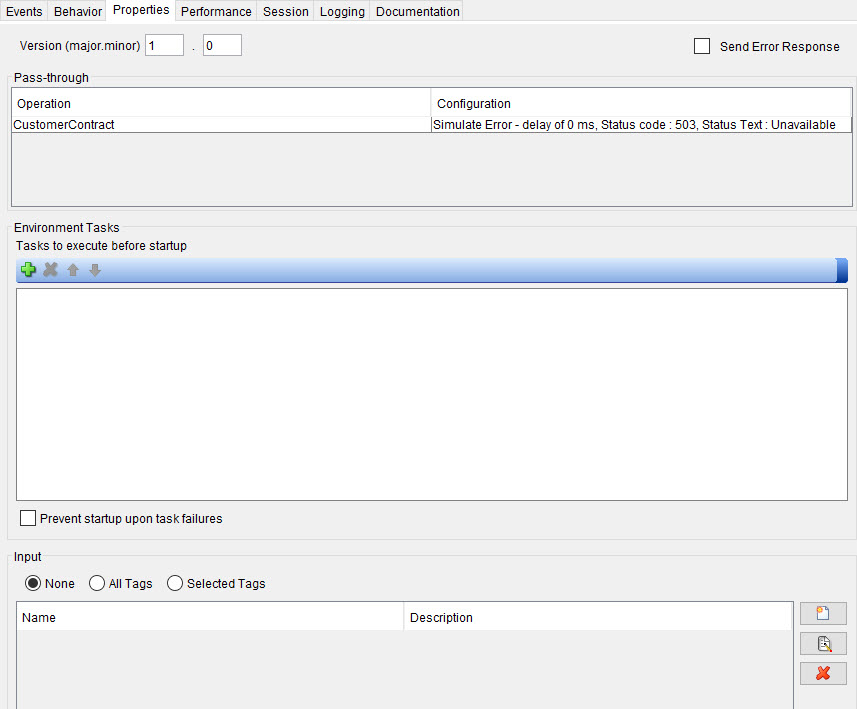
You can use the Version (major.minor) field to implement a version-numbering system for your stubs. This version number is displayed in HCL® Quality Server when the stub is published, and is provided for your reference.
Pass-through table
Use the Pass-through table to configure default actions for a stub that does not match any of the filter conditions for an operation. If the stub explicitly performs a pass-through action, the default is ignored.
- The stub provides a virtual service for the operation; see The Events tab.
- The operation has a transport that has sift-and-pass-through capability; see Sift-and-pass-through capability.
- In the Configuration column of the Pass-through table, click the cell that corresponds to the operation for the event. The Pass-through Configuration dialog is displayed.
- In the Pass-through action list, click one of the following options.
Some transports support only a subset of this list. For more information about the options,
see Configuring transports to use the sift-and-pass-through capability.
- Discard
- This option stops the system under test from receiving the intercepted message. This option can disrupt the calling system. For example, the system might time out while it waits for a reply.
- Pass-through
- This option passes the intercepted message to the system under test, with an optional delay. Specify a Delay in milliseconds in the Configuration section. For more information, see Sift-and-pass-through capability.
- Simulate Error
- This option returns an error to the calling system. The message is not passed to the
system under test. Complete the following fields:
- Delay (ms)
- Specify an optional delay in milliseconds.
- Status Code
- Select one of the displayed HTTP status codes.
- Status Text
- Enter free form text to be displayed with the error message.
The list of options that is displayed depends on the transport type that is associated with the currently selected operation.
- Click OK.
Input table
If the stub is part of a test suite, use the table to define the input tags that you want to be available to the stub at run time. All tags are potentially available at run time because they are in the Tag Data Store. The tags that are designated to be exposed as input are available to test suites. Specifically, they are displayed on the Data Drive tab of the Scenario Editor dialog where values can be entered for these tags when the selected stub is started. For more information, see Scenario data.
If the stub is started from HCL® Quality Server, input tags can be set when the stub is started to customize the behavior of the stub.
- None
- No tags can be used as input.
- All Tags
- All tags in the Tag Data Store are available. The list in the table is ignored.
- Selected Tags
- Only the tags that are listed in the Input table are available. Use the controls to the
right of the table to perform the following actions:
- Select tags
- The Select Input Tags dialog is displayed. All Tag Data Store tags are displayed. You
can create a new tag from this dialog by clicking the New tag icon
(
 ). Hold down the Ctrl key and click each of
the tags to be displayed in the Input table.
). Hold down the Ctrl key and click each of
the tags to be displayed in the Input table. - Edit tag
- Edit the selected tag. For information about the available fields, see The Tag Data Store. Note that the Expose as input check box must be selected for the tag to appear in the Input table.
- Remove tag
- Click the red X to remove the selected tag or tags from the Input table.
For more information about creating and managing tags, see The Tag Data Store.