Creating a custom sensor using Monitoring option
About this task
This topic explains how to create a custom sensor using InformixHQ Monitoring option.
Procedure
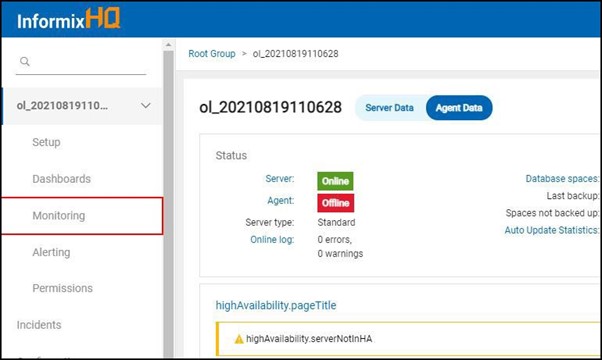
- Select the desired server from InformixHQ.
-
Click on Monitoring option from side menu.
-
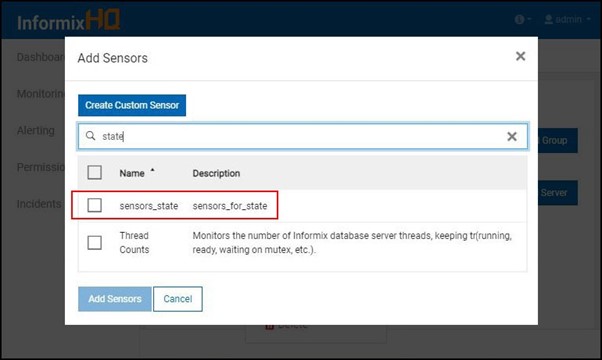
Click on + Add Sensors button.
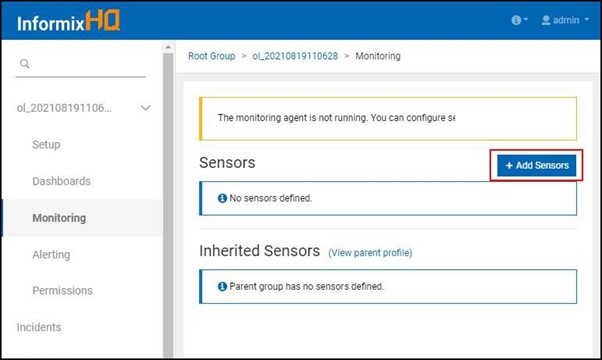
-
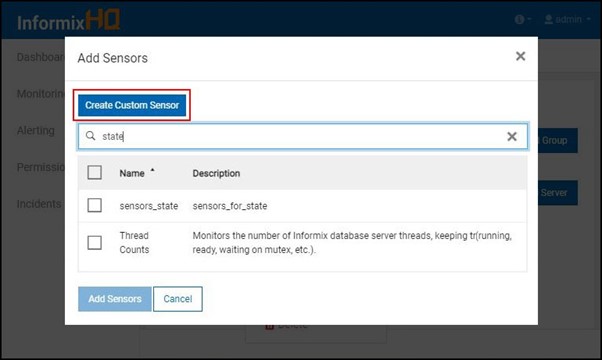
Add Sensors pop up appears. For creating a custom sensor, click on Create Custom
Sensor button.
-
Create Custom Sensor button will navigate user to Create Sensor setup page.
-
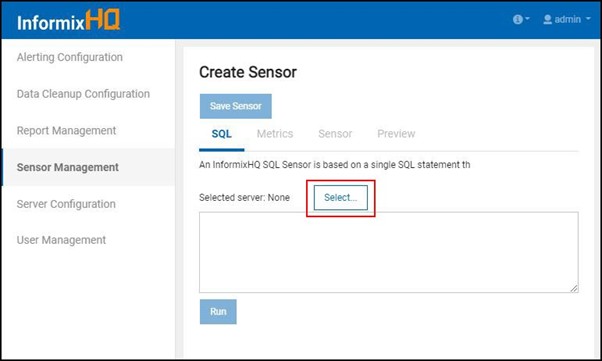
Click on the Select button to view the list of servers.
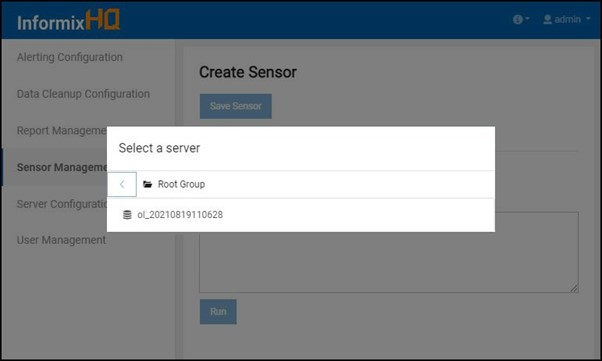
- Select the desired server from the server list.
-
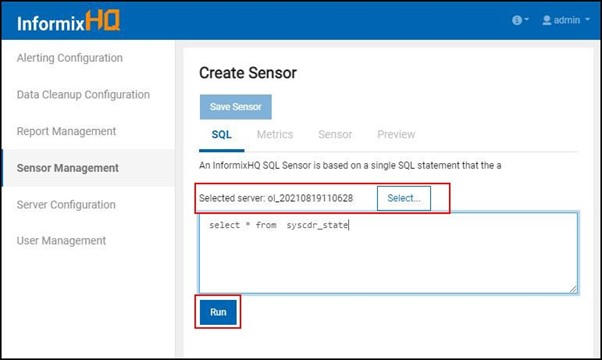
After selecting the desired server , write a query in text area & click on Run
button to execute the query.
-
Clicking on Run button will show query data preview.
- Transpose : Transpose (or pivot) will transform rows into columns based on the selected columns.
- Primary Key : If a query returns multiple rows describing multiple objects (e.g.: dbspaces), the primary key will be used to uniquely identify each object. Null and duplicate values will be ignored.

-
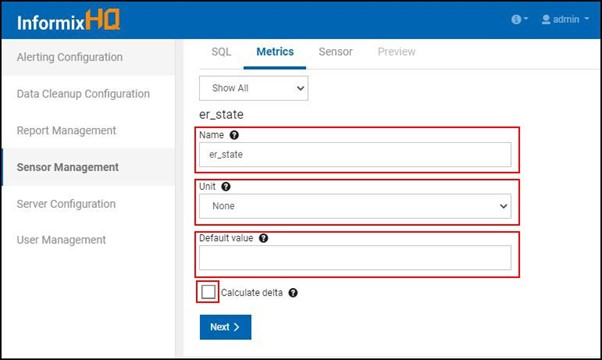
Click on Next button to navigate to Metrics tab. Metrics tab defines metrics for
your columns. Change values as per the requirements.
- Name : The display name of metric.
- Unit : The unit determines how will this metric be displayed by default.
- Default value : The default value of this metric if the query returns a null or invalid value. If blank, an invalid value will be ignored.
- Calculate delta : If enabled, the sensor will calculate and store the difference per second between the latest reading and the previous reading.
-
After making the changes click on Next button to navigate to the Sensor tab.
Sensor tab provides all the related details for a sensor as per the requirements.
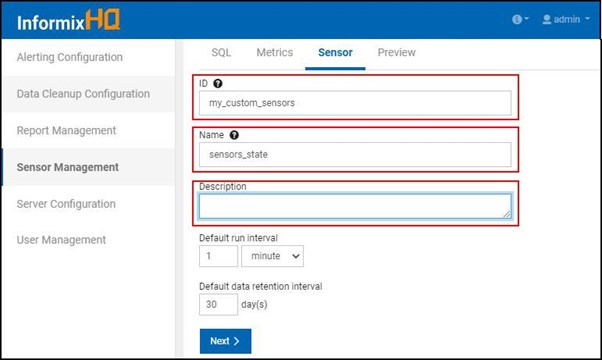
- ID : The ID to uniquely identify this sensor. Can only use lowercase characters, digits, and single underscores (e.g.: my_custom_sensors).
- Name : The display name of this sensor.
- Descriptions : Add detailed description of the sensor.
-
User can change Default run interval and Data retention interval as per the
requirements.
-
Click on Next button to navigate to Preview tab. Preview tab shows query preview
for a custom sensor.

-
View your Sensor JSON Preview.
- Click on Save Sensor button and Confirm to create a custom sensor.
-
After confirming, user can view list of all custom sensors created for a selected server on
Sensor management page.
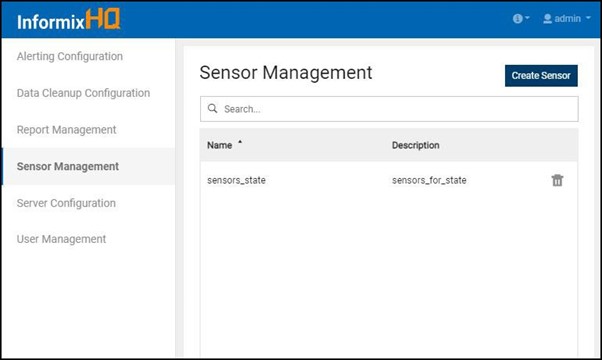
-
User can view recently added custom sensors in the sensor list from Monitoring page
using + Add Sensors model pop up.