How to use REST with drafts and workflows | HCL Digital Experience
You can use the REST services for HCL Web Content Manager to create drafts, approve items
in a workflow, retrieve workflow comments from content items, and move items through
different stages of a workflow.
New with HCL Digital Experience 9.5 Container Update CF181 and higher
releases, two new APIs are added to handle Process Now and
Remove Workflow from an item functionality. HCL DX 9.5
CF19 and higher release adds support to retrieve workflow comments from content
items.
Creating a draft of an item that does not use a workflow
You
can create a draft of items that do not use workflows.
To do
that, specify explicitly the draft workflow state in the request entry
data. For example, to create a link component as draft:
HTTP/1.1 POST

http://host:port/wps/mycontenthandler/wcmrest/LibraryLinkComponent
<atom:entry xmlns:atom="http://www.w3.org/2005/Atom" xmlns:wcm="wcm/namespace">
    <wcm:name>linkDraft_E</wcm:name>
    <atom:link atom:rel="library" atom:href="/wps/mycontenthandler/!ut/p/wcmrest/item/d07f0a12-3801-465e-bc20-eaec2cecf5cb"/>
    <category label="Draft" scheme="wcmrest:workflowState" term="DRAFT"/>
</atom:entry>

201 Created
Creating a draft in a workflow
You can use the REST service to create a new draft item. This is equivalent to using the
Create Draft icon in the authoring portlet.
A new draft of an item can be created by sending a
POST request to the following URI:
/item/item-uuid/create-draft
For
example:
HTTP/1.1 POST
http://host:port/wps/mycontenthandler/wcmrest/item/item-uuid/create-draft

201 Created
Moving an item to the next stage
You can use the REST service to move an item to the next stage of a workflow. This is equivalent
to using the Next Stage icon in the authoring portlet.
An item can be moved to the next stage
by sending a POST request to the following URI:
/item/item-uuid/next-stage
For
example:
HTTP/1.1 POST
http://host:port/wps/mycontenthandler/wcmrest/item/<item-uuid>/next-stage

201 Created
Moving an item to the previous stage
You can use the REST service to move an item to the previous stage of a workflow. This is
equivalent to using the Previous Stage icon in the authoring portlet.
An item can be moved to the previous
stage by sending a POST request to the following URI:
/item/item-uuid/previous-stage
For
example:
HTTP/1.1 POST
http://host:port/wps/mycontenthandler/wcmrest/item/item-uuid/previous-stage

201 Created
Approving an item within a workflow
You can use the REST service to move an item to the next stage of a workflow by approving it.
This is equivalent to using the Approve icon in the authoring portlet.
An item can be approved by sending
a POST request to the following URI:
/item/item-uuid/approve
For
example:
HTTP/1.1 POST
http://host:port/wps/mycontenthandler/wcmrest/item/item-uuid/approve

201 Created
Rejecting an item within a workflow
You can use the REST service to reject an item in a workflow. This is equivalent to using the
Reject icon in the authoring portlet.
An item can be rejected by sending a POST
request to the following URI:
/item/item-uuid/reject
For
example:
HTTP/1.1 POST
http://host:port/wps/mycontenthandler/wcmrest/item/item-uuid/reject

201 Created
Restarting a workflow
You can use the REST service to restart a workflow. This is equivalent to using the
Restart icon in the authoring portlet.
An item can be restarted by sending
a POST request to the following URI:
/item/item-uuid/restart
For
example:
HTTP/1.1 POST
http://host:port/wps/mycontenthandler/wcmrest/item/item-uuid/restart

201 Created
Workflow Comments
To ensure that comments
are added to workflow stages that require comments, a GET request
must be issued to the associated link. This will return an HTML form indicating
whether a comment is required.
To add the comment you either submit the form, or perform an HTTP Post request with a content
type of text/plain.
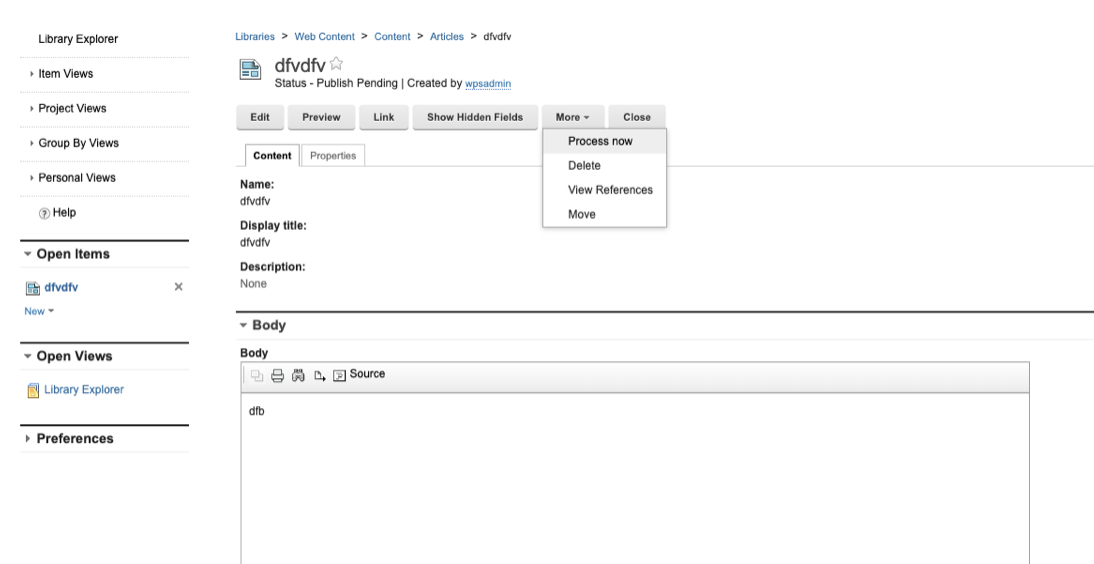
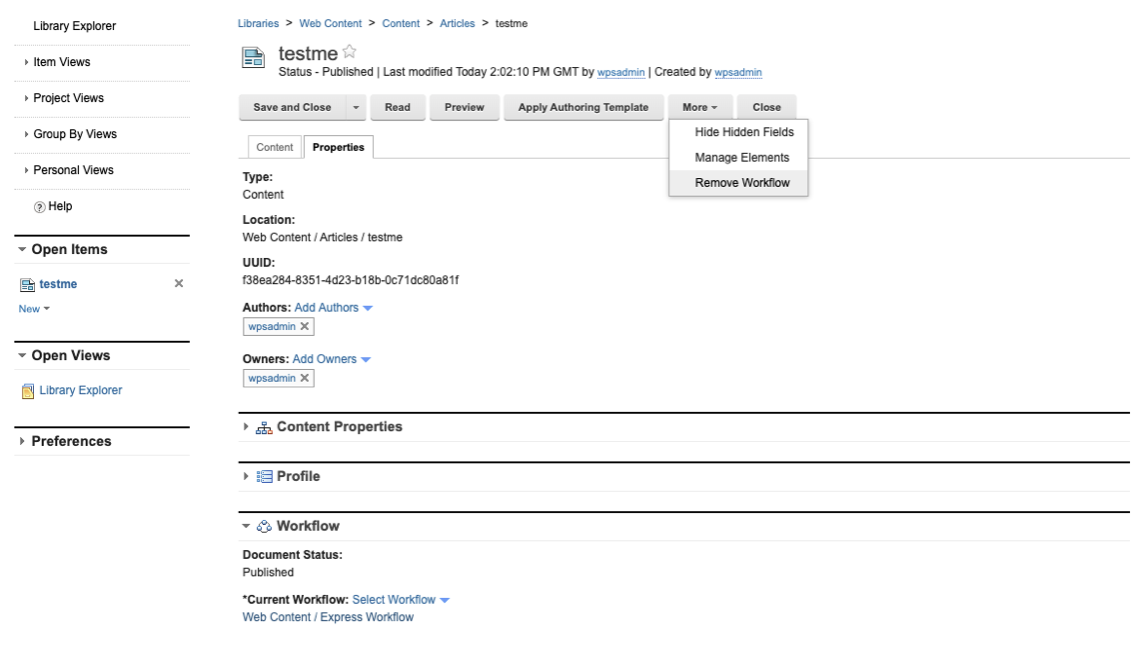
The Process Now and Remove Workflow from an item functionality are equivalent to their
functionality in user interfaces:Figure 1. Process NowFigure 2. Remove Workflow
Using the Process Now API
Endpoint
POST request to:
http://host:port/wps/mycontenthandler/wcmrest/item/<(UUID of the
content)>/process-now
<?xml version="1.0" encoding="UTF-8"?><entry xmlns="http://www.w3.org/2005/Atom" xmlns:wcm="http://www.ibm.com/xmlns/wcm/8.0">
    <id>wcmrest:35381882-69e2-4d06-8553-e8bed1e09e68</id>
    <title xml:lang="en">Give me comments</title>
    <summary xml:lang="en"></summary>
    <wcm:name>Give me comments</wcm:name>
    <wcm:type>Content</wcm:type>
    <updated>2020-10-12T20:04:40.428Z</updated>
    <published>2020-10-12T20:04:11.599Z</published>
    <wcm:created>2020-10-12T20:03:52.213Z</wcm:created>
...
    <wcm:workflow>
        <wcm:publishDate>2020-10-12T20:03:39.000Z</wcm:publishDate>
        <wcm:expiryDate>2020-10-12T20:04:34.000Z</wcm:expiryDate>
        <wcm:workflowComments wcm:date="2020-10-12T20:04:11.560Z" wcm:commenter="uid=wpsadmin,o=defaultWIMFileBasedRealm" wcm:comment="Content is amazing - Approved!!!"/>
        <wcm:workflowComments wcm:date="2020-10-12T20:04:34.551Z" wcm:commenter="uid=wpsadmin,o=defaultWIMFileBasedRealm" wcm:comment="Yeah on second thoughts maybe not that great. Retiring approved."/>
    </wcm:workflow>
...
Using the WCM Add Comment API
This API allows you to add a comment to an item (like content, content template, or
others). Note that the item needs to be saved so a new version is created.
There is no equivalent to the WCM Add Comment API functionality in the user
interface.
This API works similarly as the other APIs described on this page.
Endpoint
POST request
to:
http://host:port/wps/mycontenthandler/wcmrest/item/<UUID of WCM item>/comment
See the section Workflow Comment section for the structure on
how to submit the comment.
To ensure that comments are added to workflow stages that require
comments, a GET request must be issued to the associated link. This
returns an HTML form indicating whether a comment is required.
To add the comment, you either submit the form or perform an HTTP POST
request with the content type of text/plain.