Transferring a file to a new owner
You can transfer one or more files that you own to a different owner, provided that the files aren't community files.
Procedure
- Click Files in the title bar, and then click the name of the page that contains your file, for example My Files.
- From any view of the files (thumbnails, list, customized), select the file or files that you want to transfer. Then click Transfer Ownership in the action bar.
-
Start typing the name of the person you want to transfer ownership to, and
select their name from the list.
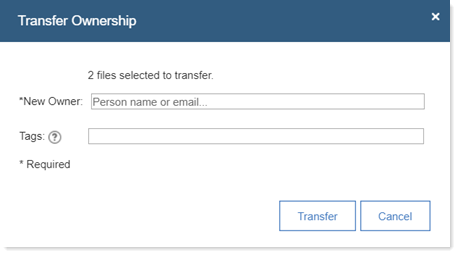
- If you want, add tags to the files being transferred. For example, you could add a tag to indicate who is transferring the files or the reason for the transfer.
- Once you're ready to give up your access to the files, click Transfer.
Results
Transferring file ownership gives the new owner the appropriate access (owners can share their
files with people or communities and assign Reader or Editor access to the file). Some values
associated with the file might display differently than those associated with files of an original
owner. Some examples are:
- The Created field on the About tab in the side panel of a file's preview page shows the new owner's name rather than that of the person who originally created it.
- On the Sharing tab in the side panel, the new owner is listed as both Owner and Editor/Reader if the file was previously shared with them. The new owner still sees the file in their "Shared With Me" view.
- A transferred file might remain in a folder created by the original owner.
Note: If you prefer not to transfer the files yourself, you can ask your administrator to reassign
ownership in bulk. For more information, see Transferring ownership of user files in
the Administering Connections Help.