Creating a Custom Report
This page lets you create a custom report. A report like this is actually code that generates a printable report.
It typically consists of HTML with embedded Relevance and JavaScript commands. You can choose to make this report public or private.
Take note that, if you have a brand new installation of the product, the import or save of custom
reports is disabled by default. To import or save custom reports, the product administrator must set
the value of key
AllowCustomReportCreation to 1. Also the view of custom reports to
non-administrator users is disabled by default. To allow any user to view custom reports, the
product administrator must set the value of key AllowUserViewCustom to 1. Depending
on your installation, these registry keys can be found in:- On Windows operating systems:
HKLM\Software\WOW6432Node\BigFix\Enterprise Server\BESReports- On Linux operating systems:
- In the configuration file
/var/opt/BESWebReportsServer/beswebreports.config, section[Software\BigFix\Enterprise Server\BESReports]
To create a custom report:
- Select Explore Data > Custom.
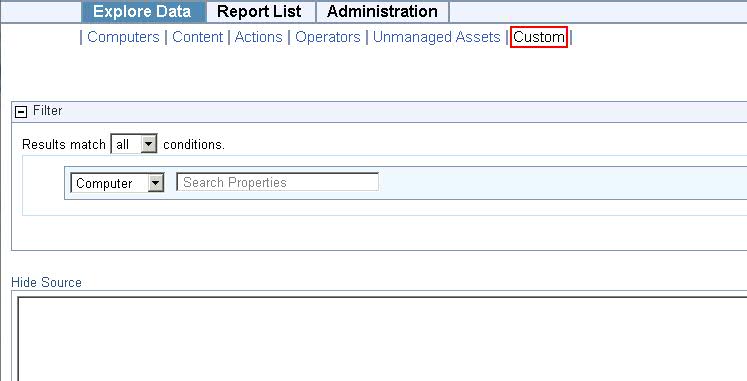
- There is a Filter box. Set it to apply to just the subset of data you want your custom report to be based on.
- Fill
in the text box by specifying the full report request. For example
you can specify to list the names of your BigFix computers
as follows:
<div>Computer Names</div>
    <?Relevance names of bes computers?>
Note: In the corresponding XML file this information is displayed in the character data (CDATA) block of the Data tag - When you like what you see, click the Save Report button to add your custom report to the list.
When in the list you can change its visibility, label it, and schedule it, as with any other report. The following section describes in more detail how to create a custom Web Report using XML.