Creating or Customizing Fixlets and Tasks
How to create your own custom Fixlet or Task message from scratch.
Perform these steps:
- Select Tools > Create New Fixlet or Task. This opens a creation dialog with blank
fields for you to fill in.
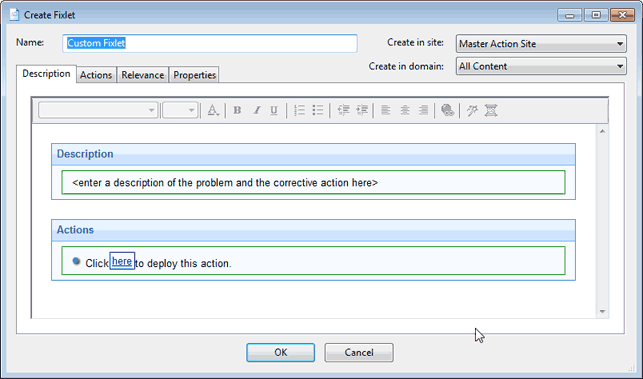 Note: To remove incorrect characters from the dialog, right-click the window, select Encoding and select the appropriate language. Close and reopen the window.Note: The maximum length for Fixlet or Task names is 255 characters.You might also want to customize a Fixlet or Task. You can do this by cloning and modifying an existing one. To do this, first select the desired Fixlet or Task from the List Panel, then select Edit > Create Custom Copy (or right-click the item and select Create Custom Copy from the context menu). The appropriate creation dialog opens, but this time it is filled with the original content.
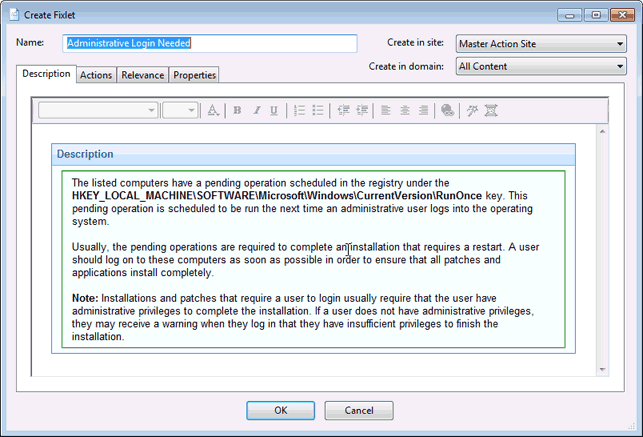
Either way, the Create dialog provides the same options. Enter the name of your customized message in the top left text box. This serves as the title when the Fixlet or Task is displayed. You can use the name for sorting and filtering, so create a consistent naming convention to make your content more manageable. - Choose the Site and Domain to
host it from the drop-down menus, upper right.
Next, click through each of the tabs to further define your Fixlet or Task.
- Description: Enter your descriptive text in this box. You can use the text manipulation toolbar at the top of the dialog to enhance the formatting.
- Actions: Define your
action in this dialog. Use the buttons at the right to add, delete,
or change the position of the action. Below that is an area to customize
the properties of the action. Choose the Script Type from the
drop-down menu. Below that is a text box where you can enter a new
action script or modify the original.
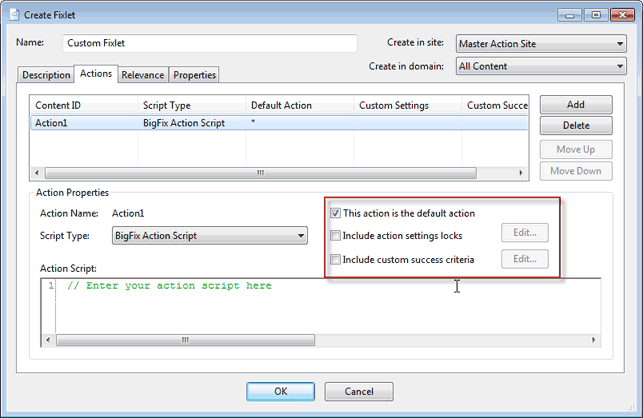
There are three check boxes you can use to modify the action:
- This action is the default action. Click this box to create a default action.
- Include action settings locks. Click Edit to the right of this check box to customize the action setting locks, including start time, end time, day exclusions, and more. This panel also includes failure and reapplication behaviors.
- Include custom success criteria, which allows you to specify the conditions that define the success of the action.
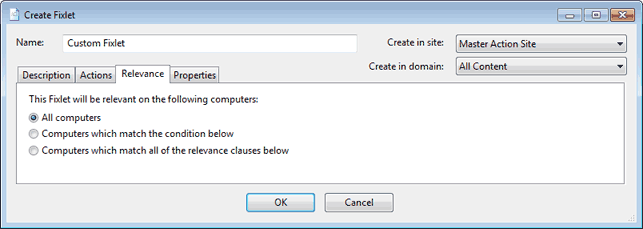
- Relevance: Leave
the default of applying to All computers, or click a different
button and enter a condition or a relevance statement in the dialog
below. This is how you target your Fixlet or Task to relevant computers.
For more information about the relevance language, see the Inspector Libraries.
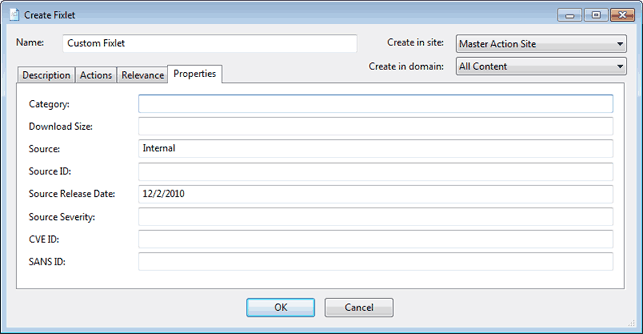
- Properties: Set
the properties of your Fixlet or Task, including the category, download
size, date, severity, and more. You can also include the SANS (SysAdmin,
Audit, Network, Security) or CVE (Common Vulnerabilities and Exposures)
ID numbers.
- When you are satisfied with your definitions, click OK. Because your Fixlet or Task must be propagated, you are prompted for your private key password. When you enter it and click OK, it is sent to all the Clients, which evaluate it for relevance and report back their status. You can then follow the deployment of your new content in real-time from the Console.