Configure Access details
After creating and configuring the resource, configure access details as follows:
- Keep the default Node pools options. At the bottom of the screen, click Next: Access.
- On the Access page, set the default value for Resource identity as System-assigned managed identity. Managed identities provide an identity for applications to use when connecting to resources that support Azure Active Directory (Azure AD) authentication. For more details about managed identities, see “What are managed identities for Azure resources?”.
- Set the Kubernetes role-based access control (RBAC) option as the default value to provide more fine-grained control over access to the Kubernetes resources deployed in your AKS cluster.
- By default, the basic networking is used, and the Container insights is enabled.
- Click Review + create. When you navigate to the Review + create tab, Azure runs validation on the settings that you have chosen. If validation passes, you can proceed to create the AKS cluster by clicking Create. If validation fails, then it indicates which settings need to be modified. It might take a few minutes to create the AKS cluster.
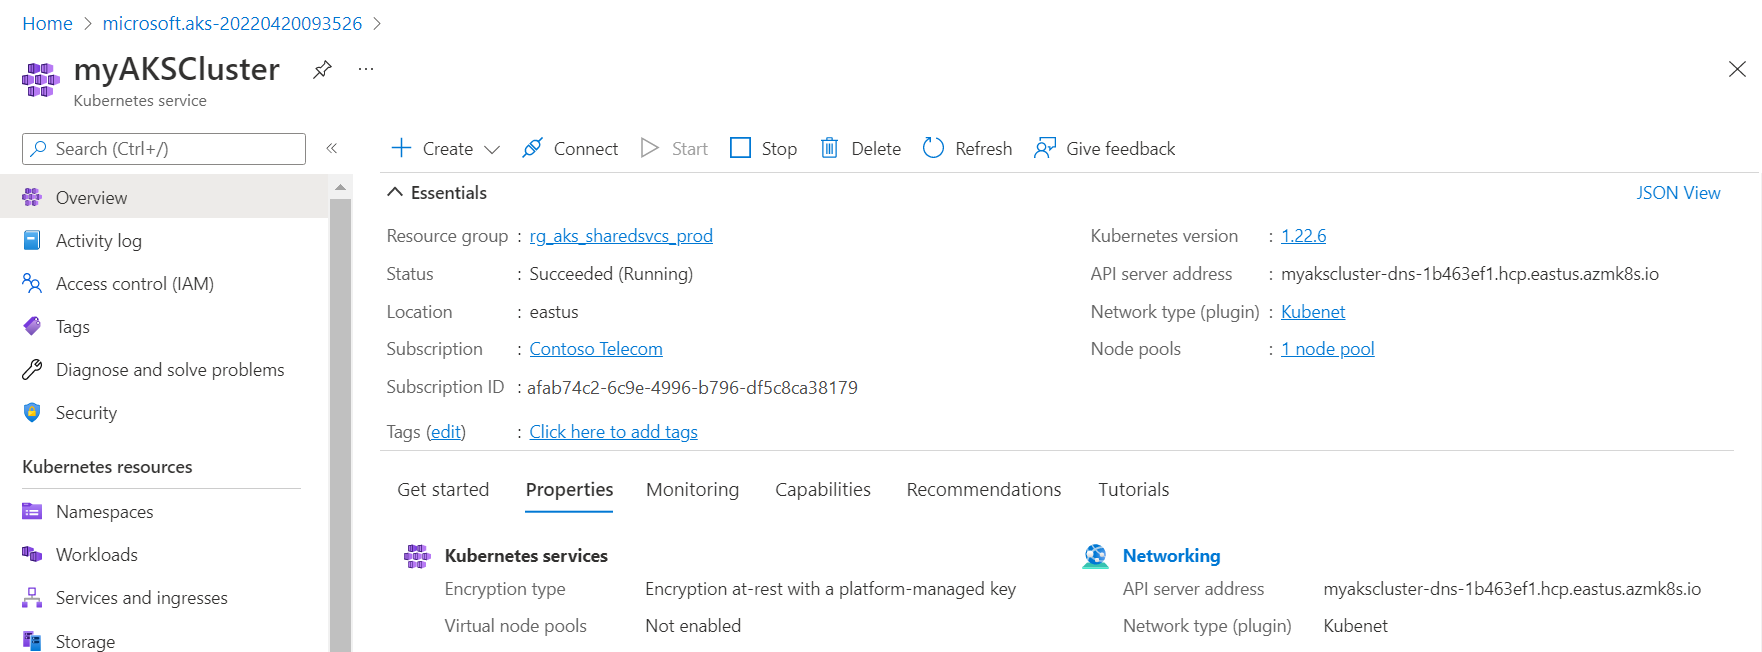
- When your deployment is completed, navigate to your resource by either clicking Go to resource, or browsing to the AKS cluster resource group and selecting the AKS resource.
-
A sample screenshot of myResourceGroup by selecting the resource myAKSCluster.