Configuring MongoDB for Sametime
This topic describes how to configure MongoDB on both the Windows and Linux platforms to support a Sametime and Sametime Premium deployment.
About this task
Procedure
- Start the MongoDB server as a service, if it has not already been started.
-
Start the MongoDB console.
- For Windows, run the
mongo.exeprogram which is in the following directory: C:\Program Files\MongoDB\Server\4.4\bin - For Linux, run >mongo.
- For Windows, run the
-
From the MongoDB console, run the following commands to create
sametimeUserin MongoDB.You can use and modify the following example. If you change the user and password, you must use the new values when you configure the Sametime server in a later step.use admindb.createUser({user: "sametimeUser", pwd: "sametime", roles:[{role:"readWrite", db:"chatlogging"},{ role:"readWrite", db:"mobileOffline"},{ role:"readWrite", db:"meeting"},{role:"dbAdmin", db:"meeting"},{role:"userAdminAnyDatabase", db:"admin"}]})When complete, a message is displayed that the user was added along with details as shown in the following example.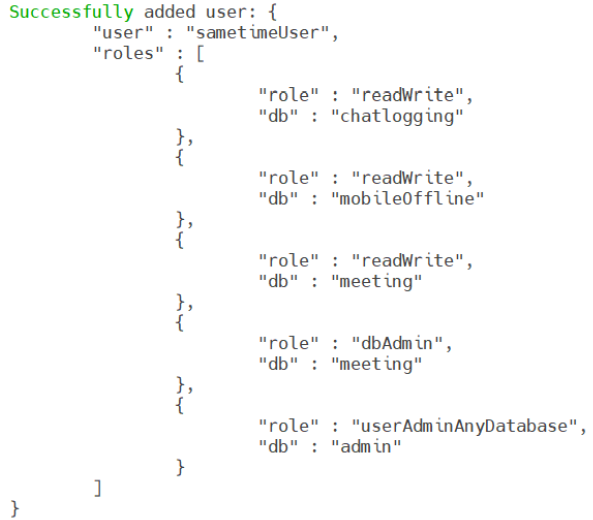
-
From the MongoDB console, run the following commands to create the
chatlogging database with events and
sessions collections in MongoDB.
use chatloggingdb.EVENTS.insertOne({"_id" : "dummy"})db.SESSIONS.insertOne({"_id" : "dummy"})Note: The commands are case sensitive and must be typed as shown. -
Stop the MongoDB server and exit the console to pick up the new schema version change.
To exit the MongoDB console, use the exit command.
To shut down the MongoDB server:
- On Windows, stop the MongoDB service.
- On Linux, use run the service mongod stop command.
-
Edit the mongod.cfg file.
- Windows: C:\Program Files\MongoDB\Server\4.4\bin
- Linux: /etc/mongod.conf
-
Start the MongoDB service.
- For Windows, start the MongoDB Server (MongoDB) service from the Windows Services panel.
- For Linux, run the following command.
service mongod start
-
Start the MongoDB console.
- For Windows:
C:\Program Files\MongoDB\Server\4.4\bin\mongo.exe - For Linux:
>mongo
- For Windows:
-
From the MongoDB console, run the following command to initiate the Replica Set in
MongoDB.
rs.initiate()Note: For Windows, review the message that is displayed. The expected message is rs0:Secondary or rs0:OTHER. Press Enter and the message changes to rs0:Primary>. rs.conf()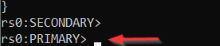
-
The replica set is now operational. To view the replica set configuration, run the
command from the MongoDB Console. To check the status of the replica set, use the
rs.status() command.
At this point, you can exit the console using the exit command.
Note: When MongoDB is not configured on the local host, the configuration must reflect the correct host name or IP. See the HCL Sametime 11 clients fail when MongoDB host is not configured correctly on the Community server article for known issues.