Customizing a test suite run
When you have tests in a test suite and you want to run the test suite in HCL OneTest™ API, you can customize the test suite run.
Before you begin
You must have created a test suite with tests in an HCL OneTest™ API project and configured a database for storing the results.
About this task
You can run a selected test suite, for example, run a subset of included tests or run in a different environment, by using the custom execution dialog. After you have run a test suite at least one time, you can select the completed test run as a baseline instance.
The results of the suite are stored as a new instance and can be viewed as such in the Results Gallery.
Procedure
-
Open the custom execution dialog in one of the following ways:
- Select a test suite and press Shift + F5.
- Right-click a test suite, and then select Run from the menu.
- Select a test suite, expand the Run icon in the main
HCL OneTest™ API
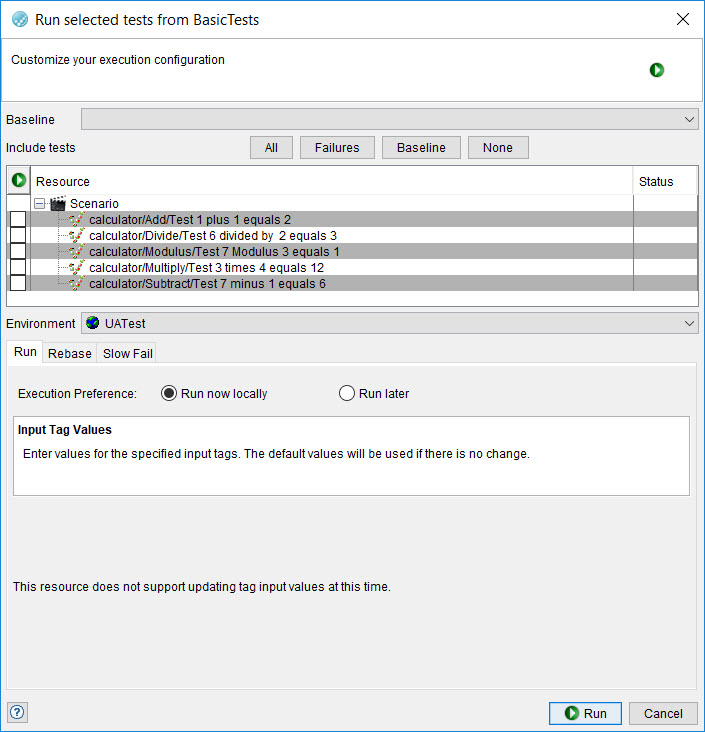
toolbar, and then select the Run option. The Run selected tests from <test_suite> window is displayed.
 Note: If you ran the test suite previously, all the previously run instances are displayed in a list in the Baseline field.
-
Perform the following actions if you want to run tests from previous instances of
runs:
- Select the tests to run in the current instance by selecting or clearing the check boxes for each test, if you are running the test suite for the first time or you do not want to use any instance from the Baseline list.
- Select the environment in which the test suite is to be run, from the Environment list.
-
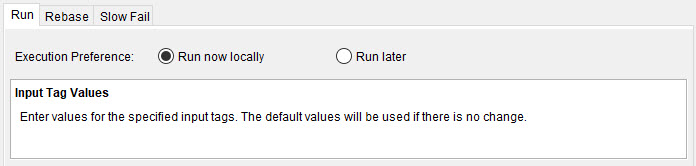
Select any of the following options on the Run tab:
- Run now locallyNo further options are required. The test suite starts to run immediately after you click Run.
- Run later
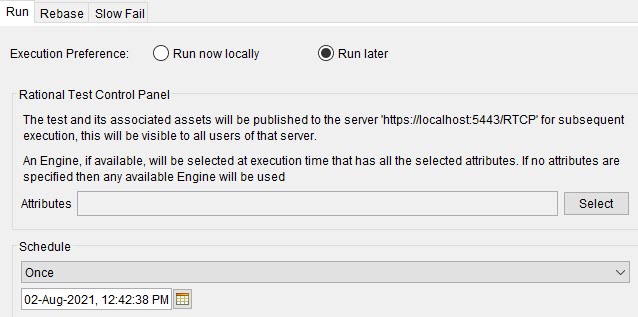 Restriction: The domain-level security cannot be enabled for scheduled tests.Note: The scheduled test and its associated assets are published to HCL® Quality Server for a subsequent run at the scheduled date and time. All users who are logged on to HCL® Quality Server can view the scheduled test as the domain-level security is not applied to such tests.Perform the following steps:
- Click Select and then select the attributes of the engine on
which the test suite is to be run.These attributes are used to determine the engine to run the selected tests at the scheduled time.Note: The attributes that are added for a scheduled test are displayed in the Details panel for a running agent in the Infrastructure Dashboard on HCL® Quality Server and are removed from the display when the agent is deleted from HCL® Quality Server. You can use the attribute in filters as the attribute is available in the computer on which the HCL® Quality Server is installed. The attribute is not removed after you delete it until you restart the computer.
- Select the frequency of running the test suite.
For example, you can run the test suite once, daily, or repeatedly.
Specify the options for the frequency that you select.
The test suite is scheduled to run at the specified time on the day selected.
- Click Select and then select the attributes of the engine on
which the test suite is to be run.
- Run now locally
-
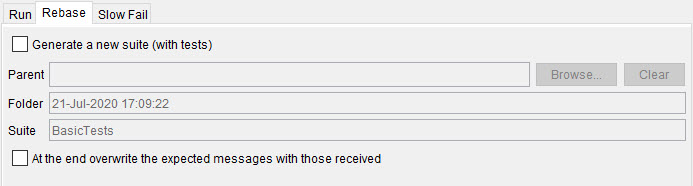
Click the Rebase tab, and then perform the action as described in
the following table:
Option
Action…
Results in…
Generate a new suite (with tests)
Select this option only if you want to create a test suite from the tests that you select for the current run.
The tests that you select for the current run are added to a test suite that is created.
The following fields are enabled when you select the Generate a new suite (with tests) option:Option
Action…
Results in…
Parent
Click Browse, and then select the required component, folder, or operation where the test suite is to be created.
The test suite is created in the location that is selected.
Folder
Enter or modify the name of the folder in which the test suite is to be created in the Folder field.
The test suite is created in the folder that you specified.
Suite
Enter or modify the name of the test suite in the Suite field.
The test suite is created with the name that you specified.
Option
Action…
Results in…
At the end overwrite the expected messages with those received
Perform any of the following actions:
- Select this option to overwrite expected messages in the tests that run with the messages that are received.
- Clear this option if selected, to retain the messages in the tests.
Depending on your selection, the results can be as follows:
- Messages in the tests are overwritten with the messages that are received.
- Messages in the tests are retained and not overwritten.
-
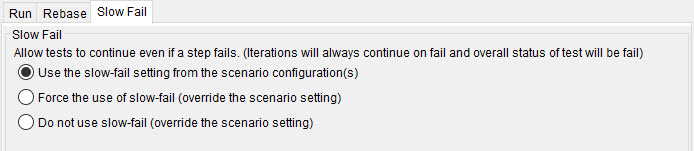
Select any of the following options on the Slow Fail tab as
described in the following table:
Option
Description
Use the slow-fail setting from the scenario configuration(s)
Selecting this option does not override the Allow tests to continue even if a step fails setting from the configuration in the scenario.
This is the default option and the test fails when any step in the test fails.
Force the use of slow-fail
Selecting this option has the same effect as selecting the Allow tests to continue even if a step fails option from the test configuration.
Do not use slow-fail
Selecting this option has the same effect as clearing the Allow tests to continue even if a step fails option from the test configuration.
- Click Run to run the test suite.
Results
The tests in a test suite are run with the configurations that you set.