Adding timestamp tokens
You can add timestamp tokens if you want to define a period during which the SOAP envelope is valid.
About this task
To add a timestamp token:
Procedure
- Open a SOAP message for editing.
- Right-click the message node, and then click Properties.
- Click the WS-Security tab.
- Select the Enable check box.
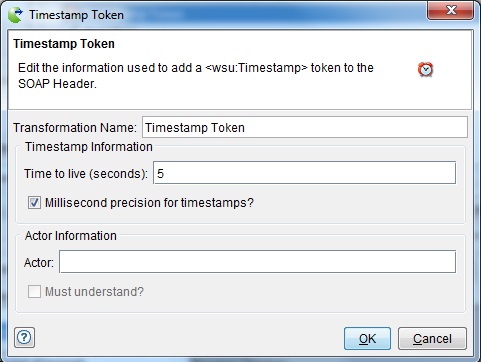
- Select Timestamp Token from the
list. The Timestamp Token editor is displayed.

- Optionally, you can define Actor/Role information
to further secure the token and the message (actor/role and mustUnderstand).
Note: If you do not modify the default value (zero) for Time to live, the timestamp token never expires.
The following fields and options are part of the timestamp token:
Field Description Transformation Name (Required) User-defined name for the security action (helps identify the action in the main list). Time to live (Required) The amount of time (in seconds) for which the token is valid after you send the message. Millisecond precision for timestamps If enabled, the timestamp for the <wsu:Created> element is generated by using milliseconds (2009-03-31T02:41:16.817Z). If disabled, the timestamp is generated without milliseconds (2009-03-31T02:41:16Z). Actor Indicates a specific message receiver (either the ultimate receiver or an intermediary). For each actor/role that is defined (that is, in multiple tokens), a separate security header is added to the SOAP header. Must understand If enabled, makes the SOAP header mandatory for the specified actor/role. In this case, either the header block must be processed or the entire SOAP message must be ignored, and a SOAP fault must be generated. If not enabled, the specified actor/role may or may not process the SOAP header.