Upgraded and deprecated Content Template assets | HCL Digital Experience
When you install Content Template Catalog 4.4 on an existing Content Template 3 or 3.1 solution, existing assets are either upgraded or deprecated. You should test every part of your site after upgrading to make sure that there are no unexpected changes.
Many assets are upgraded in place during installation with no impact on the current solution. Assets that have been deprecated are copied to create a new version and the old version is placed in an obsolete folder so you can be aware of its deprecated status. The deprecated assets continue to work, but you should think of a continuation plan for these deprecated assets. You can either redesign your solution to drop the deprecated assets or copy them into your customized solution if you must continue to maintain the deprecated assets.
Upgrading assets to use a list presentation
- Carousel
- Slideshow
- List
Older versions of these authoring templates are stored in the Obsolete folder in the CTC Design Library. You should apply the new templates to your migrated content.
The list presentations added in version 4.0 are located under CTC Design > Components > List Presentations in the CTC Design Library
Upgrading slideshows
- Open the page in edit mode.
- Open the slideshow configuration by hovering over the slideshow and clicking Open Edit Mode.
- Add the style contentConstrain to the CSS Style attribute.
- Save the configuration and close the dialog.
- Open a WebDAV connection to your theme. For example,
http://server:port/wps/mycontenthandler/dav/fs-type1/themes/Portal8.0 - Go to the folder CTC/css open the file content-base.css.
- Modify the style for .promoSlideshow to add
a maximum width:
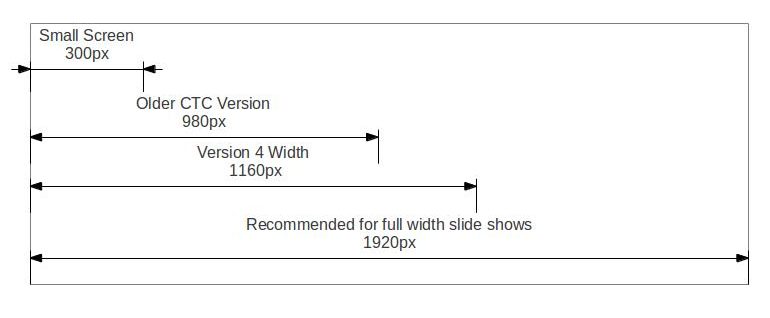
	.promoSlideshow {
	  position:relative;
	  overflow:hidden;
	  max-width:1160px;
	  margin:0 auto
	}
Upgrading slideshow images