
Verifying your customized REST service call by using the Poster browser plug-in
In this lesson, you verify
the customized REST calls to the sample data beans and controller
commands with the Poster browser plug-in.Procedure
- Create and display your requisition list in the storefront.
- Open the Aurora B2B starter store in a web browser. Go to https://localhost/webapp/wcs/stores/servlet/en/aurorab2b.
- Click Sign In/Register and log
in to the store as a Site Administrator. For example, wcsadmin.
- Click My Account to load the My Account page.
- On the left pane, click the Requisition List tab under the Order section.
- On the right side, click Create List . A small window pane opens. Type in a name and select a type (Shared/private) to create a requisition list.
- Save your new data. A message window displays the successfully created requisition list. Close the prompt.
- Select a product under the Recommended section. Go to the Product Details page.
- Enter a quantity for the product. Click Add to Requisition List.
- Enter a name for the requisition list and save.
- Select continue and go back to the Requisition List Display page.
- If necessary, create extra requisition lists to test.
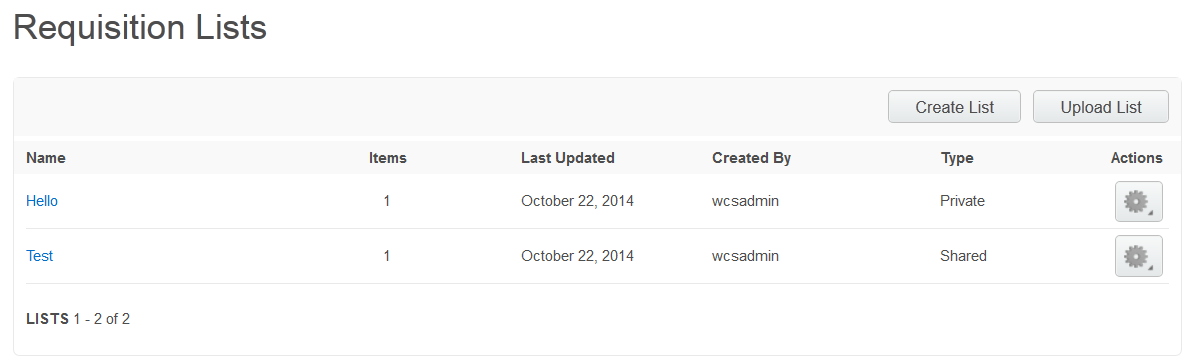
- The requisition lists page now shows the existing requisition
lists in the table:
- Verify your customized REST service call by using the Poster
browser plug-in.
- Launch poster for Firefox.
- Sign in as the Site Administrator (wcsadmin). Go to https://localhost/wcs/resources/store/10801/loginidentity and enter your login Id and password:
- Click POST. A response window shows. Make note of the values for WCToken and WCTrustedToken for later use.
- In the URL field, enter your
URL for the GET action to retrieve the data from the requisition list.
Specify the custom profile that you created in the URL, since the IBM_Store_Summary profile
is recognized by the RequisitionListHandler by default.For example: https://localhost/wcs/resources/store/10801/requisition_list?q=usable&profileName=MyCompany_Store_Summary.
- Click GET. The REST service retrieves
the corresponding data. The response window with the corresponding
information displays.For example, the following key sets of information must be available within the response window:
GET on https://localhost/wcs/resources/store/10801/requisition_list?q=usable&profileName=MyCompany_Store_Summary
Status: 200 OK

{"recordSetTotal":2,"recordSetCompleteIndicator":true,"recordSetStartNumber":0,"resultList":[
{"status":"Z","Owner":7000000000000000851,"userRegistration":{"middleName":"","lastName":"wcsadmin","firstName":""},
"memberId":"-1000","totalTax":"0.00000","orderId":"11001","shipDate":"2014-11-11T20:54:32.742000000Z","storeId":"10801",
"description":"Test","organizationId":"-2001","lastUpdate":"2014-11-10T20:59:51.259000000Z","comment":null},

{"status":"Y","Owner":7000000000000000851,"userRegistration":{"middleName":"","lastName":"wcsadmin","firstName":""},
"memberId":"-1000","totalTax":"0.00000","orderId":"12001","shipDate":"2014-11-11T20:54:32.742000000Z","storeId":"10801",
"description":"Hello","organizationId":"-2001","lastUpdate":"2014-11-10T20:58:57.243000000Z","comment":null}],"recordSetCount":2}
Review the results, noting the information is available within it for the first requisition list item. Extra data such as Owner, totalTax, and shipdate is also retrieved successfully.
Next, customize the store widget to use the additional data.