A patch management scenario
Follow the steps listed in these topics to learn how to deploy a patch using the Patch Management application on a newly installed BigFix server. All the steps are run from the BigFix console.
This scenario applies to Windows operating systems. You can follow the same procedure to enable and apply patches also on other operating systems.
Configuring Patch Management for Windows patches
After installation, the BigFix product is automatically set up to subscribe to certain management and maintenance sites. In this way content from those sites automatically flows into your enterprise and is evaluated for relevance on all computers running the BigFix client.
- Open the BigFix console by double
clicking the icon:

- Click the License Overview dashboard.
- Scroll down to the Patch Management area.
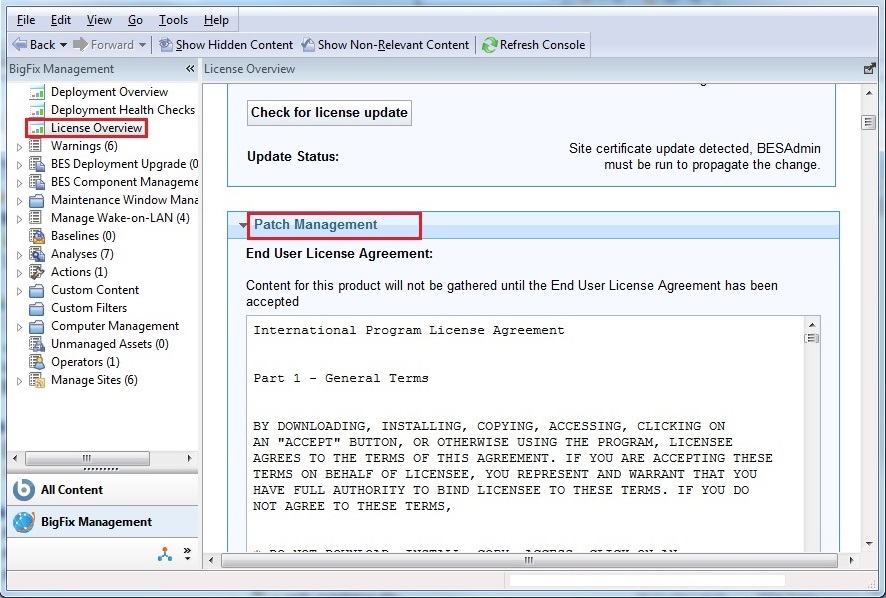
- Read and accept the Patch Management license agreement.
- In the Available sites click Enable beside BES Asset Discovery, Patches
for Windows (English), Patching support and Updates for Windows Applications to
enable download content from the Patch Management web site.

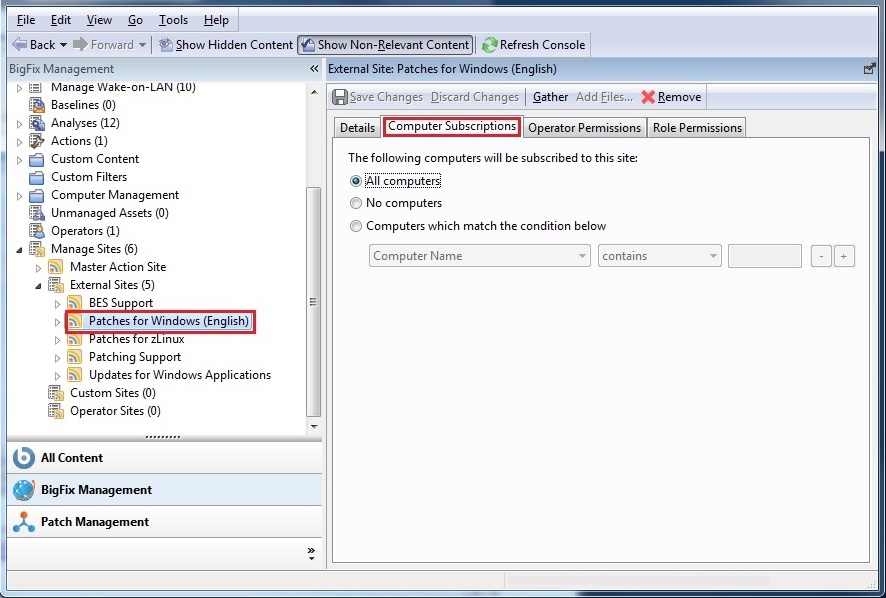
The Patch Management site is now listed in the Manage Sites node of the domain panel. - Open the Manage Sites node and select Patches for Windows (English).
- From the site dialog, click the Computer Subscriptions tab
and then select All computers.
- You can either wait for the gather process to automatically run or you can click Gather to start downloading the available contents from the selected sites.
- After the gather process completes, the Patches for Windows (English) subtree is populated with the new content.
Applying a Windows patch
- Expand the Patches for Windows (English) subtree and click Subscribed Computers. In the List panel you see an entry representing the client installed on the server system.
- Select the Relevant Fixlets and Tasks tab to display the
list of Fixlets that are relevant for the selected client.
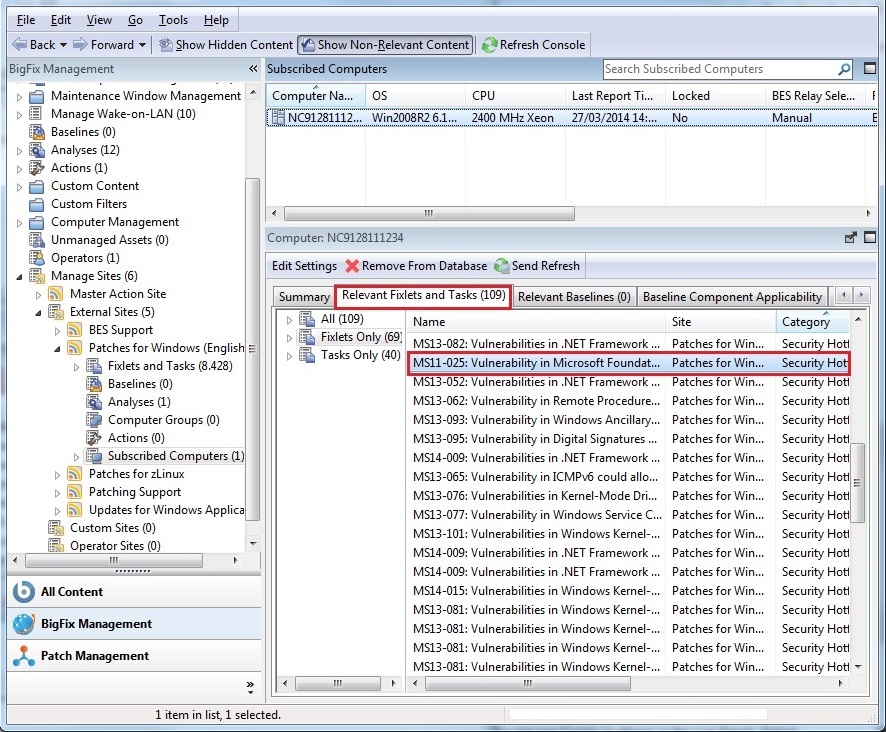
A Fixlet is relevant for a client if the client needs to install the content referenced in the Fixlet. The need to install that content is automatically evaluated on the Client using a set of predefined conditions specified in Fixlet.
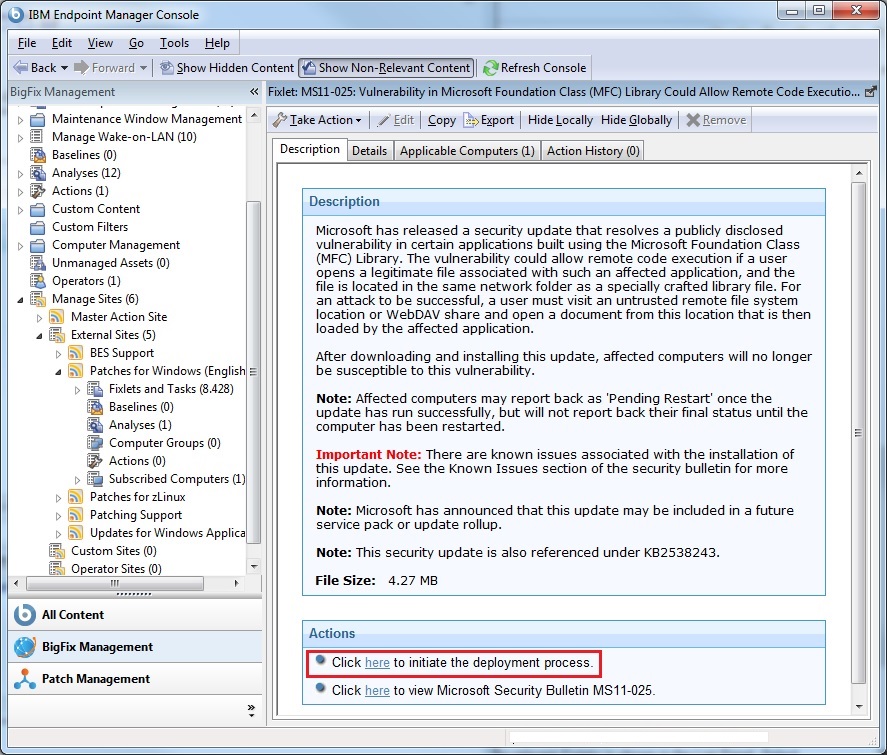
- Double click a Fixlet to access the Fixlet description.
- In the Actions pane choose to initiate the deployment process.
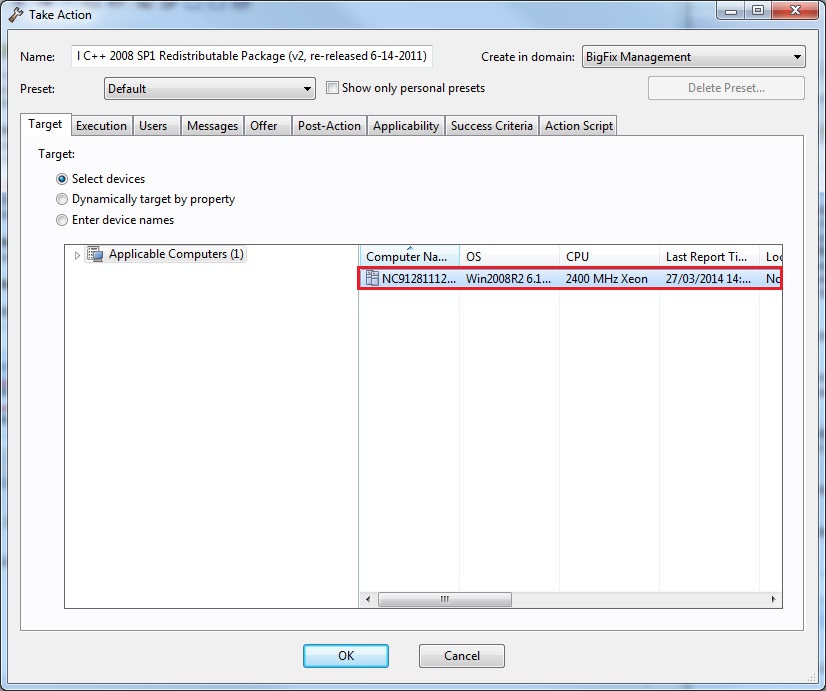
- The Take action panel opens. In this panel select the client
and then click OK to start the deployment.
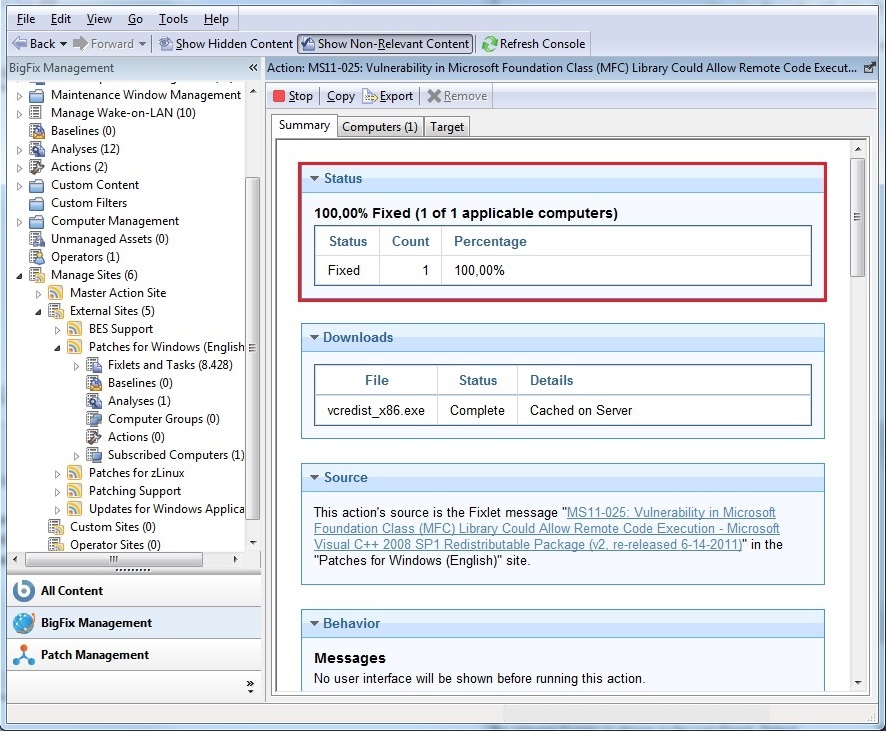
- You are automatically redirected to the Action panel. The
status pane shows the progression of the deployment of the Fixlet.
The status changes from Not evaluated to Evaluating to Fixed if
the vulnerability on the client is successfully fixed. The remove
of the vulnerability is automatically evaluated on the Client using
a set of predefined conditions specified in the Success Criteria tab
of the Action.
- After the vulnerability is removed the client does not need to apply again the Fixlet and the Fixlet is marked as not-relevant for the client.