Step 5: Configuring a virtual junction
A virtual host junction is a mount point for specific content that is located on the WebSEAL server.
Before you begin
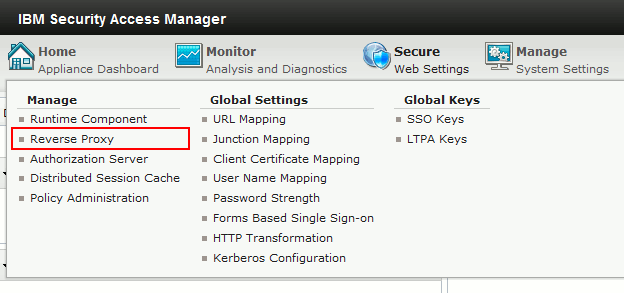
- In the IBM Security Access Manager user interface, click Secure Web Settings and then, under Manage click Reverse Proxy.
- Select the default proxy and click Edit.
- In the Reverse Proxy Basic Configuration - default window, on the Server tab, provide 9081 as the value of the HTTPS Port and click Save.
Procedure
- Log on to BigFix® Security Access Manager.
- In the top navigation bar, click .
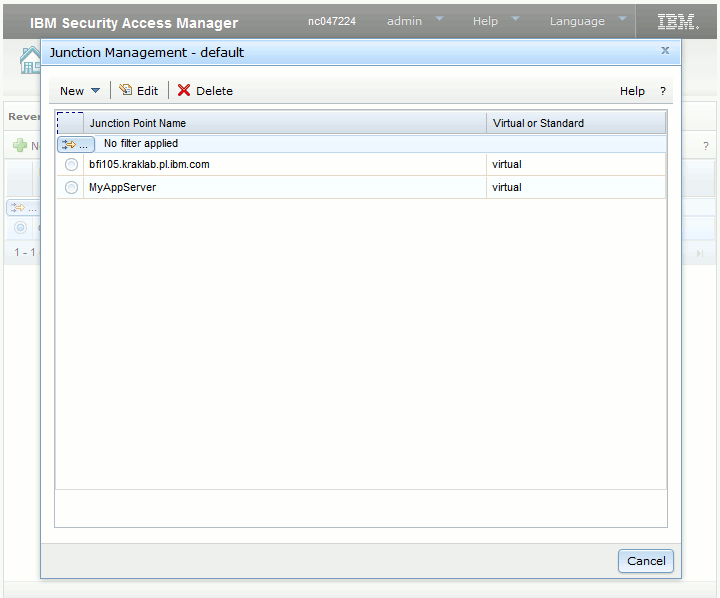
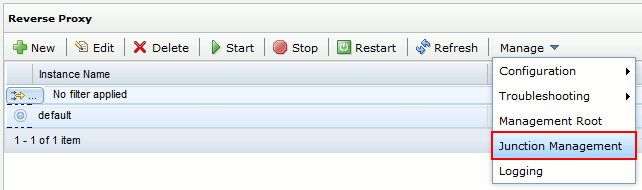
- Select the instance and then, from the drop-down list on
the right of the Reverse Proxy bar, select . A new pane
opens.
- From the drop-down list in the upper-left corner of the
pane, click .
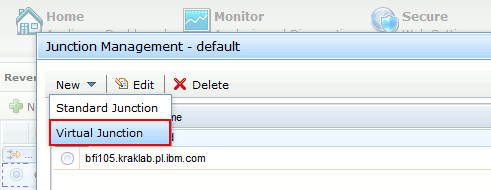
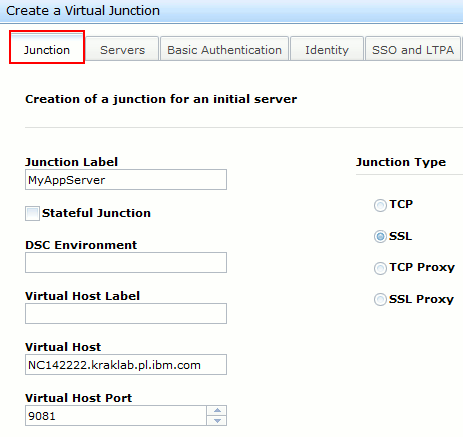
- On the new pane, specify the junction label, Virtual Host,
Virtual Host Port, and SSL as the Junction Type, and click Save.
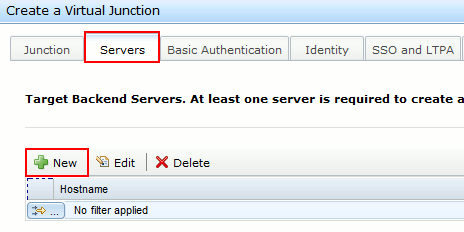
- Configure a backend server for this junction: Click the Servers tab
and then click New.
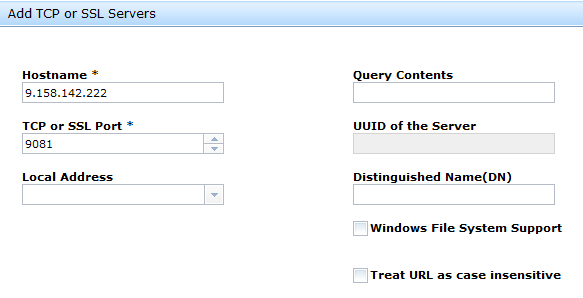
- Specify the IP address or host name of the BigFix Inventory server
and click Save.
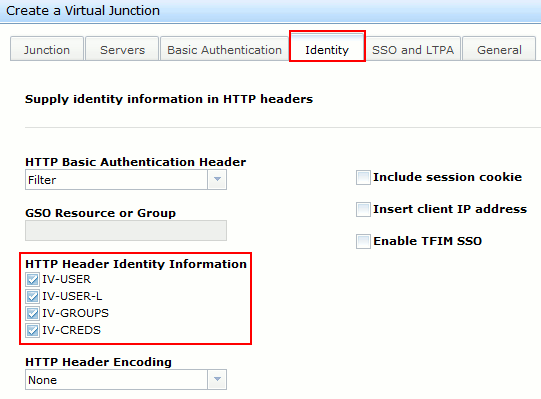
- Click the Identity tab and select
all the items under HTTP Header Identity Information.
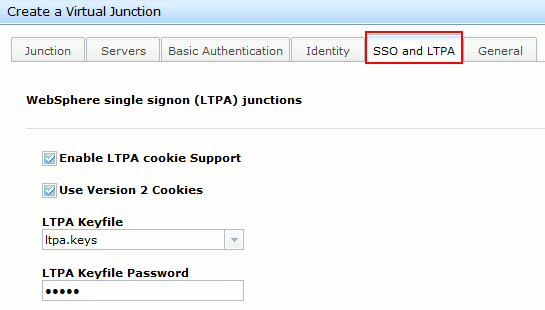
- Click the SSO and LTPA tab and select
the following entries.
- Enable LTPA cookie support
- Use Version 2 Cookies
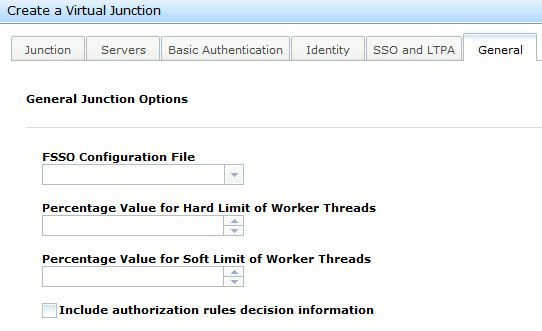
- Click the General tab and leave
all the default configuration unchanged.
- Click Save to save the configuration and exit the wizard.
- Click Cancel to exit the Junction
Management - default pane.