Set up floating license using Cloud or Local License Server
About this task
Note: If the license is on a cloud server, AppScan® must have access to domain:
hclsoftware.compliance.flexnetoperations.com. If a proxy is defined in Windows,
AppScan will use it when accessing the domain, and if the proxy requires authentication, a pop-up
will appear and you will need to supply valid credentials.Note: If AppScan is unable to reach the license server for any reason,
the license can be used for up to 3 days "Grace Period" from the last time AppScan was connected to
the server.
Procedure
-
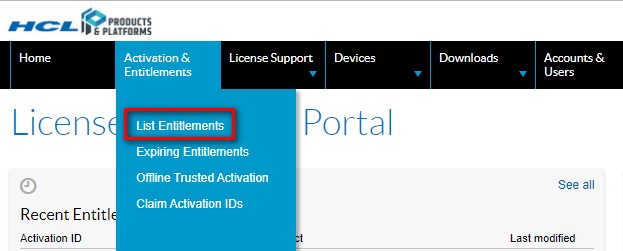
To see your available licenses: On the navigation bar click Activation & Entitlements >
List Entitlements.
-
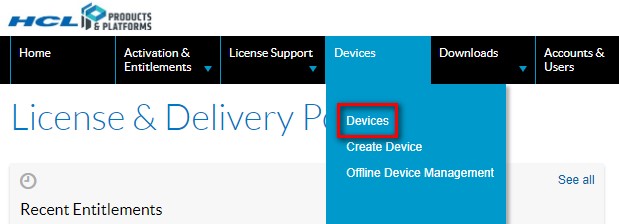
Set up the Cloud or Local License Server:
- On the navigation bar click Devices > Devices.
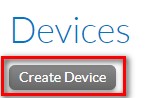
- On the Devices page, click the Create Device button.
- In the New Device dialog box, set the Device Name (for your own reference).

- Select the Runs license server? check box.
The Server Deployment radio buttons appear.
- Select Cloud or Local, as applicable.
- Leave the Site Name field blank.
- Click Save.
Set up closes and View Server for the new server opens.
- On the navigation bar click Devices > Devices.
-
Local License Server only: Download the Local License Server:
- Click Downloads > List Downloads.
- From the Downloads list, select Uncategorized Products.
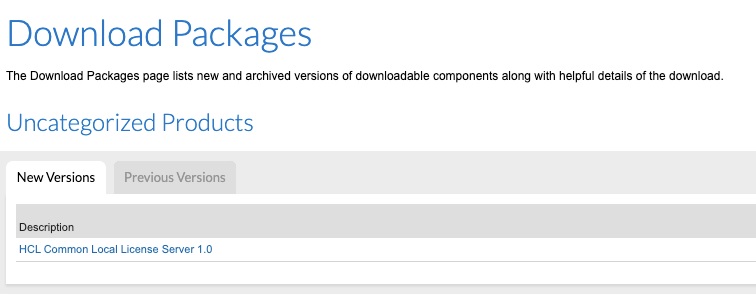
- Click HCL Common Local License Server 1.0.
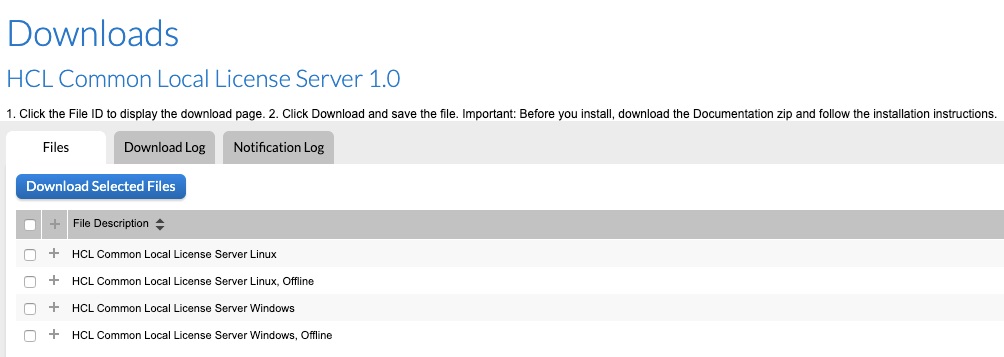
- Download the ZIP file suited to your system:
- "Offline" means the local license server doesn’t require an internet connection
- “Online” means the local license server requires an internet connection
- To set up the server on your machine, follow the instructions in README.PDF, in the ZIP file you downloaded.
-
Cloud License Server only: Set the password required to access the server:
- In View Server, click Actions > Set Password.
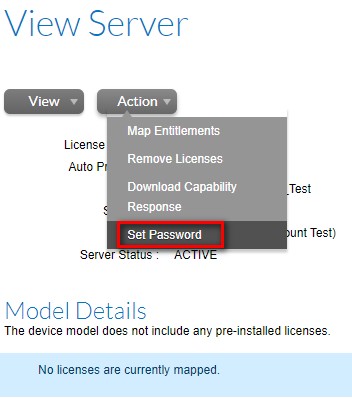
- Type in the password that will be needed to access the server, and click Set
Password.
AppScan users will need the Password you just set, in order to access the Cloud License Server.
- In View Server, click Actions > Set Password.
-
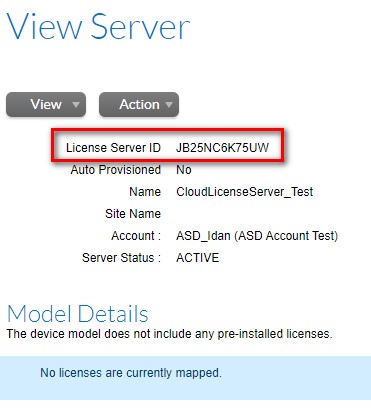
Map licenses to the server:
- In the View Server page, copy the Server ID, and save it to use later.
- Click Actions > Map Entitlements.
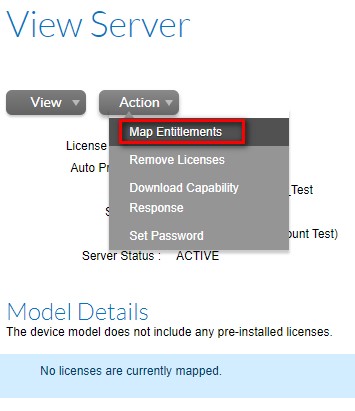 All available licenses are listed.Important: Only licenses with Product Name: “HCL AppScan Standard Edition Floating User Single Install” are valid for use with your license server.
 - In the Quantity to Add column, type in the number of licenses you want to assign to this server.
- Click Save.
- In the View Server page, copy the Server ID, and save it to use later.
-
Configure the Cloud License Server in AppScan:
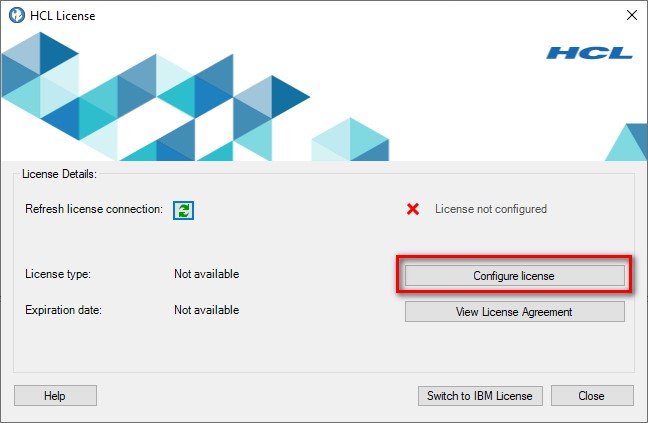
- In AppScan, click Help > License.
Make sure you are in the HCL not the IBM License dialog. The button at the bottom should say "Switch to IBM License". If it says "Switch to HCL License", then click it to make the change.
- Click Configure License.
- Select Cloud License Server or Local License Server, as needed.
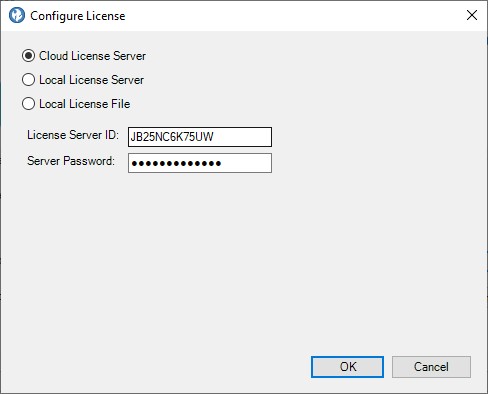
- Do one of the following:
- Cloud License Server: Enter the License Server ID you saved and the Password you just set in HCL Software Portal.
- Local License Server: Enter the Local License Server (IP or Host Name), the port, and the Password of the Local License Server (not of device password in HCL Software Portal).
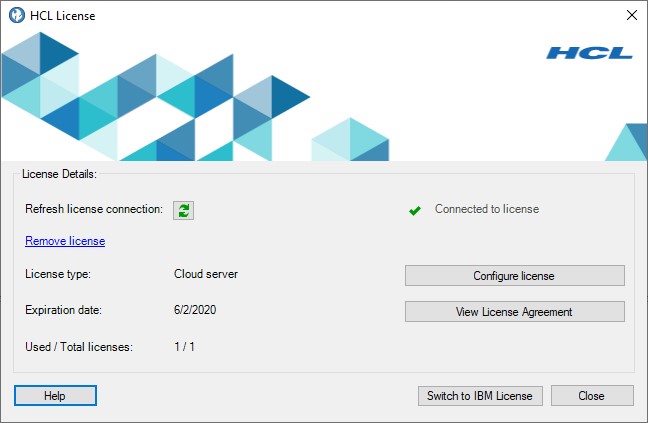
- Click OK.The license is verified by a green check-mark and confirmation message.
- In AppScan, click Help > License.