Creating a scan in AppScan on Cloud
You can upload an AppScan Standard scan or template file (SCAN or SCANT) to AppScan on Cloud (ASoC) to run a new scan on the cloud.
Procedure
- Open the scan or template you want to upload.
- Click AppScan Connect > AppScan on Cloud, and log in with your Key ID and Key Secret.
-
Click AppScan Connect > Create scan in AppScan on Cloud
-
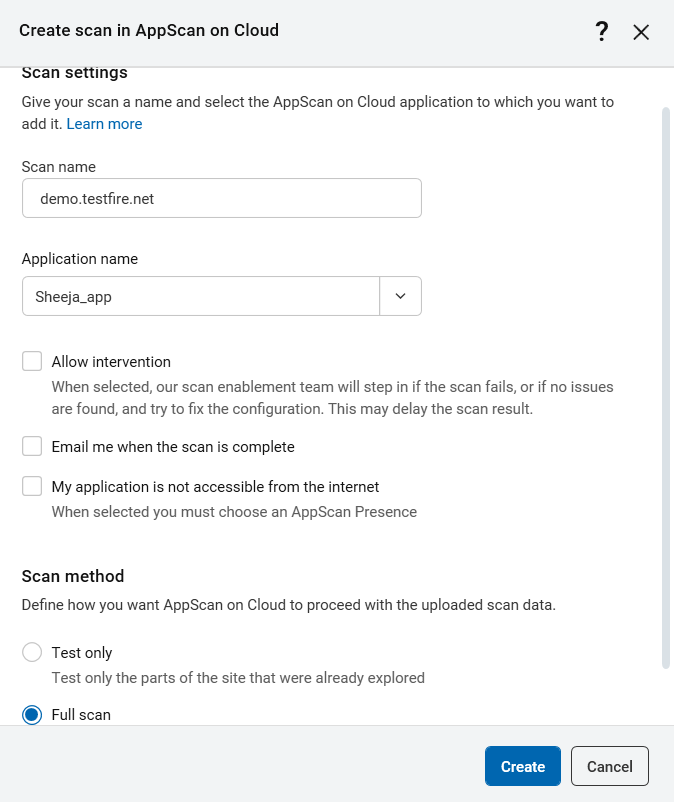
Scan Settings section:
- Optionally rename the scan.
- From the Application name drop-down, select one of the existing applications in ASoC.
- Allow intervention: When this checkbox is selected, our Scan Enablement Team will step in if the scan fails, or if no issues are found, and try to fix the configuration to get results. This may delay scan completion.
- You can elect to be notified by email when the scan is complete.
- My application is not accessible from the Internet: Only if your application is not available on the Internet, select this checkbox and then select your AppScan Presence from the list.
-
Scan method section: Select one of the two radio buttons:
- Test Only
- Test the parts of the site that were already explored in AppScan Standard. Use this option if you want to test only the Multi-Step Operations or Manual Explore that you recorded in AppScan Standard. A Test stage is run on the existing Explore data in the file you upload.
- Full Scan
- Continue the Explore stage (adds data to any existing Explore data saved in the file), and then runs a Test stage. Note that if the uploaded file contains any Explore data that data is used and added to.
-
Click Create
The scan is uploaded to AppScan on Cloud and will run as soon as the queue allows.