Testing with UrbanCode Deploy
With the HCL OneTest™ UI plugin for IBM® UrbanCode™ Deploy, you can automate the execution of tests and compound tests.
Before you begin
You must have completed the following tasks:
-
Installed HCL OneTest™ UI and IBM® UrbanCode™ Deploy agent on the computer where the tests will be run.
-
Downloaded the HCL OneTest™ UI UCD plugin HOT-UI-WebUI-UCD-8.0 from the HCL® License & Delivery portal.
-
Installed IBM® UrbanCode™ Deploy server and deploy the plugin on the server. For information, refer to the UrbanCode Deploy documentation.
-
Installed IBM® UrbanCode™ Deploy Agent and connect it to IBM® UrbanCode™ Deploy server. For more information refer to the UrbanCode Deploy documentation.
-
Ensured that HCL OneTest™ UI is not running.
-
Ensured that all the devices are set to the passive mode and the playback-ready apk files are installed to initiate the mobile test runs.
Note:- To run tests on Mac OS, you must add an environment variable that
points to the installation directory of the product, for example,
export TEST_WORKBENCH_HOME=/opt/HCL/HCLOneTest. For Windows™, this environment variable is already defined. - If you installed the product on Windows using the
stand-alone installer (not using Installation
Manager), you
must specify the environment variable that points to the
installation directory of the product. For example,
export
                                    TEST_WORKBENCH_HOME=C:\Program
                                Files\HCL\HCLOneTest
- To run tests on Mac OS, you must add an environment variable that
points to the installation directory of the product, for example,
About this task
As a tester, you might have a large number of regression tests to run on the latest build of the product. Instead of manually running the tests on every new build, you can install the latest build on the IBM® UrbanCode™ Deploy Agent computer and let IBM® UrbanCode™ Deploy launch the tests for you.
After deploying the IBM® UrbanCode™ Deploy plugin on the server, create the component and its processes, applications and its processes, the environments, and the resources. For information about how to create these different pieces, see IBM® UrbanCode™ Deploy documentation.
Procedure
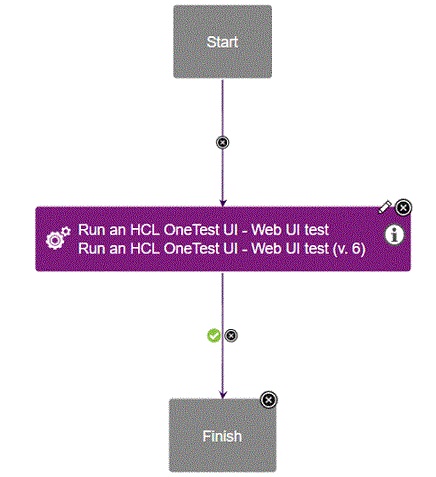
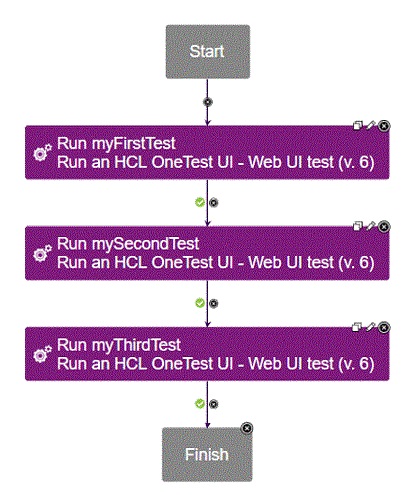
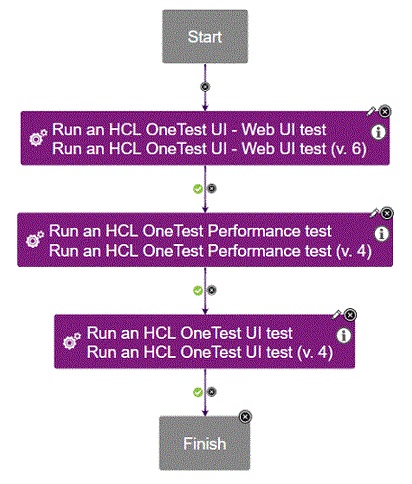
- To create a workflow for the newly created component process, click the component process. The Tools view displays the available plugin steps.
- From to the design space.
- Specify the properties for the step. For information about the properties, see Properties of Steps.
- After you configure the step properties, save the step by clicking Save.
Example