Working with file results publishers
To automatically publish the results of a test suite after it is run in HCL OneTest™ API, you can use the Results Publishers feature.
Before you begin
Ensure that the project settings have valid Connection Details for a Results database and the project has a test suite.
Procedure
-
Open the project and click .
The Custom Reports Manager window is displayed.

-
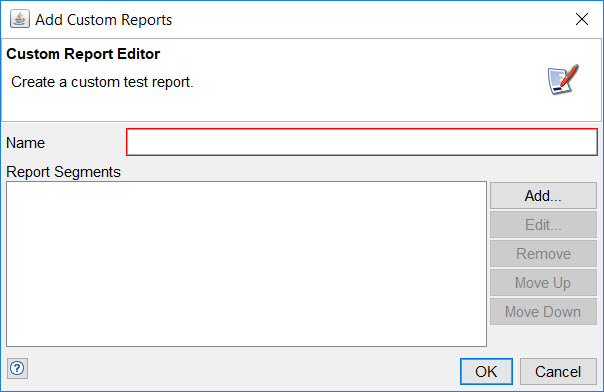
Click Add. The Add Custom Reports window is
displayed.
-
Enter a name for the report and click Add.
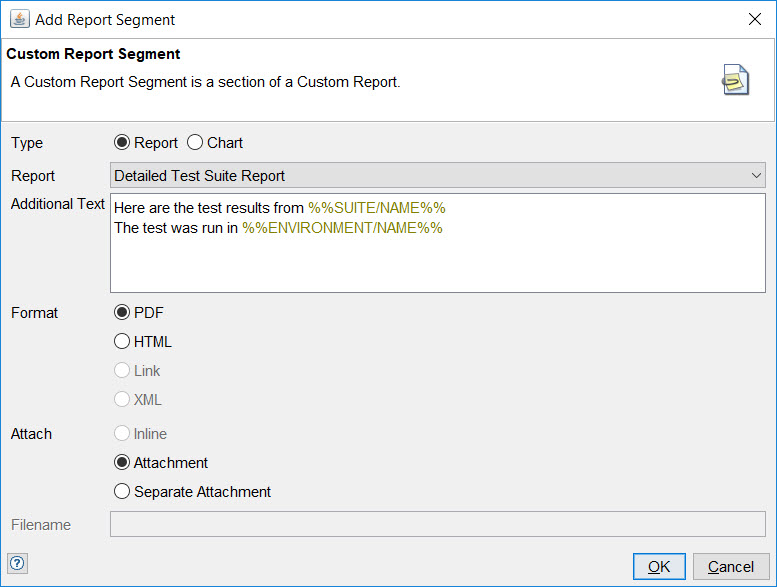
The Add Report Segment window is displayed.
-
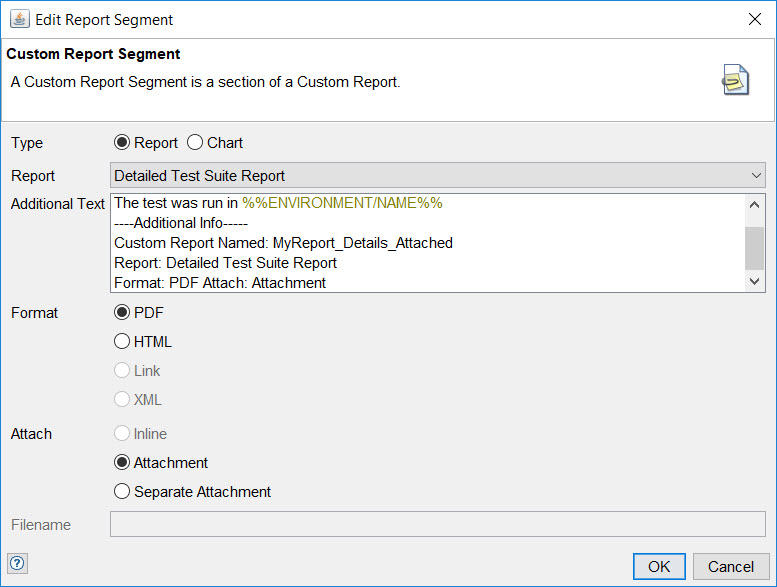
Add details of your custom report in the Additional text field.
For example, you can add the name of the custom report, type of the report, the format of the report, and the method of attachment.
-
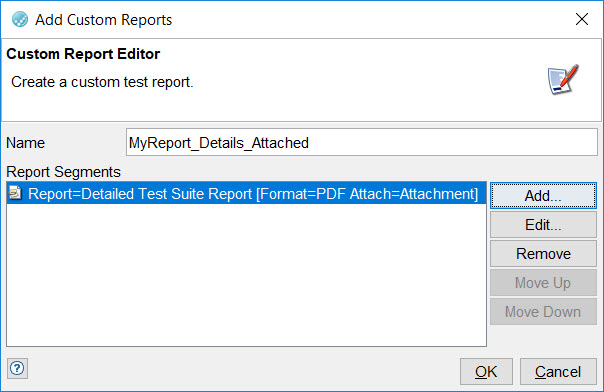
Click OK to save the custom report segment.
The Add Custom Reports window displays the report segment you added.
-
From the menu in HCL OneTest™ API, go to , click the Results Publishers tab and then, click
Add.
The Add Result Publisher window is displayed.
-
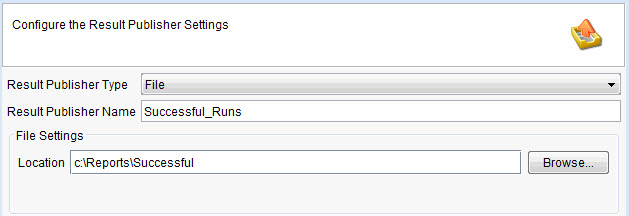
Complete the following steps in the Add Result Publisher window.
- Select the Results Publisher Type to File.
- Provide a name in the Result Publisher Name field and path location to save the published result file.
- Click OK. In the Project Settings window, click OK.
-
Edit a Test Suite that passes all its tests. Navigate to the Publish
Results tab.
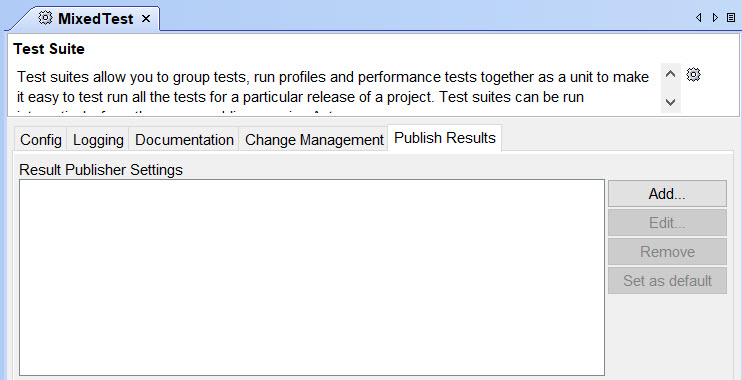
-
Click Add.
The Add Results Publisher Settings window is displayed.
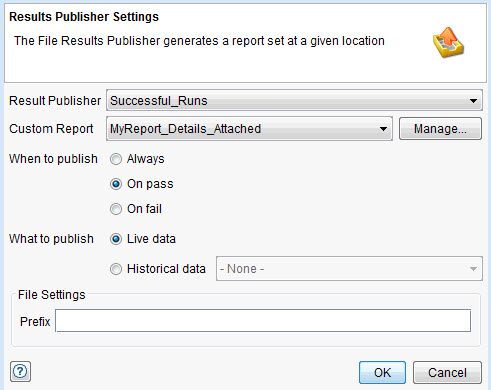
- Select the option you want for the Results Publisher, Custom Report, and When to publish fields, and then click OK.
- Save the test suite.
-
Run the test suite. The console log of the test indicates the results publishers used.
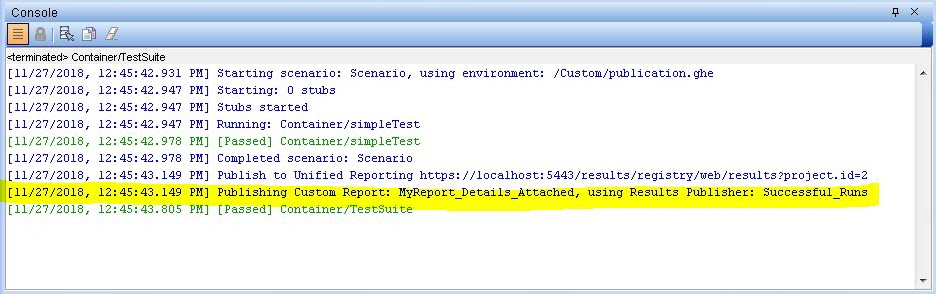
Results
The Custom Report is published as a file in the specified format and is available in the path specified in Step 7. The file name contains the Custom Report name specified and is appended with the date and time stamp when it was generated. For example, the published Custom Report with the name MyReport_Details_Attached_2018-11-27_12-25-43-810 located in the path c:\Reports\Successful.
What to do next
You can navigate to the folder containing the Custom Report published and open the file to view its contents. Ensure that you have installed the associated readers to open such file formats on your system.