Using the Connections Add-in features
The power of Connections from your Outlook inbox. Use the Connections Add-in for Microsoft® Outlook to work with Connections content form within your Outlook inbox.
About this task
- Upload Outlook emails and attachments to Connections Files, Activities or Wikis, or directly as a status post.
- When composing amessage, search Connections Profiles for a name and insert it into one of the address fields.
- Find and share Connections files with recipients by attaching as a link in an email, ensuring everyone is using the same version.
- Upload files from your computer to Connections and share with recipients by attaching as a link in an email.
| FEATURE | DESCRIPTION |
|---|---|
| Upload |
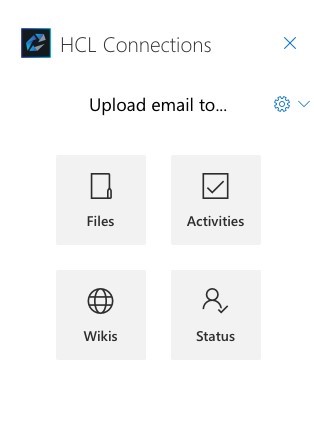
Selecting the Upload feature allows you to upload Outlook emails and attachments to Connections Files, Activities or Wikis, or directly as a status post. You can view the Upload target options in the Outlook sidebar: ‘Files’, ‘Activities’, ‘Wikis’, and ‘Status’
|
| Upload to files |
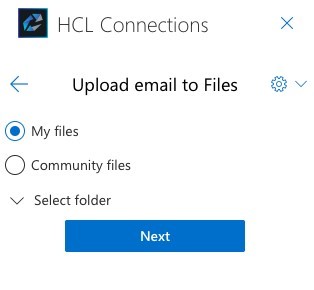
Selecting Files as the target allows you to upload an email or attachments to My Files or Community Files.
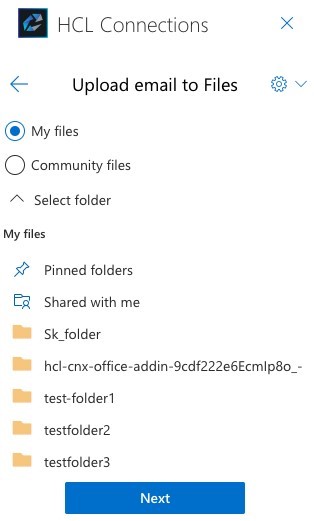
Selecting Next will upload the file into the root of My Files. You can also select a destination folder by selecting the Select folder and choosing a folder.
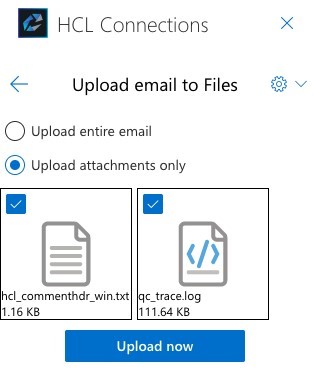
You can then choose whether to upload the entire email (including attachments) as one file, or to select one or more attachments to upload:
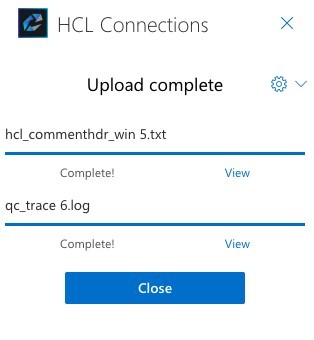
Once the upload is complete, the Upload complete screen displays with links to view the new files in a browser.
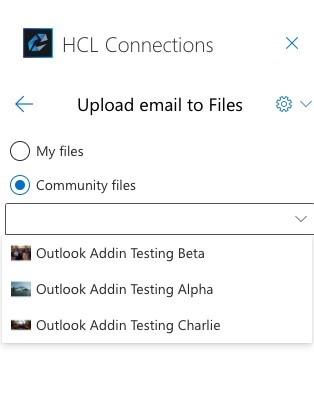
You can upload files to a community as well by selecting Community Files from the upload panel. Then select a community from the dropdown list. Once selected, you can upload to the root of the community files or into a specified folder.
|
| Upload to Activities |
Selecting Activities as the target allows you to upload an email or attachments to an Activity as an entry or a todo.
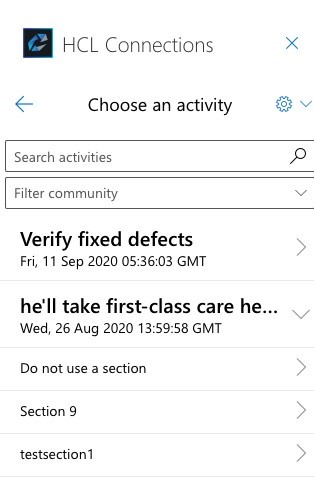
Use search to find specific activities by name, or filter by a community to show only activities from that community. Then you can choose to upload into an activity section.
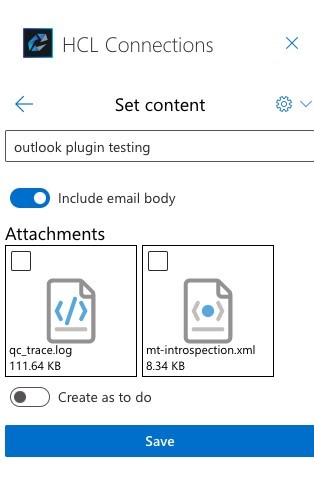
You can set the content to be uploaded to the Activity by selecting Include email body if you want the body of the email to be saved as the body of the activity entry. Select attachments to include as attachments to the activity entry. The default upload behavior is to create an activity entry. If you prefer to create a activity to do, select Create as to do and enter the to do due date and assignees. |
| Upload to Wikis |
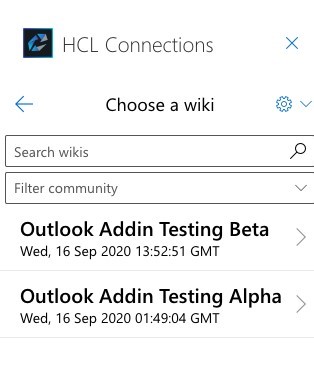
Selecting Wikis as the target allows you to upload an email or attachments to a Wiki.
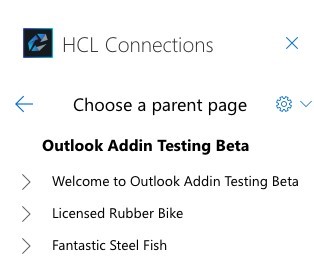
Use search to find specific wikis by name, or filter by a community to show only wikis from that community. Selecting a wiki displays the list of wiki pages. Choose a page to be the parent of the new wiki page. To create a top-level wiki page, select the wiki name at the top of the list. The body of the email will become the wiki page body. You can select email attachments to upload as wiki page attachments.
|
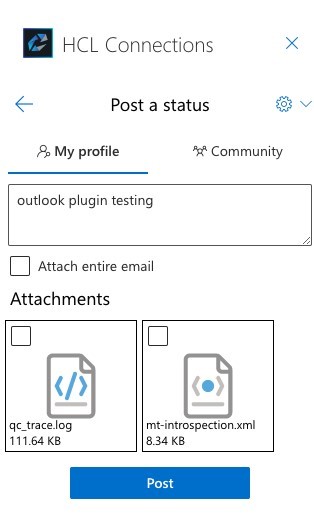
| Upload to Status |
Selecting Wikis as the target allows you to update your connections status with content from the email. By default, the status update text will be set to the email title and the update will be posted to your profile feed which can be edited. You can choose to upload the entire email (including attachments) or select one specific attachment. You can also choose to update a community status feed instead of your personal feed by selecting the Community tab.
Note: Connections external users are not allowed to post status to their profile feeds.
|
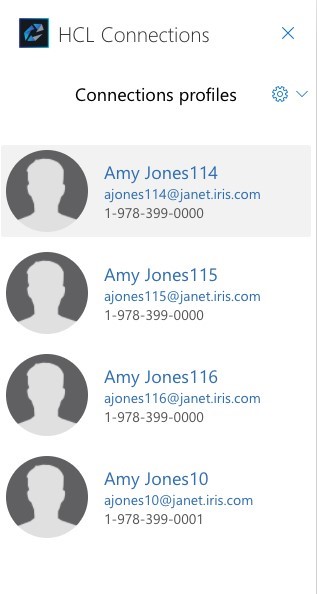
| Show Profiles |
The Show Profiles feature displays the Connections profiles of any Connections users in the email address fields. The profiles contain general information about the user. Selecting a profile will open the full user’s profile in Connections.
Note: Connections external users are not allowed to browse profiles, so the Show
Profiles feature will not display user profiles even if Connections users are listed
in the address fields.
|
| Add File |
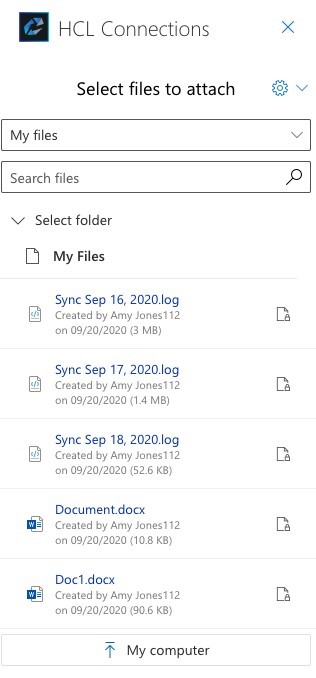
Selecting the Add File feature allows you to insert a decorated link to a Connections file into a new email, ensuring that all users are using the same version.
Choose the source for the file from the dropdown menu. You can choose to attach a file from:
You can also select the My Computer button to upload a file from your local computer to Connections and then attach a link to the new file in an email.
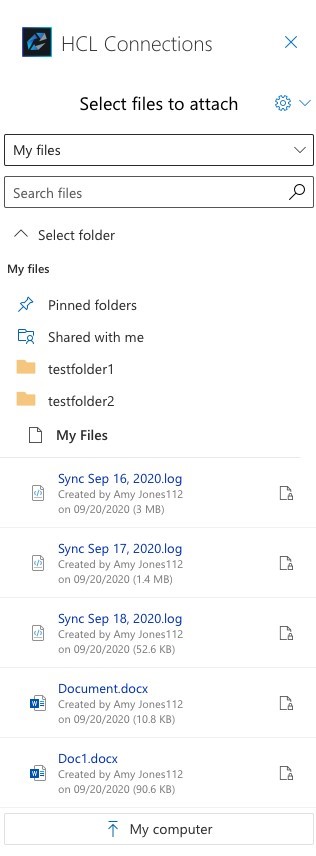
From My Files and Community Files, you can navigate through folders to select files:
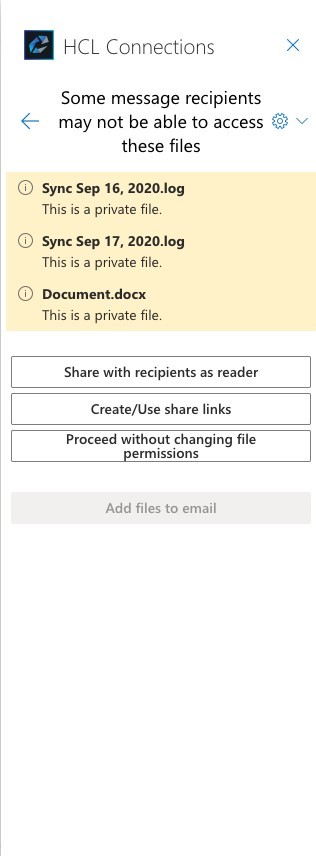
After selecting a file or files to attach, you will have an opportunity to share the file with addressees who don’t already have access to the file. Select Share with recipients as reader to share the file(s) as a reader with all Connections recipients. This option is only available if you have Connections users as recipients. Select Create/Use share links to create a shared link to send so recipients can preview and download the file. Recipients will have to be Connections users to use the link.
|
| Upload File |
Selecting Upload File feature allows you upload a file from your local computer to My Files or a Community in Connections. The new Connections file can then be added to an email using the Add File feature. |
| Add Recipients |
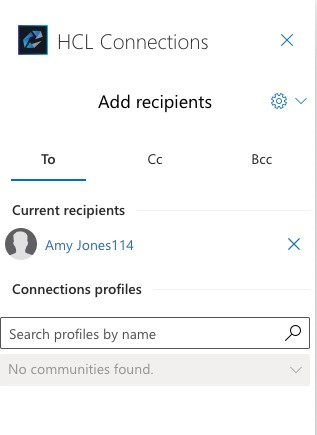
Selecting the Add Recipients feature allows you to search Connections profiles by name and insert it into one of the address fields.
Note: Connections external users are not permitted to search profiles, so this
feature will not work for external users.
|