Create Journey Outbound Gateway Mappings
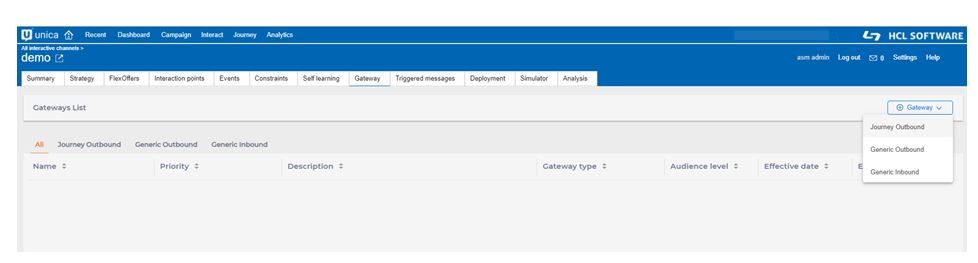
- Under All Interactive Channels, select an Interactive Channel that you want to work on. This redirects you to the detail page of the Interactive channel with multi-tabs. Click the Gateway tab.
- Click Gateway and then click Journey Outbound.
You must possess “Edit Gateways” permission granted in order to edit, add, and delete Gateway mappings.
- In the Add Gateway - Journey Outbound, complete the following
substeps.On General Tab
- Under Gateway Name, provide a Gateway Name.Note: This name must be same as the one present under for Journey type at Affinium|interact|triggeredMessage|gateways.
- Optional. Under Description, provide an appropriate description.
- Provide the priority for this Gateway.Note: You can create multiple Gateway mappings with same name but they must have different priorities. The Gateway mapping with the lowest priority value will be deployed to Interact Runtime.
Example. If there are two Gateway mappings created with name Journey, one with priority 10 and other with priority 20. In this case Gateway mappings with priority 10 will be deployed to Interact Runtime.
- Select the Audience level from the dropdown list. The list displays the Audience levels for which profile tables are mapped.
- Optional. Specify the Effective and Expiration Date.Note: This is the range of time this Gateway mappings are effective. When left blank for “Effective Date”, this mapping is effective immediately once deployed to Interact Runtime. When left blank for “Expiration Date”, this mapping is effective as long as its deployed on Interact Runtime. A past date cannot be set as the expiration date.
After the Gateway mappings are deployed to Interact Runtime with some Expiration Date specified, the mappings are effective till the expiration date only.
On Mapping tab
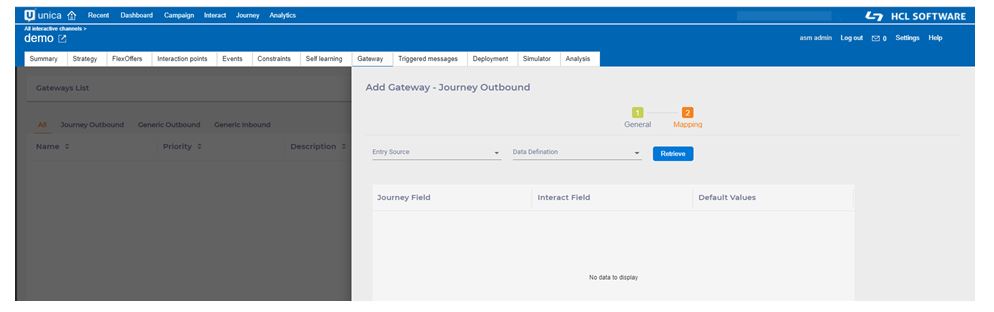
- Select the Entry Source and Data Definition from the available
options.Note: Entry source and data definition details are fetched by calling Journey Rest APIs. It is required that Journey application must be configured and running.
All the entry sources of type “Interact” created in Journey Application are listed.
- Click on Retrive button, All Journey fields are listed under Journey Field. You can map the corresponding Interact Field. The Interact Field is either Profile Attribute, Real Time Attribute or Offer Attribute. In case, the Journey field is mandatory, the default value is required.
- Click on Save button to save the Gateway mappings.
- Under Gateway Name, provide a Gateway Name.