Installing Domino on Linux
This topic guides you through the steps for installing Domino® interactively on a Linux system. You can install Domino® on a Linux system by following this procedure. If you are installing Domino on CentOS for the first time, there is additional guidance in the whitepaper Installing and Configuring HCL Domino on CentOS which can be used as a supplement to this procedure.
Before you begin
- Ensure that you have installed the Linux OS in the ‘en_US’ locale. To check the system’s locale, issue the command “localectl status”
- Temporarily disable any screen savers and disable any virus-detection software.
- Complete any pending reboot actions.
- Make sure that all other applications are closed.
- The Domino server installation requires a Linux user account and group. This account name and group needs to exist prior to running the installer. For guidance on this user and group, see the knowledge article: How to create a user and group on Unix and Linux.
- Perl must be installed for the installation script to complete.
- When installing Domino, you will be prompted to select the program and data directories, it is recommended to use the default directories. If choosing a custom directory, soft links will need to be created.
About this task
Use the below procedure to run the Domino installation in console mode, there is no graphical mode available.
Procedure
- Decompress the Domino installation files into a temporary location.
- Change directories to the location where the installation files were decompressed.
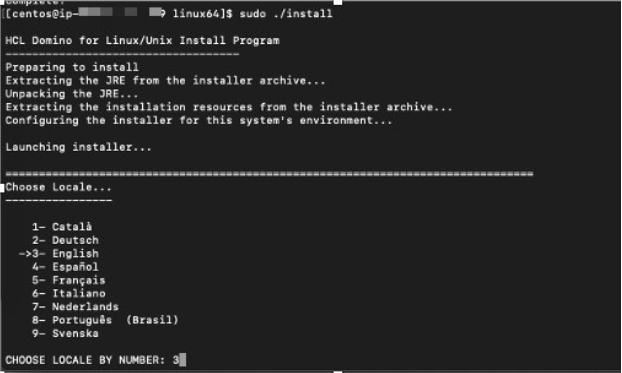
- Issue the command as root: ./install
-
At the locale screen, make your selection, then press enter.
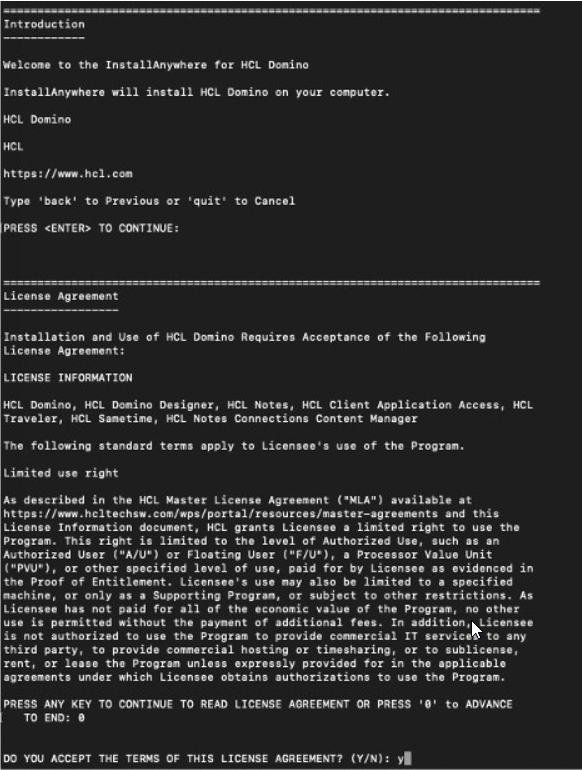
-
At the License Agreement screen, review the terms and accept by entering Y, followed by enter.
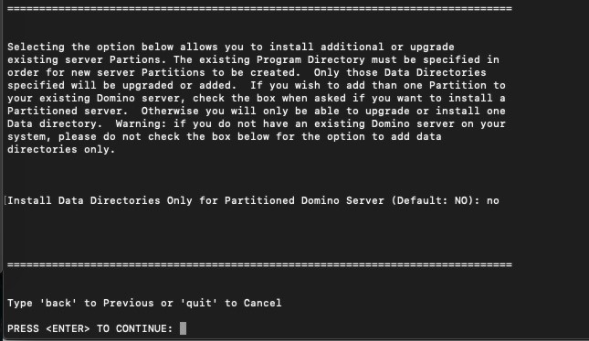
-
At the prompt “Install Data Directories Only for Partitioned Domino Server”
enter “no”. (Sametime does not support Partitioned Domino servers.) Press enter
to continue.
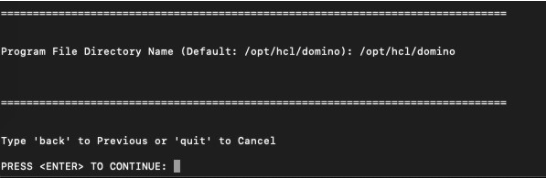
-
Choose a Program File Directory Name. Note: it is recommended to keep the default name /opt/hcl/domino. Press enter to continue.
-
Enter the Data Files Directory path, followed by enter. (/local/notesdata is recommended)

-
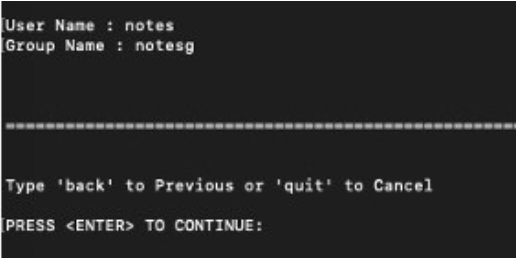
When prompted, enter the Username and Group names that were created for this server in the prerequisite step. The defaults are Username: notes, Group Name: notesg
-
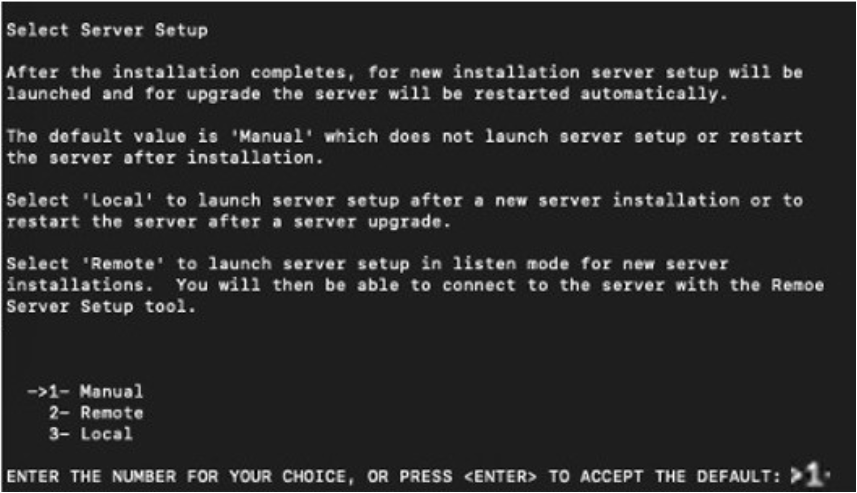
At the setup confirmation screen, choose 1 – Manual.
-
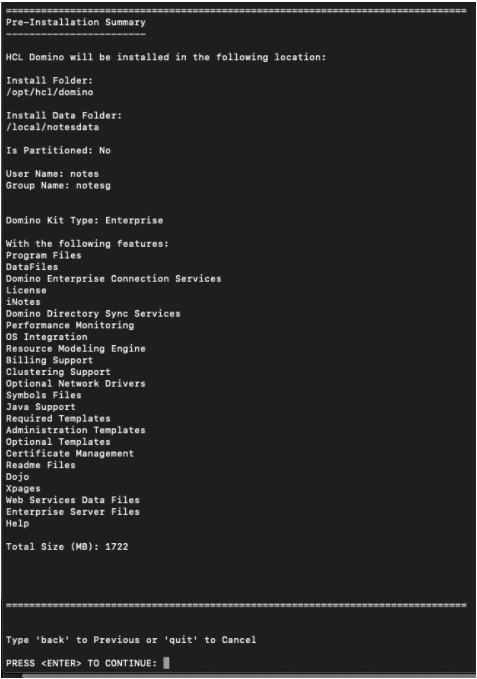
At the pre-installation summary screen, choose enter to continue.
-
Confirm the server installation was completed successfully.
At the conclusion screen, press enter to exit the installer.
