Preparing for SafeLinx for Nomad
Before you install SafeLinx, complete these steps to prepare.
Procedure
-
Log on to the Linux system with an account that has root access privilege. The
following example uses the account support.

-
Update Linux:
sudo dnf update
-
Install OpenJDK 8 (required for SafeLinx Administrator installation):
sudo yum install java-1.8.0-openjdk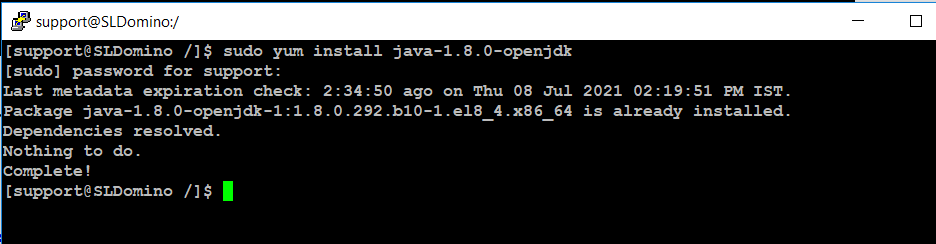
-
Create and then list two directories, cert and
installer, in the /home/support
directory:
cd /home/support
mkdir cert
mkdir installer
ls
-
Obtain a SSL server certificate signed by a trusted certificate authority in
pkcs12 (.p12) format and put it in the cert directory.
Note: The following steps describe generating a self-signed certificate, self-signed certificates have limitations and are not recommended in a production environment.
-
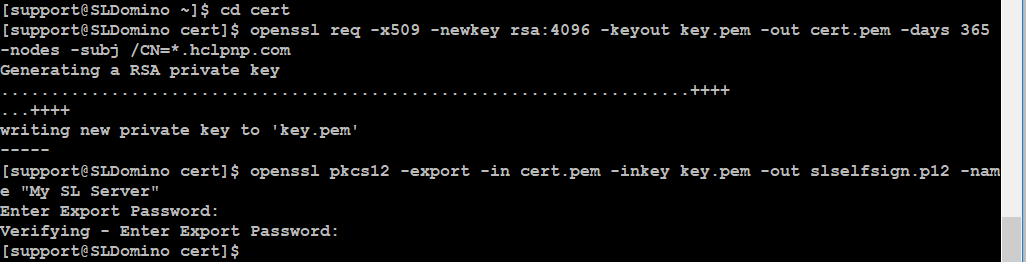
To use OpenSSL to generate a self-signed wildcard certificate, change
to the cert directory (cd cert) and run the
following OpenSSL commands.
Note: Replace
*.mycompany.comin the command shown with your domain name.openssl req -x509 -newkey rsa:4096 -keyout key.pem -out cert.pem -days 365 -nodes -subj /CN=*.mycompany.com openssl pkcs12 -export -in cert.pem -inkey key.pem -out slselfsign.p12 -name "My SL Server"At the certificate password prompt, provide a password for the certificate file. Our example uses "trusted".
-
To see the new certificate file:
ls
-
To use OpenSSL to generate a self-signed wildcard certificate, change
to the cert directory (cd cert) and run the
following OpenSSL commands.
-
Download the following required files from FlexNet to the
installer directory you created previously.
- HCL-SafeLinx-wgcfg-<version>.x86_64.rpm (SafeLinx Linux server)
- HCL-SafeLinx-<version>-x86_64.tar.gz (SafeLinx Administrator client)
- <version>-nomad_web_deploy.zip (Nomad web static files. Required only if hosting Nomad for web browsers directly from the SafeLinx server)
Runlsfrom the installer directory to see the downloaded files.
-
If you want the SafeLinx server to host Nomad for web browser files, extract
the Nomad web files. Skip this step if you are using only Nomad for iOS or
Android.
-
Create the directory /usr/local/nomad:
sudo mkdir /usr/local/nomad
-
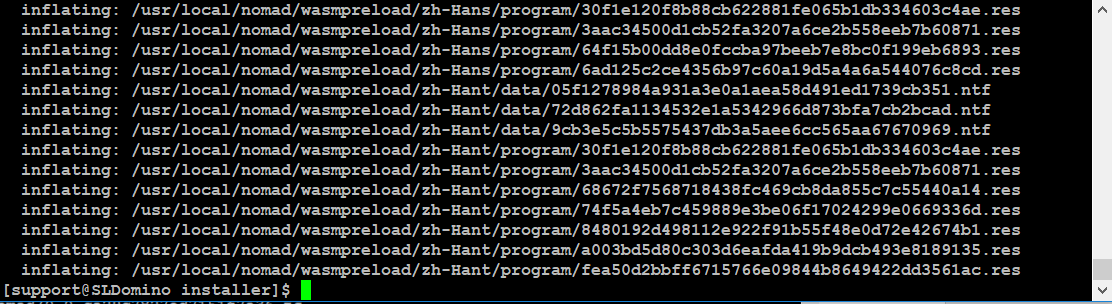
Extract the content of
<version>-nomad_web_deploy.zip to
/usr/local/nomad:
sudo unzip <version>-nomad_web_deploy.zip -d /usr/local/nomad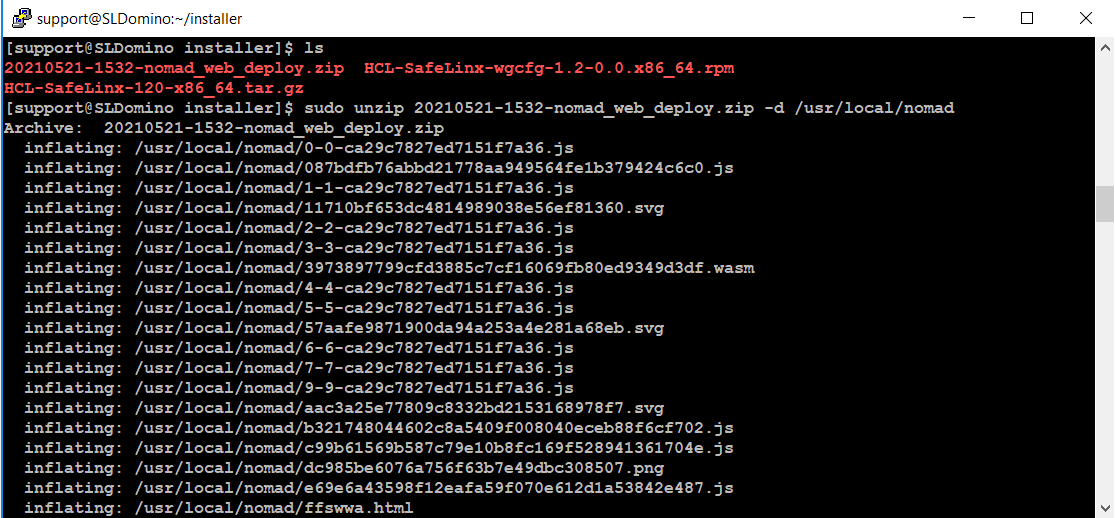
-
Create the directory /usr/local/nomad:
-
Identify or set up a Domino 12 server on a remote machine that SafeLinx will
use to serve Nomad clients.
Note: In our example, this one server is used for the ID vault, Domino LDAP, and Domino mail and applications services. For large enterprise deployments, best practice is for the ID vault to be on one Domino 12 server and mail and applications services to be on another Domino server running 9.0.1 FPx, 10.0.1 FPx, 11.0.1 FPx, or 12.The following screenshot shows output from the
sh sercommand on our Domino 12 server.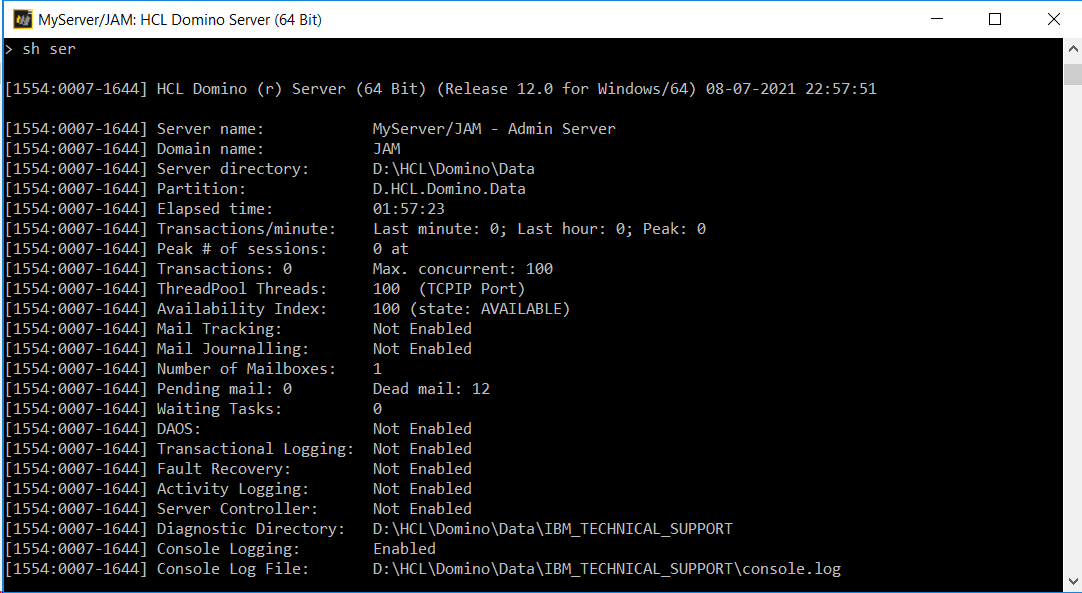
- Install and configure MySQL for SafeLinx. For example steps, see the article How to install and configure MYSQL 8.0 on Centos 8 to be used by SafeLinx 1.2 server. on the HCL Customer Support site.