Deploying Linux Conversion server with HCL Docs 2.0.1

You can deploy Linux Conversion server with HCL Docs 2.0.1.

Before you begin

Follow the steps below to install X Window to avoid errors when deploying Conversion server on Linux:
  1. Install X11 in your Conversion server. For CentOS/RHEL, run yum groupinstall -y "X Window System".
  2. Install Gnome in your Conversion server. For CentOS/RHEL, run yum groupinstall -y "GNOME Desktop".

About this task

You can directly deploy Linux Conversion server on a cleaned environment. If you already have Windows Conversion server installed, you can also migrate from Windows to Linux. When installing Conversion server on Linux, both NFS 3 and 4 are supported. But when installing Conversion on Windows, only NFS 3 is supported. So when migrating from Windows to Linux, you can choose to upgrade to NFS 4 or not.
Note:
  • Linux Conversion server DOES NOT support sanity check.
  • Supported Linux version: Red Hat Enterprise Linux (RHEL) Server 7 and above, SUSE Linux Enterprise Server (SLES) 12 and above. Click system requirements for details.
  • Make sure the user used to deploy Editor application, Viewer application, and Linux Conversion application has enough permission (rw) on shared storage.
  • When migrating Conversion server from Windows to Linux, the Windows Conversion server will be dropped and no data needs to be migrated from the Windows side.
  • System fonts on Conversion Server are used when exporting to PDF from HCL Docs, and rendering text in Chart and SmartArt from MS Office document and presentation files. If you are not satisfied with the font effects in those areas, it is recommended to install necessary fonts accordingly on Linux where you install Conversion server.

Procedure

  • To deploy Linux Conversion server on a cleaned environment:
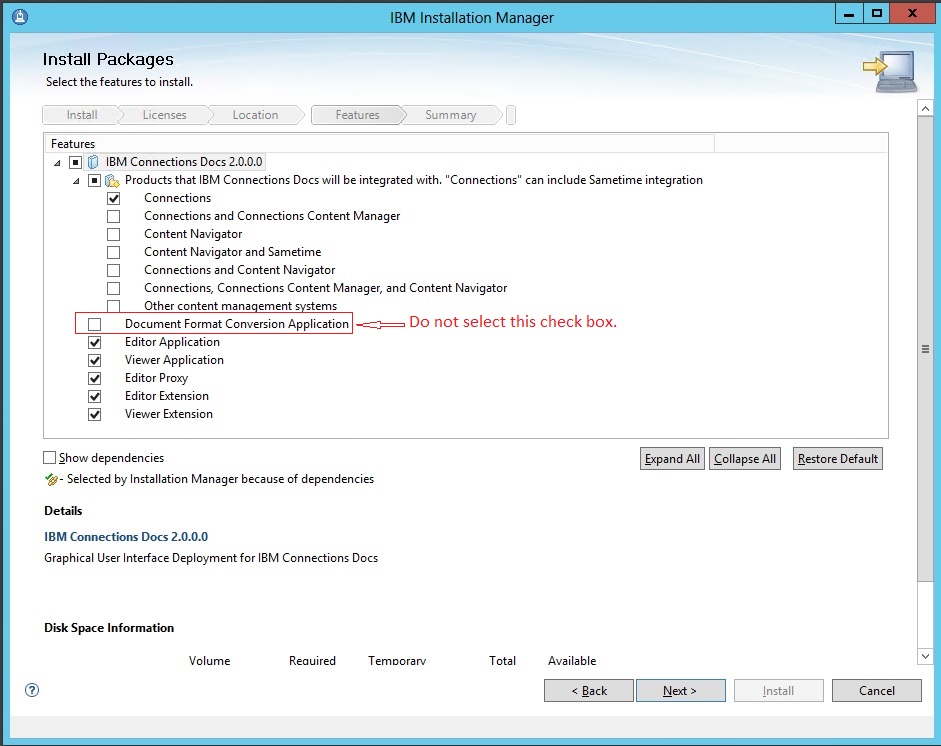
    1. Install HCL Docs 2.0 with GUI but DO NOT select IBMConversion model.

      Install HCL Docs with Conversion server on Linux
    2. Install HCL Docs 2.0.1 patch.
    3. Install necessary libraries on Linux Conversion nodes. For Redhat, run yum install -y ImageMagick glibc.i686 gtk2.i686 libSM.i686. For SuSE, run zypper install -y ImageMagick glibc.i686 gtk2.i686 libSM.i686.
    4. For non-root user, do the following setting with root authority before deploying Linux Conversion server.
      • Make sure non-root user can run startx. If there is any issue, try the following solution:
        • Redhat: Run cd /var/run/console and touch user name. Since the content under /var/run/console will be lost after reboot, create the file after OS startup. Modify /usr/lib/tmpfiles.d/pam.conf and add a line:
          d /var/run/console 0755 root root -
          f /var/run/console/<user name> 0644 root root -
          d /var/run/faillock 0755 root root -
          d /var/run/sepermit 0755 root root
        • SuSE: Uncomment the following line in /etc/permissions.local
          #/usr/bin/Xorg                 root:root       4711
        Run chkstat --system --set to apply the changes.
      • Sudo setting for non-root user:
        • For Redhat, visudo and then uncomment the following line:
          Defaults !visiblepw
        • For SuSE, visudo and then comment on the following two lines:
          #Defaults targetpw # ask for the password of the target user i.e. root
          #ALL ALL=(ALL) ALL # WARNING! Only use this together with 'Defaults targetpw'!
    5. Configure NFS share for editor and viewer draft on Linux Conversion nodes. See Mounting the NFS share on a Linux server and Configuring the shared data folder as a non-root user.
    6. Create a conversion cluster on Deployment Manager with Linux nodes where Linux Conversion will be install.
    7. Extract DocsConversion_Linux_2.0.0.zip in a temp folder , for example, /CR3/temp.
    8. Update cfg.properties and cfg.node.properties under /CR3/temp/installer. Use the cluster in step 5 and follow Installing the first Conversion node or single server and set non_job_mgr_mode=false.
    9. Under /CR3/temp/installer, run ./install.sh. Make sure you have execution permission of the install.sh file.
      1. A License agreement is displayed. If you accept the agreement, press the "a" key and then press Enter.
      2. When prompted, enter your WebSphere Application Server credentials.
      3. During the deployment, it will prompt to input OS credentials and OS type for Linux Conversion nodes to created job managers for remote deployment. Follow the notification to input.
      4. When the installation is finished, the command prompt is displayed. If an error occurred with the installation process, the configuration is reverted. Correct the error and try again.
      5. If you have any issues when creating job manager, set property non_job_mgr_mode=true and deploy Conversion on each node separately. Follow Installing the first Conversion node or single server.
    10. Verify that you can get the version of the installed Conversion component, for example, http://DocsWin01.example.com:WC_defaulthost/conversion/version or http://<IHShost>/conversion/version.
    11. Run ps -ef | grep soffice to check symphony instances.
  • To migrate Windows Conversion server to Linux Conversion server:
    1. Install HCL Docs 2.0.1 patch.
    2. Uninstall Windows Conversion Server using script Uninstalling Document Format Conversion Application. Make sure the uninstallation is done without error. Clean the errors manually if there is any. For example, if you fail to remove workmanager, manually remove it from WAS console > Resources > Asynchronous beans > Work Managers > ConversionWorkManager and then syncNodes.
    3. Follow the same steps as the above section from step 3 to step 11.