
Locating a nearby store using the Store Locator feature
The Store Locator feature allows the shopper to easily locate a physical store of their choice by using online maps. This feature is especially designed to enable them to physically pick up the products bought online, from a store of their choice.
Before you begin
Procedure
-
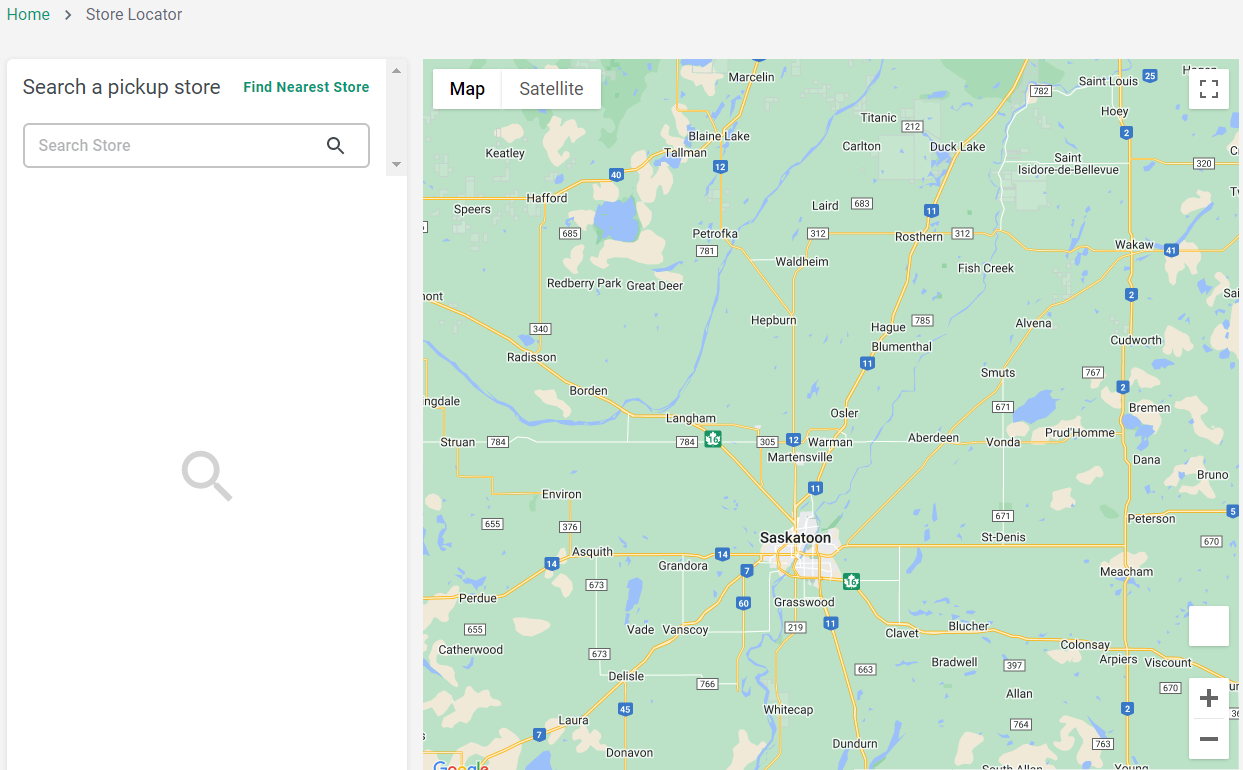
The shopper clicks the Locate Store icon on the
top-right side in the header of React-based store. This opens the store locator
page, with a map of their current location based on the IP address by default,
as shown in the following example.
 Note:
Note:- When the shoppers click the Locate Store button, the application displays a popup box asking them to share their current location.
- The current location of the shopper is displayed only when they give this permission by clicking the Allow button in the popup box.
-
The shopper clicks the Find Nearest Store option to
display a list of nearby stores to current IP location of the shopper.
Alternatively, they can type the store name or a location of their choice in the
Search Store search-box and click on the suggested
store name.
Note:
- The online map gets updated according to the store location selected by the shopper.
- When they select a store, the system displays the store name and its address, along with the store's working hours.
- The shopper clicks the Get Directions option to view the direction to the selected store from their present location on the map.
-
They click the Set As My Store button to set the
selected store as their default store.
Note: The store selection data will be removed by the system when the shopper signs out of the React-based store.
Results
Limitations
About this task
- You may see a different map on the store front during a store preview in the Management Center. For example, the location on the store front is the location of your default IP address whereas the store preview displays the Toronto location map by default. However you can change this default store location to a different location.
- During a store preview in the Management Center, when you click the Find Nearest store link, you will see the Toronto location map by default. This is because the system is unable to fetch the location details in a store preview but it is able to do so in the store front.
Both these issues occur because there is a two-level nested iFrame/object tag and the geolocation is disabled in this nested document by the browser's permissions policy.
- For a shopper, the information is stored locally by the browser as they will access the React-based store from their local machine. When a Customer Service Representative (CSR) adds a new shopper and shops on their behalf, they will see the store location that was previously saved in the local storage. If this is not the intended store then the CSR must select a different React-based store or clear the local storage details.