MEM – Import hardware hash
Learn how to import hardware hash from a Windows 10 machine.
About this task
Procedure
- Sign into the MEM console (https://endpoint.microsoft.com) using your administrator account.
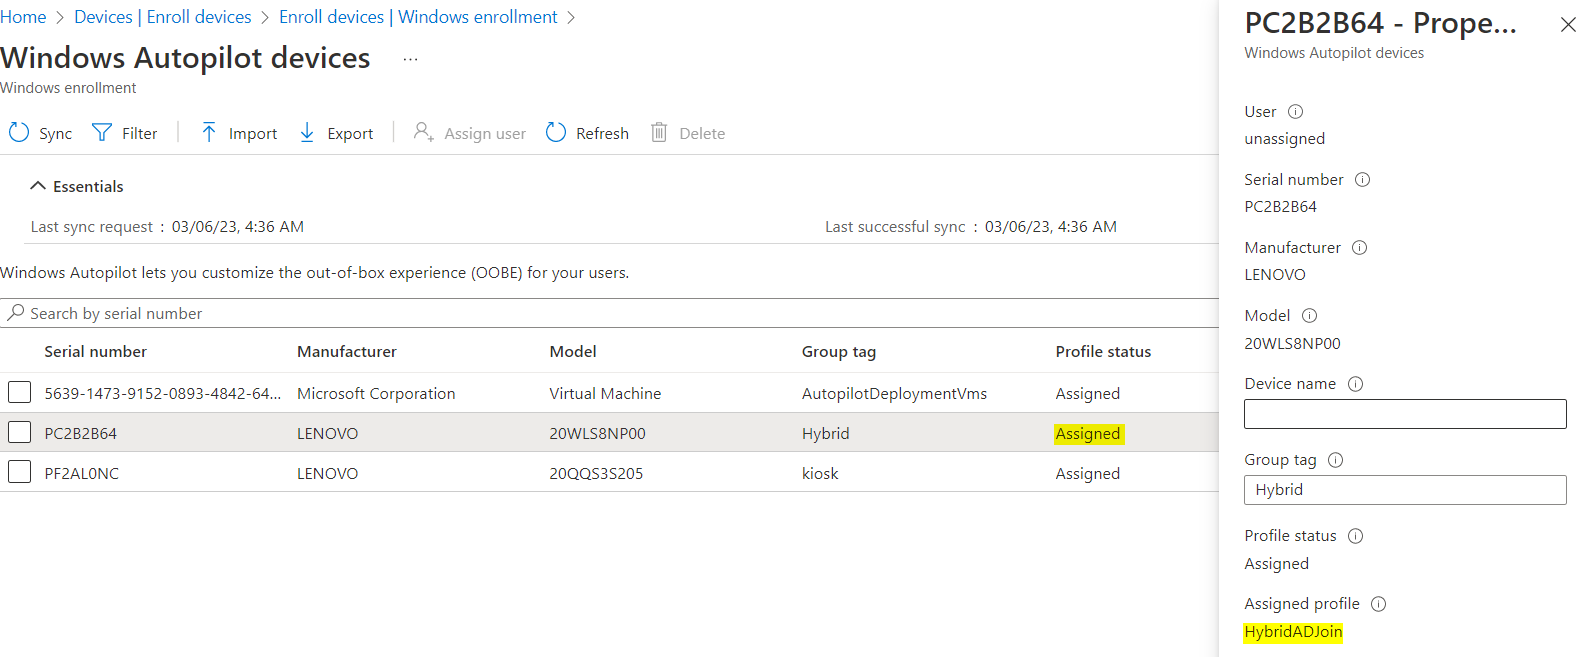
- In the left navigation pane, under Device enrollment, click Devices and select Windows.
- Click Windows Enrollment and from the sub-menu, select Windows Autopilot devices.
- Click + Import.
- Choose Import devices using a CSV file as the import method.
-
Create a CSV file that contains the following columns:
- Device Serial Number
- Windows Product ID
- Hardware Hash
- Order ID - Optional
-
Generate Hardware Hash on the Windows 10 device using the
Get-WindowsAutoPilotInfoPowerShell script, which must be run with administrative privileges. - Save the csv file and then upload it to the MEM console by clicking Select a file.
- Click Next to validate the csv file and check for any errors.
-
Once the validation is complete, click Import to import
the device hashes into MEM.
Note: Ensure that the device is assigned with a deployment profile.