Creating custom rules from an AppScan® Source trace
You can create custom rules from the Trace view that allow you to filter out findings with traces that are taint propagators, not susceptible to taint, or sinks. You can also mark methods in the trace as validation/encoding routines (or indicate that they are not validation/encoding routines).
About this task
See Example 2: Creating a Validation/Encoding Routine from the Trace view for an example of source code, the output, and the procedure to create the validation and encoding routines.
| Selected method | Valid marking |
|---|---|
| Intermediary nodes |
|
| Lost sink |
|
Procedure
- In the Trace view, right-click the method or node for which
you want to create a custom rule and then choose the custom rule to
create - or select the method or node and click the appropriate custom
rule toolbar button. The options for marking routines and methods
are:
Option Description Mark as a Validation/Encoding routine 
Mark as not a Validation/Encoding routine 
Mark as a taint propagator 
Mark as not susceptible to taint 
Mark as a sink  Note: If there is no entry in the Trace view for the method for which you want to create a custom rule, click Launch the custom rules wizard to add a validation routine that is not on the trace graph. In the Custom Rules Wizard, proceed to the Select Validation/Encoding Routine page. Select the validation routine and then specify the location, scope, any sources or sinks, or any properties, according to the instructions in the next step. See Example 2: Creating a Validation/Encoding Routine from the Custom Rules Wizard for details about creating a validation routine with this wizard.
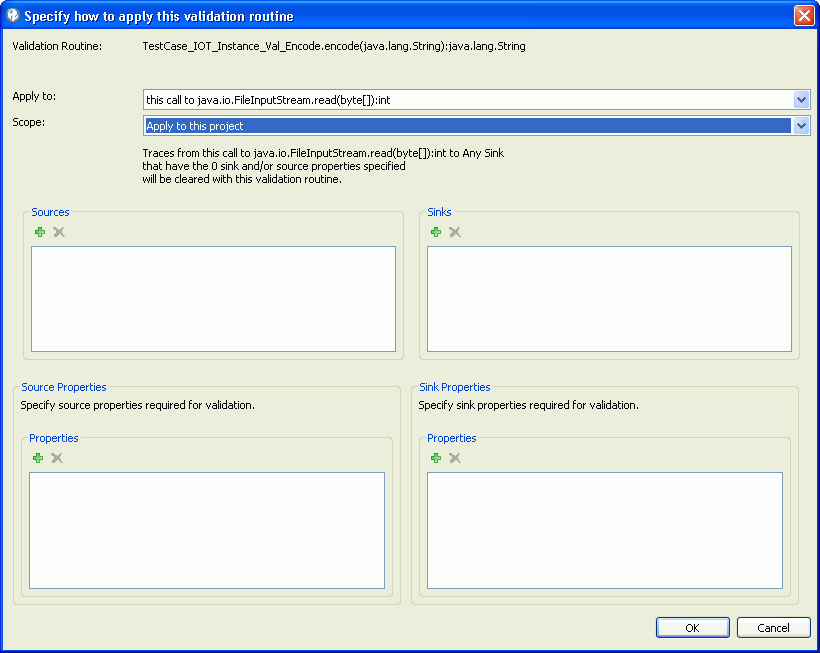
 - If you are creating a custom rule that marks a method as
a sink or a validation/encoding routine, you may need to make further
settings:
- After creating custom rules in the Trace view, you must scan your code again to see the rules reflected in the findings lists and traces. Custom rules that you create in the Trace view can be viewed and deleted in the Custom Rules view. To view details of the rule in the Custom Rules view, select the rule and click Custom Rule Information.
