Creating, editing, and deleting applications
An application is a collection of scans related to the same project. It can be a web app, a mobile app, a web service, or any component of an app. Applications enable you to asses risk, identify trends, and make sure that your project is compliant with industry and organization policies.
Creating an application
Procedure
-
In Applications view, click Create
application at the top right of the screen.
The only input needed is a name and assigning an asset group. Every application must belong to one (and only one) asset group, See Asset groups.
-
Give the application a name and select an asset group from the drop-down list.
Users with permission can:
- Type in a new name in the Asset group field
- Select Add asset group to create a new group
- Assign the application to it immediately.
- Optional:
From the Presence drop-down list, you can assign up to three
unique presences.
- To restrict the application's scanning exclusively to the presences you assigned, select the Do not allow scanning with any other Presences checkbox.
Note:- You cannot use a presence for an application if no presence is assigned and the restrict option is used.
- Assigning presences to an application is optional, you can also assign a presence each time you scan. For more information, see AppScan Presence.
-
Click Save to create the application.
You can now create a scan or manually import issues discovered by a third-party scanner.
Editing an application
About this task
Procedure
-
In Applications view, click the Edit
icon for the application.
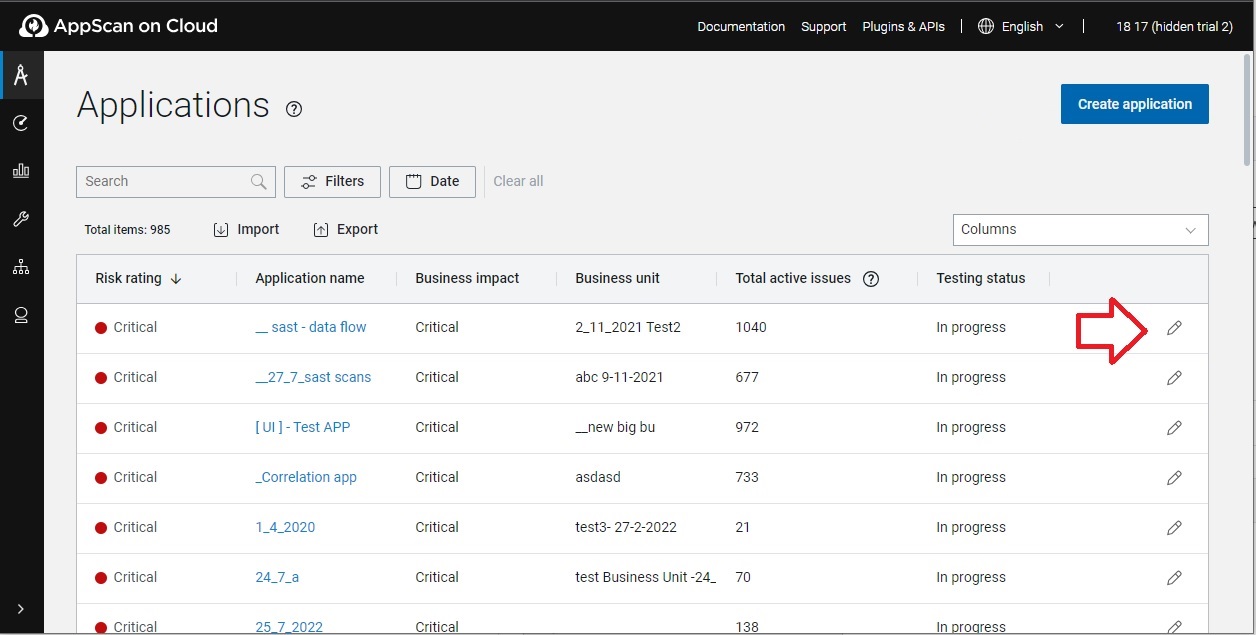 ASoC displays the Edit application dialog.
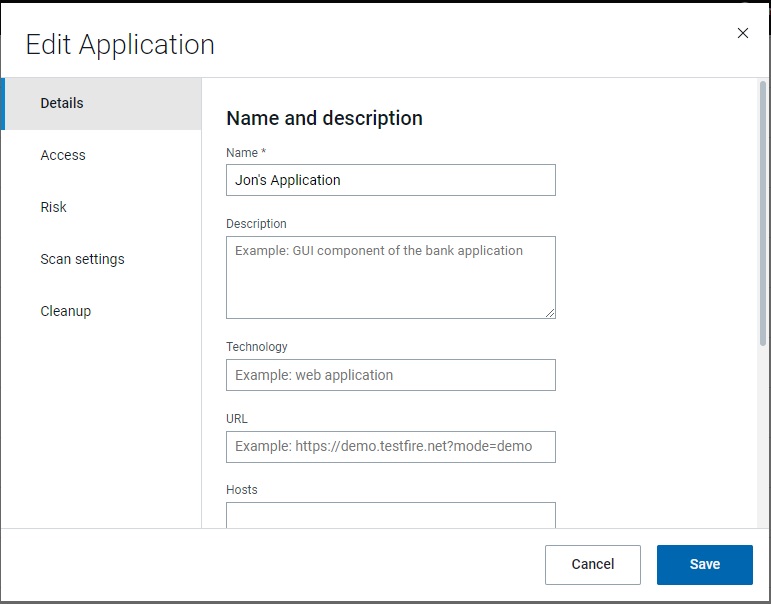
Apart from Name and Asset group, the attributes in this dialog are optional, but can be useful as administrative tools.
-
Edit the attributes and assign values where useful to you. You can search all of
these attributes when you are triaging your applications for security testing and
vulnerability tracking.
Tab Field Details Details Name Required. Description Use for your own reference. Optional. Other fields Use for your own reference. Optional. Access Asset group Restrict access to this applications by assigning it to an appropriate asset group. An application can belong to one asset group only. The Asset group drop-down list appears only if the administrator has created one or more asset groups in the user management administration. Otherwise, a newly created application belongs to the default asset group.
If you have permission you can type in a new name to create a new asset group for the application.
See Asset groups for more information.Business unit Select the business unit in the organization that your application belongs to. Admin users can create new business units in . Optional Risk Business impact If this applications is important, assign it a high or critical value. That way, when you filter your application inventory by this attribute, this application appears near or at the top of the list. The Risk rating for an applications is based on a combination of highest detected issue severity and the application's business impact. Higher numbers indicate increased risk. See Risk rating
Security ratings Use for your own reference. Optional. Scan settings Presence Assign up to three unique presences for your application. Do not allow scanning with any other Presences Select this checkbox to restrict the application's scanning exclusively to the presences you assigned. Testing status Indicate Not Started, In Progress, or Completed in this field. This attribute appears as a summary dashboard chart, and contributes to the overall security risk rating. Cleanup Automatic cleanup The maximum number of scans that an application can contain is 2,000. Indicate how to proceed when this limit is reached: - Manually delete scans: ASoC prompts you to delete scans when needed.
- Enable automatic cleanup: ASoC deletes old scans automatically as needed.
- Click Save.
Deleting an application
Procedure
- In Applications view, click on the application to open it.
- On the upper right of the screen, select .
-
Select the preferred option:
Option Description Delete scan data only All scans, agents, issues and libraries found in this application will be deleted. Application configuration and details will remain. Dashboards will be reset. Delete the entire application All scans, agents, issues and libraries found in the application will be deleted. Application configuration and details will be deleted. Dashboard data will also be deleted. - Click Delete.